 |
Adding a Script to an ArcView Project |
Since ArcView does not do all of the processing that you need, you will sometime need to add functionality. This is done through Avenue scripts. Avenue is the proprietary language associated with ArcView. This is not a programming workshop and, therefore, we will have to add a script. Not worry - the script is already written.
The purpose of the script to find the watershed above a certain point in a Digital Elevation Model. The code can be found at /mit/gis/programs/avenue/watershed.ave
If you are a programmer and interested in how this works, feel free to look at the code and read the paragraph below. Otherwise, skip this section and move on to "Add the Script to the Project."
The script does several bookkeeping steps:
To add the script to the project:
Result: AScript window appears. Notice the new menus, buttons,
and tools that are available when a Script is the active document. The
following three three buttons used for getting and writing out
scripts: ![]() . The
first button is for loading system scripts into the current script
window. The second button is for loading scripts stored on Athena as
text files. The third button is for witing scripts as UNIX text
files.
. The
first button is for loading system scripts into the current script
window. The second button is for loading scripts stored on Athena as
text files. The third button is for witing scripts as UNIX text
files.
Result: The Load Scripts dialog box appears.
Result: you have a compiled script that you can now associate with a button on the ArcView GUI.
Result: The Script1 Properties dialog box appears.
Note: By starting the filename with a "_", will you will be able to find your script from the long list of system scripts.

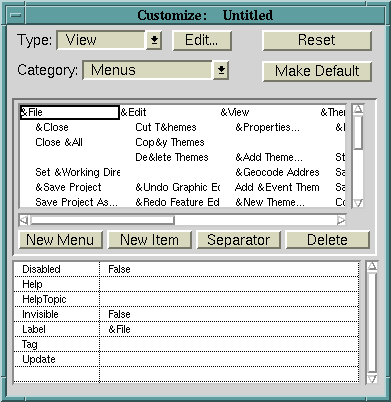
Arcview allows you to add widgets (menus, buttons, tools, and popups) to all of the document types that Arcview supports (View, Table, Chart, Layout, Script, Project, and Application). In this exercise we will add a button to the View interface. Depending on which document type is active, you may need to
Create a new tool and associate the new script with the tool.
Result: a new tool is created on the toolbar.
Result: the Script Manager dialog box appears. From the list of system scripts and any scripts you may have added, choose _watershed. Your script should be easy to find at the end of the list of scripts since you have a special character as the first character of its name.
Close the Customize dialog box.
| Comments about these pages |