MAKING A SHAPEFILE IN ARC CATALOG
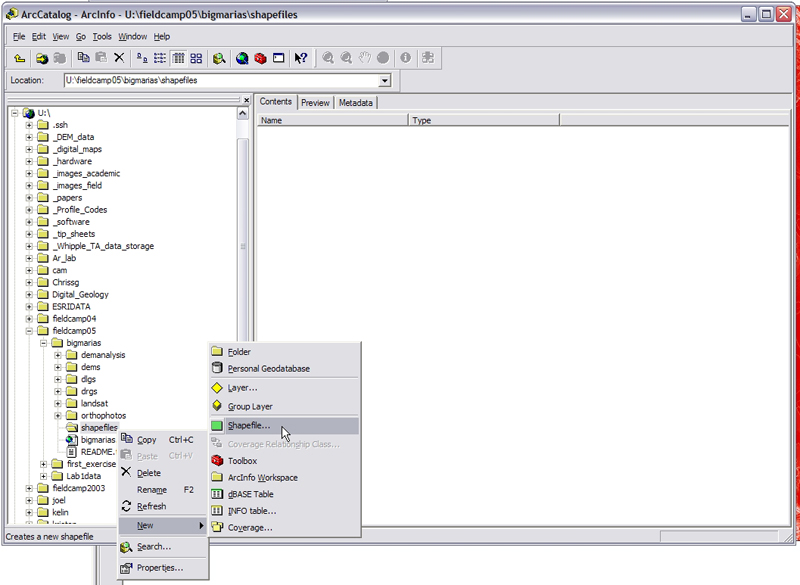
1) In the ArcCatalog explorer window, browse to the folder in which you'd like to create a shapefile. Right click on that folder, select New and then click on Shapefile
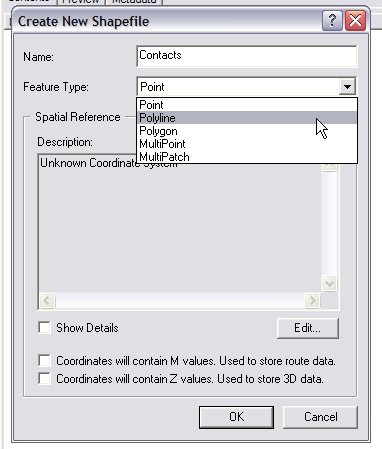
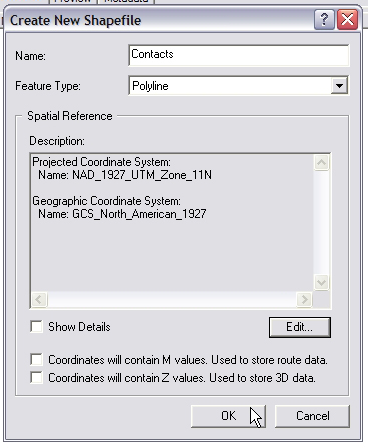
2) The Create New Shapefile Window appears. Give the shapefile a name and select the type of shapefile you'd like to create (point, polyline or polygon - other options are unimportant right now).
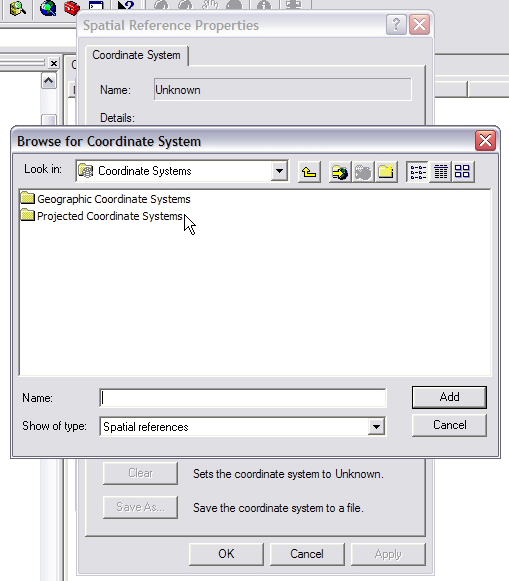
3) Select the coordinate system you'd like the shapefile to be projected in. For further information on projections and coordinate systems, click here. To select a coordinate system, click the Edit button, which brings up the Spatial Reference Properties Window.

4) Click the select button, and browse to the coordinate system you wish to use.
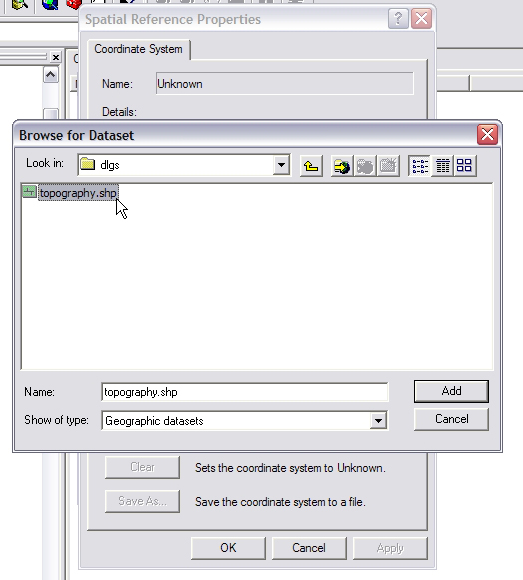
Alternately, you can match your shapefiles coordinate system to that of another dataset. To do this, click the Import button, and select the dataset that you'd like your new shapefile to match.
5) After selecting a coordinate system, click OK to close the Spatial Reference Properties window. The coordinate system information you chose will appear in the Create New Shapefile window. You're all set. Click OK to create the shapefile.
6) You can add your new shapefile to a map either by dragging the file from ArcCatalog onto the Table of Contents in ArcMap, or by using the Add Data button in ArcMap.