


2.00b Toy Product Design
Finishing Up
Finishing the case
Now it's time to finish putting the case together. First of all, just flatten the wires a bit so that they don't protrude above the rim of the housing.
- Check whether your front cover has the screw insert installed yet or not. Are there metal threads in the hole for the screw? If not, wait for Prof. Wallace to come by to install your screw insert.

- Very carefully, remove the 9V battery. Do not push hard against the housing, but pry the battery from the battery snap. You don't want to break the sides of the slot holding the battery snap in place.
- Take a look at the front cover. Notice that there is a slot at the top and that the main housing has a tab at the top that will fit into the slot.
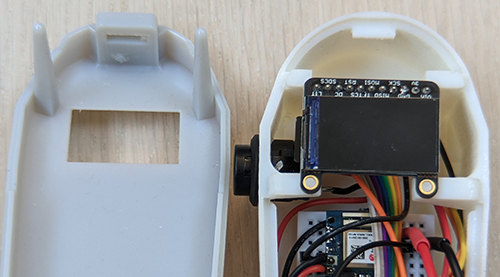
- Also carefully, put the top cover on. Do not force it on. Ask for help from a staff member, as this step is finicky and there is a bit of risk of damaging your housing!
- Get the screw and allen key from the supplies area and use it to attach the main part of the housing to the front cover. The screw hole is in the back of the battery compartment. That's why the battery needed to be removed.
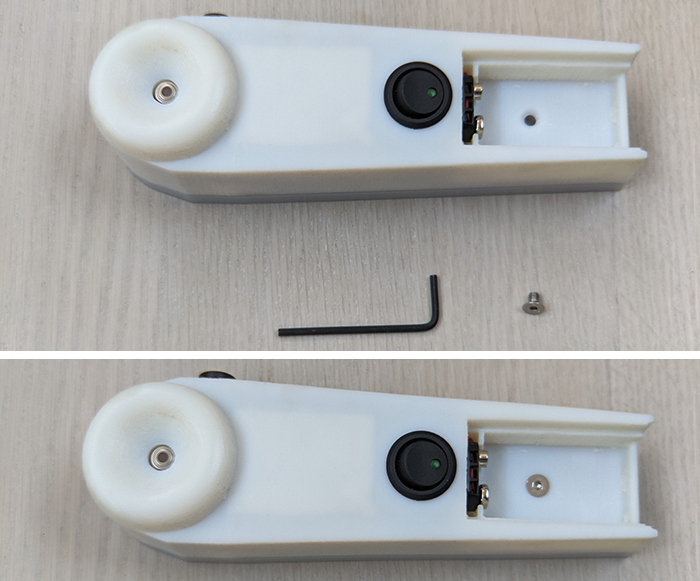
- Put the battery in again.
- Install the battery cover
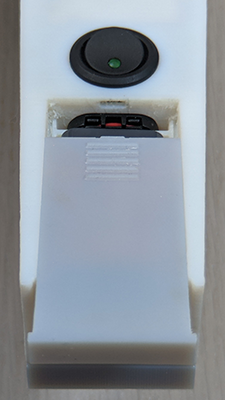
- Flip the power switch on again and test to see if everything still works. If not, go back to troubleshooting.
- For some of you, your design was printed as multiple pieces that need to be put together using the same type of fastener as was used for the housing. Please ask for assistance if you cannot figure out how to put your design together.