6.005 Software Construction | Spring 2012
|
These instructions walk through installing Subclipse 1.6 in Eclipse 3.7
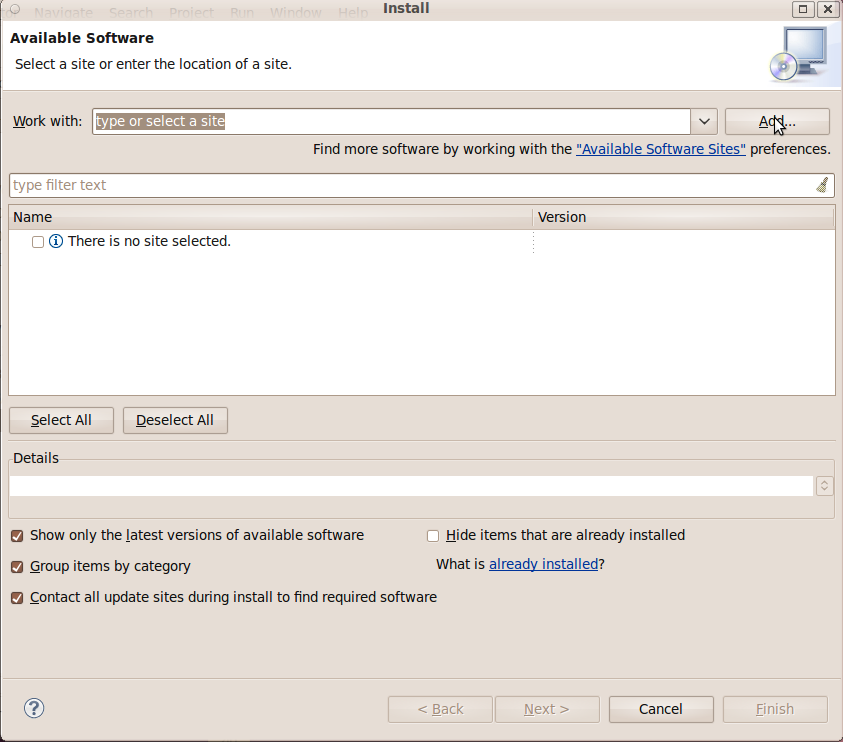
Start the installation process by going to Help->Install New Software
An Install dialogue will appear, click on "Add".
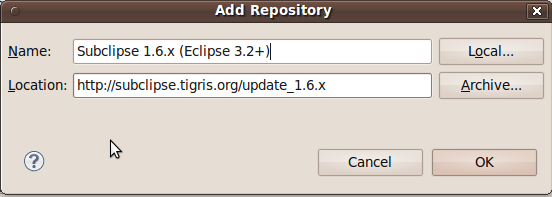
An Add Repository dialogue will appear, type in "Subclipse 1.6.x (Eclipse 3.2+)" for Name and http://subclipse.tigris.org/update_1.6.x for Location.
When you return to the Install dialogue the subclipse repository should be selected for "Work with" as shown in the screen shot. If it isn't already selected, select it using the drop down.
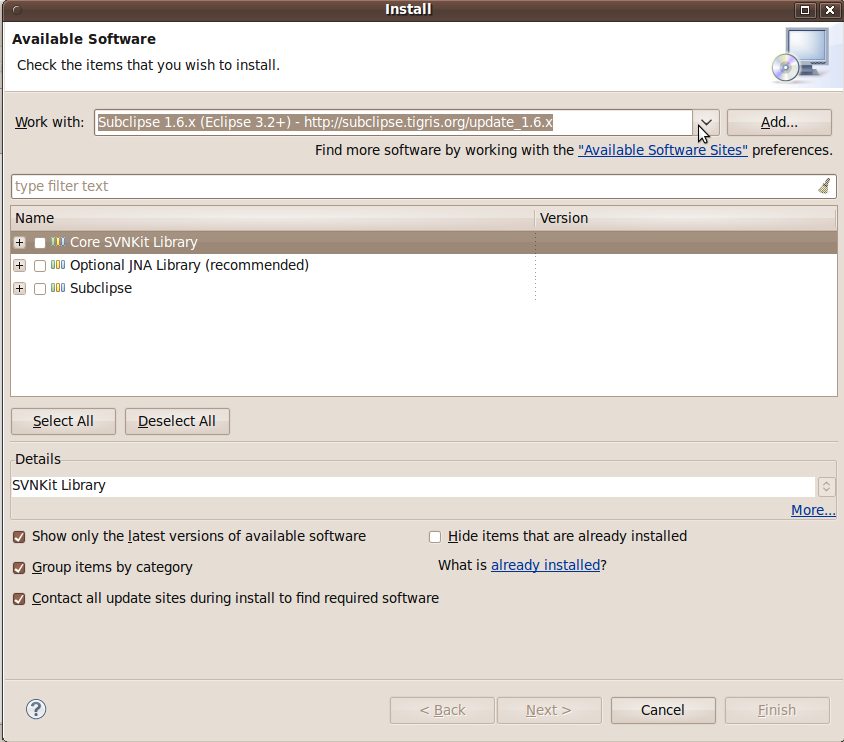
Select all three bundles of software (Core SVNKit Library, Optional JNA Library, and Subclipse) and then click next.
Click "next" again on the Install Details dialogue.
Accept the license agreement and click finish. If while installing it warns you about installing unsigned content just click OK.
Restart Eclipse and Subclipse will be installed.
On Windows and OS X, there is one extra step you need to take to configure Subclipse. Go to the SVN preferences page ("Window → Preferences... → Team → SVN") and under "SVN interface," choose "SVNKit (Pure Java)." The "JavaHL (JNI)" option will only work if you have a command line Subversion client installed in your $PATH.