**Getting Started with Vivado**
The full feature system edition of Vivado is installed in the lab computers. A basic Webpack version is available as a free download.
!!! WARNING
Vivado can be installed either on Windows computers or Linux computers. Mac's OSX is not an option. Regardless of OS, even the "lightweight" install of Vivado is extremely large (20 GB). Make sure you have sufficient room for it prior to download.
!!! WARNING
If you're downloading Vivado, make sure to specify you're from **Massachusetts Institute of Technology** otherwise you might get some sort of Export Restriction issue. **"MIT" is not the same as "Massachusetts Institute of Technology"!!**
To run Vivado on a lab computer:
Log into one of the Athena workstations in the Digital Electronics Lab (the 6th floor of 38). Your username and password are your standard Athena user name and password. You can setup your environment permanently and avoid adding the locker and set up command each time you login by customizing your configuration file. First determine your shell by
Type: `ps`
Look at what is listed under the CMD column. It should be either `tcsh` or `bash` (the name of your shell program). Most accounts created after 2009 use bash (YOU ARE PROBABLY BASH).
If you have `tcsh`, add the following to `~/.cshrc.mine`
~~~~~~~~~ bash
add 6.111
source /mit/6.111/vivado-setup.csh
~~~~~~~~~
If you have `bash`, add the the following to `~/.bashrc.mine`
~~~~~~~~~ bash
add 6.111
source /mit/6.111/vivado-setup.sh
~~~~~~~~~
Alternatively, you can add the locker and source the files each time you login.
To start a project launch `vivado &` in the command prompt:
1. Start a new RTL (Register Level Transfer) Project and select or create an appropriate directory.
2. When prompted to add design sources, include [top_level_starter.sv]("./resources/top_level_starter.sv"). Make absolutely sure you always choose to **Copy Sources into Project.**
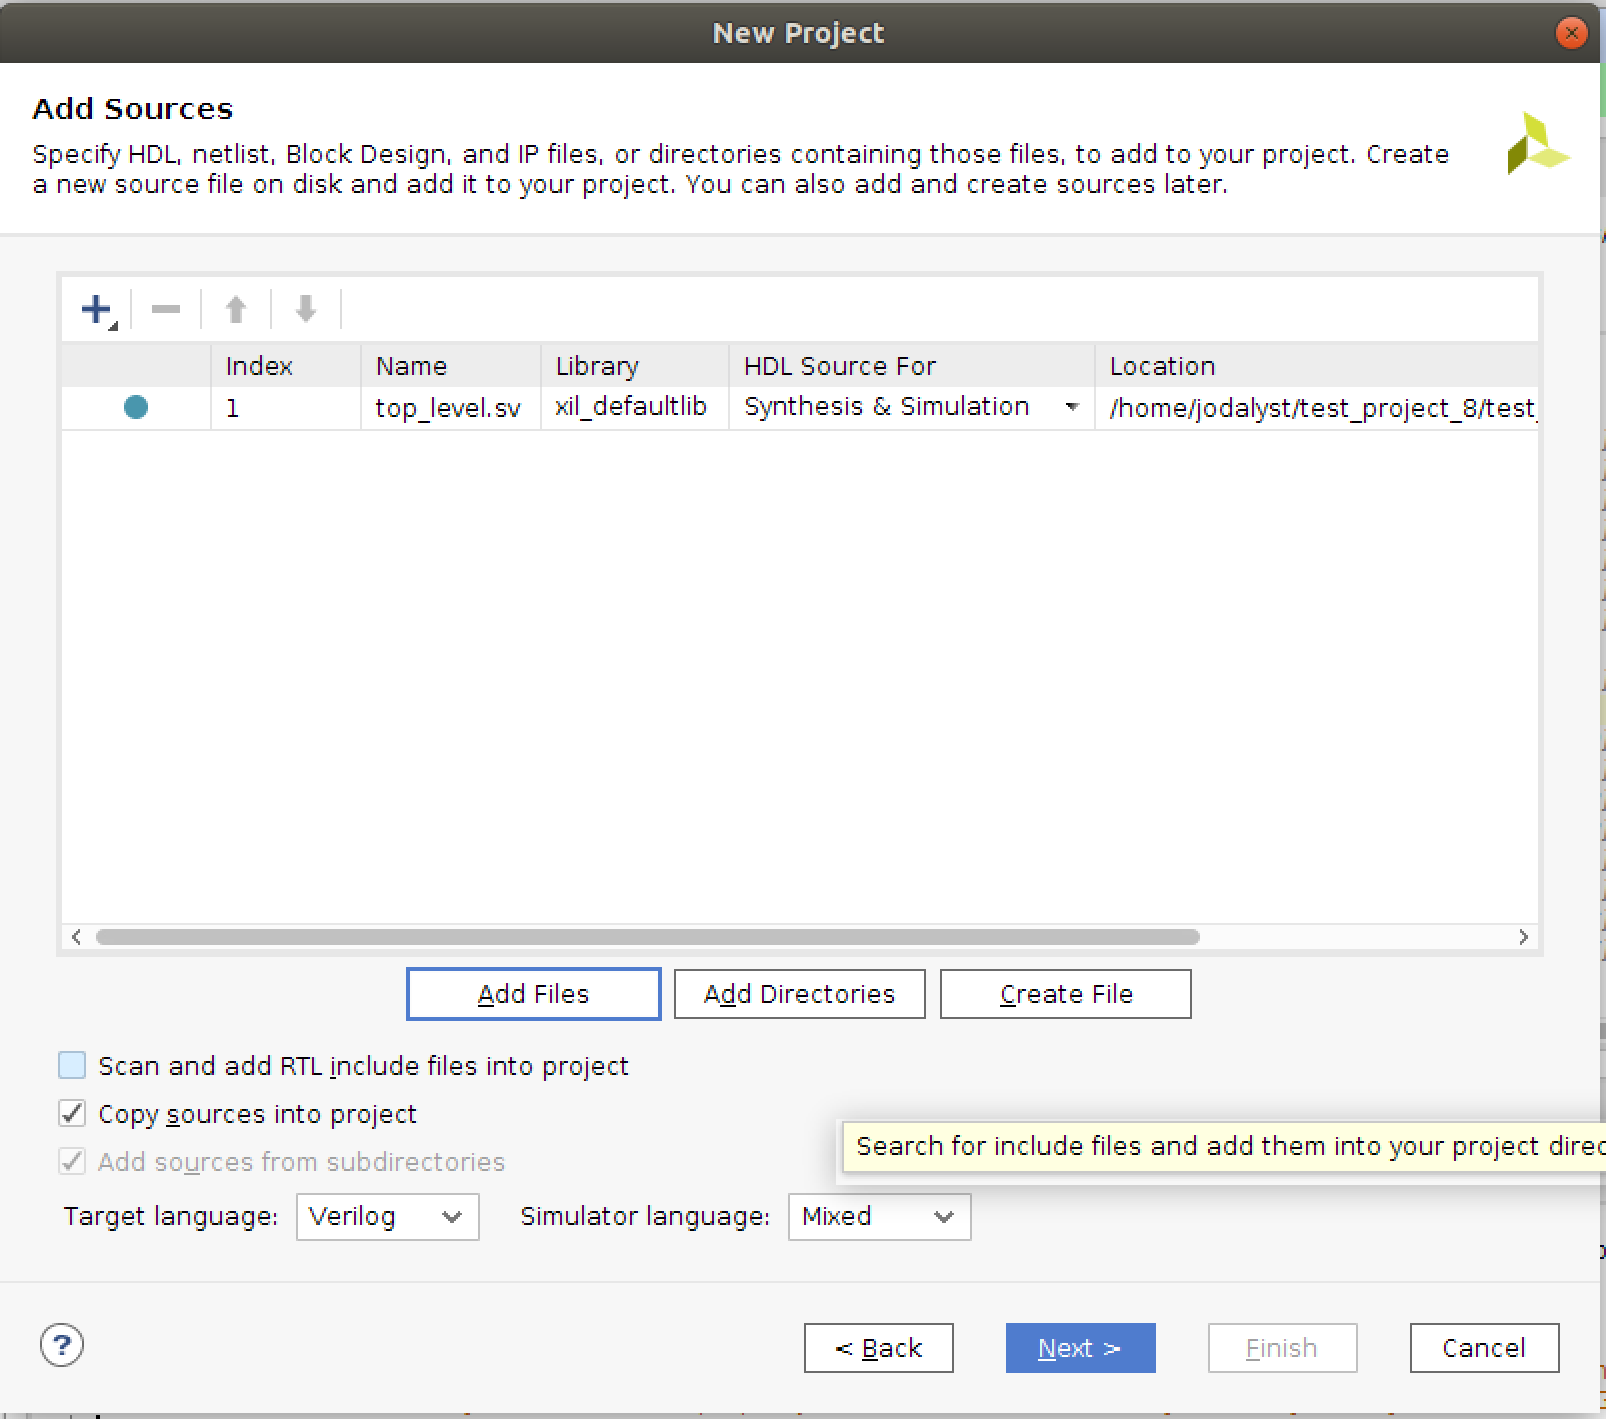
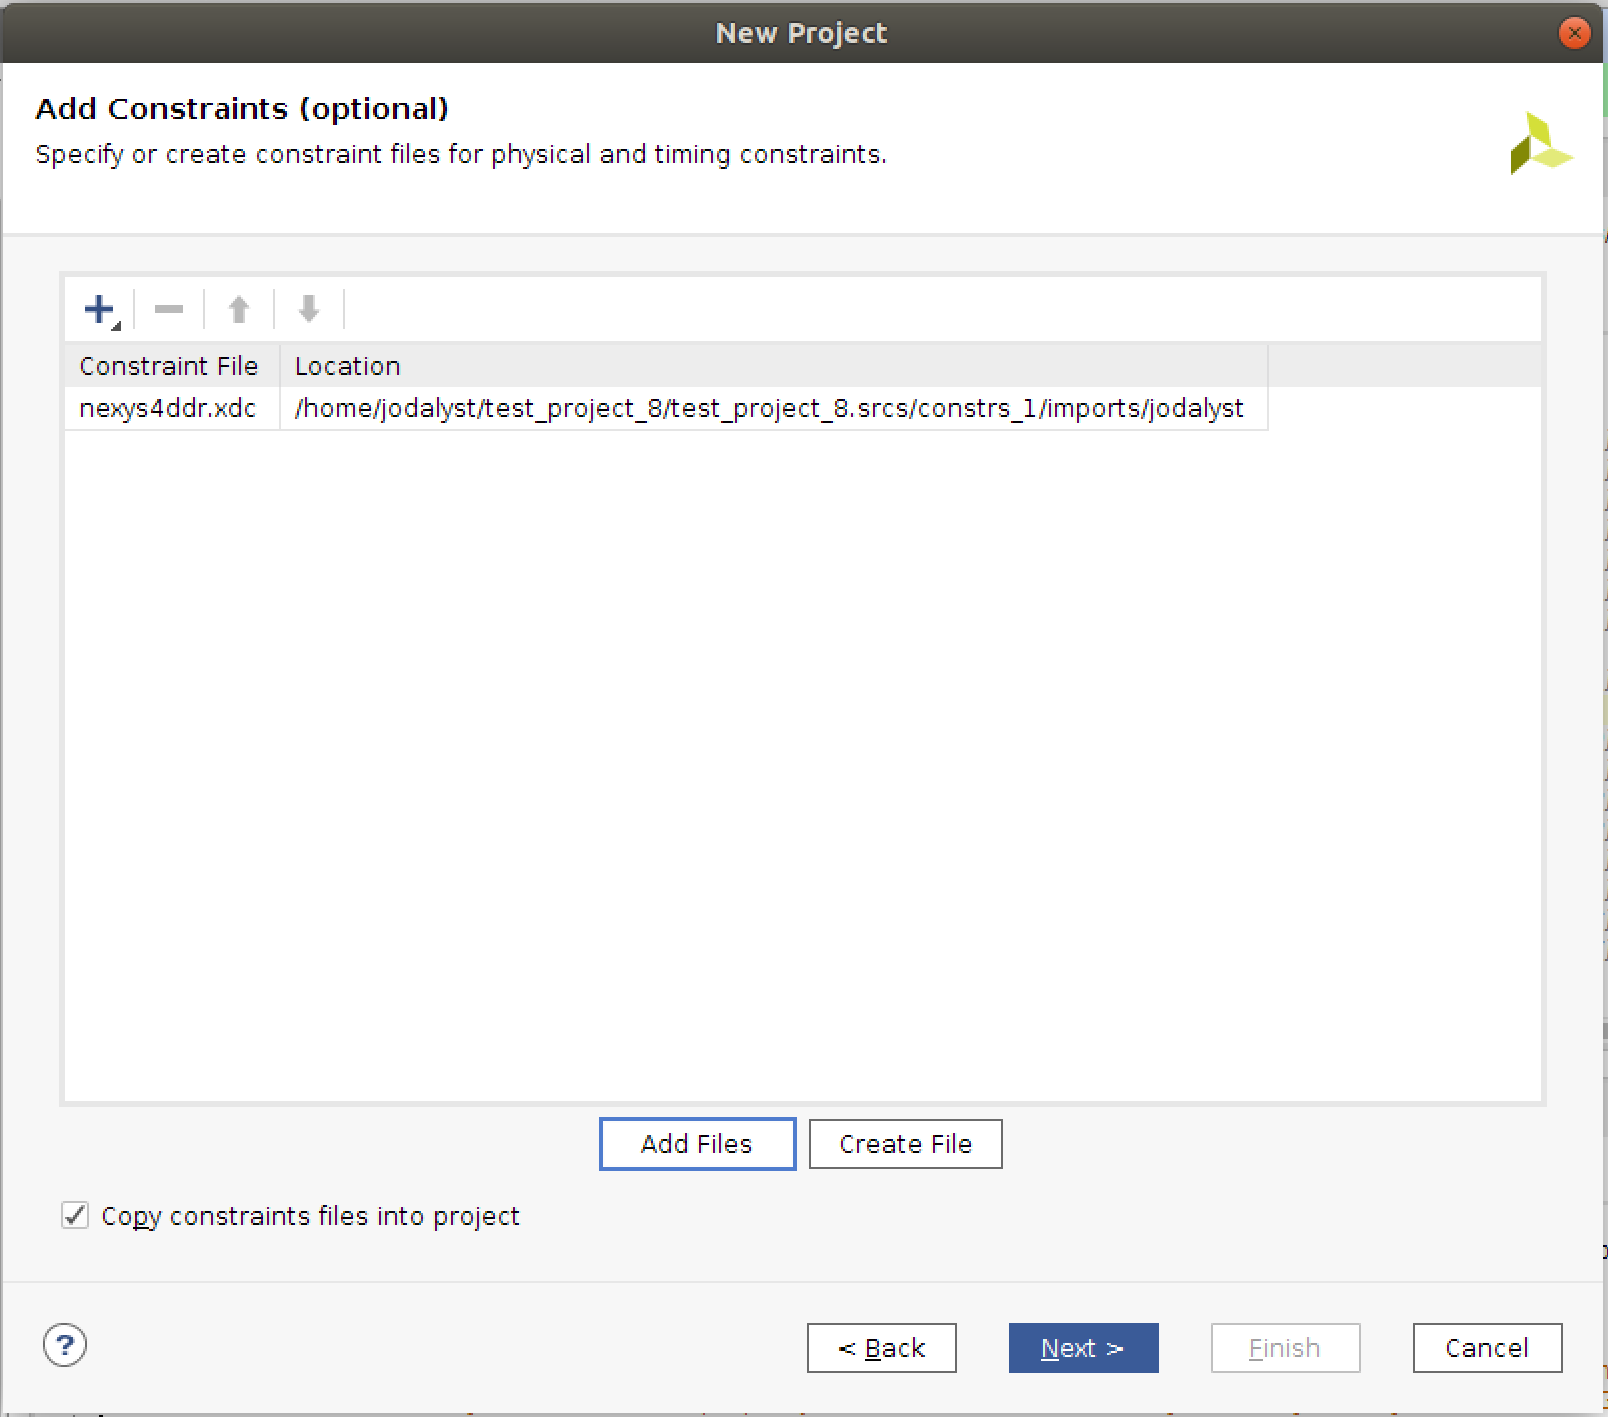
3. At the next field, add the following constraint file [nexys4_ddr.xdc]("./resources/nexys4_ddr.xdc") like shown. Again make sure to always choose **Copy Sources into Project.**
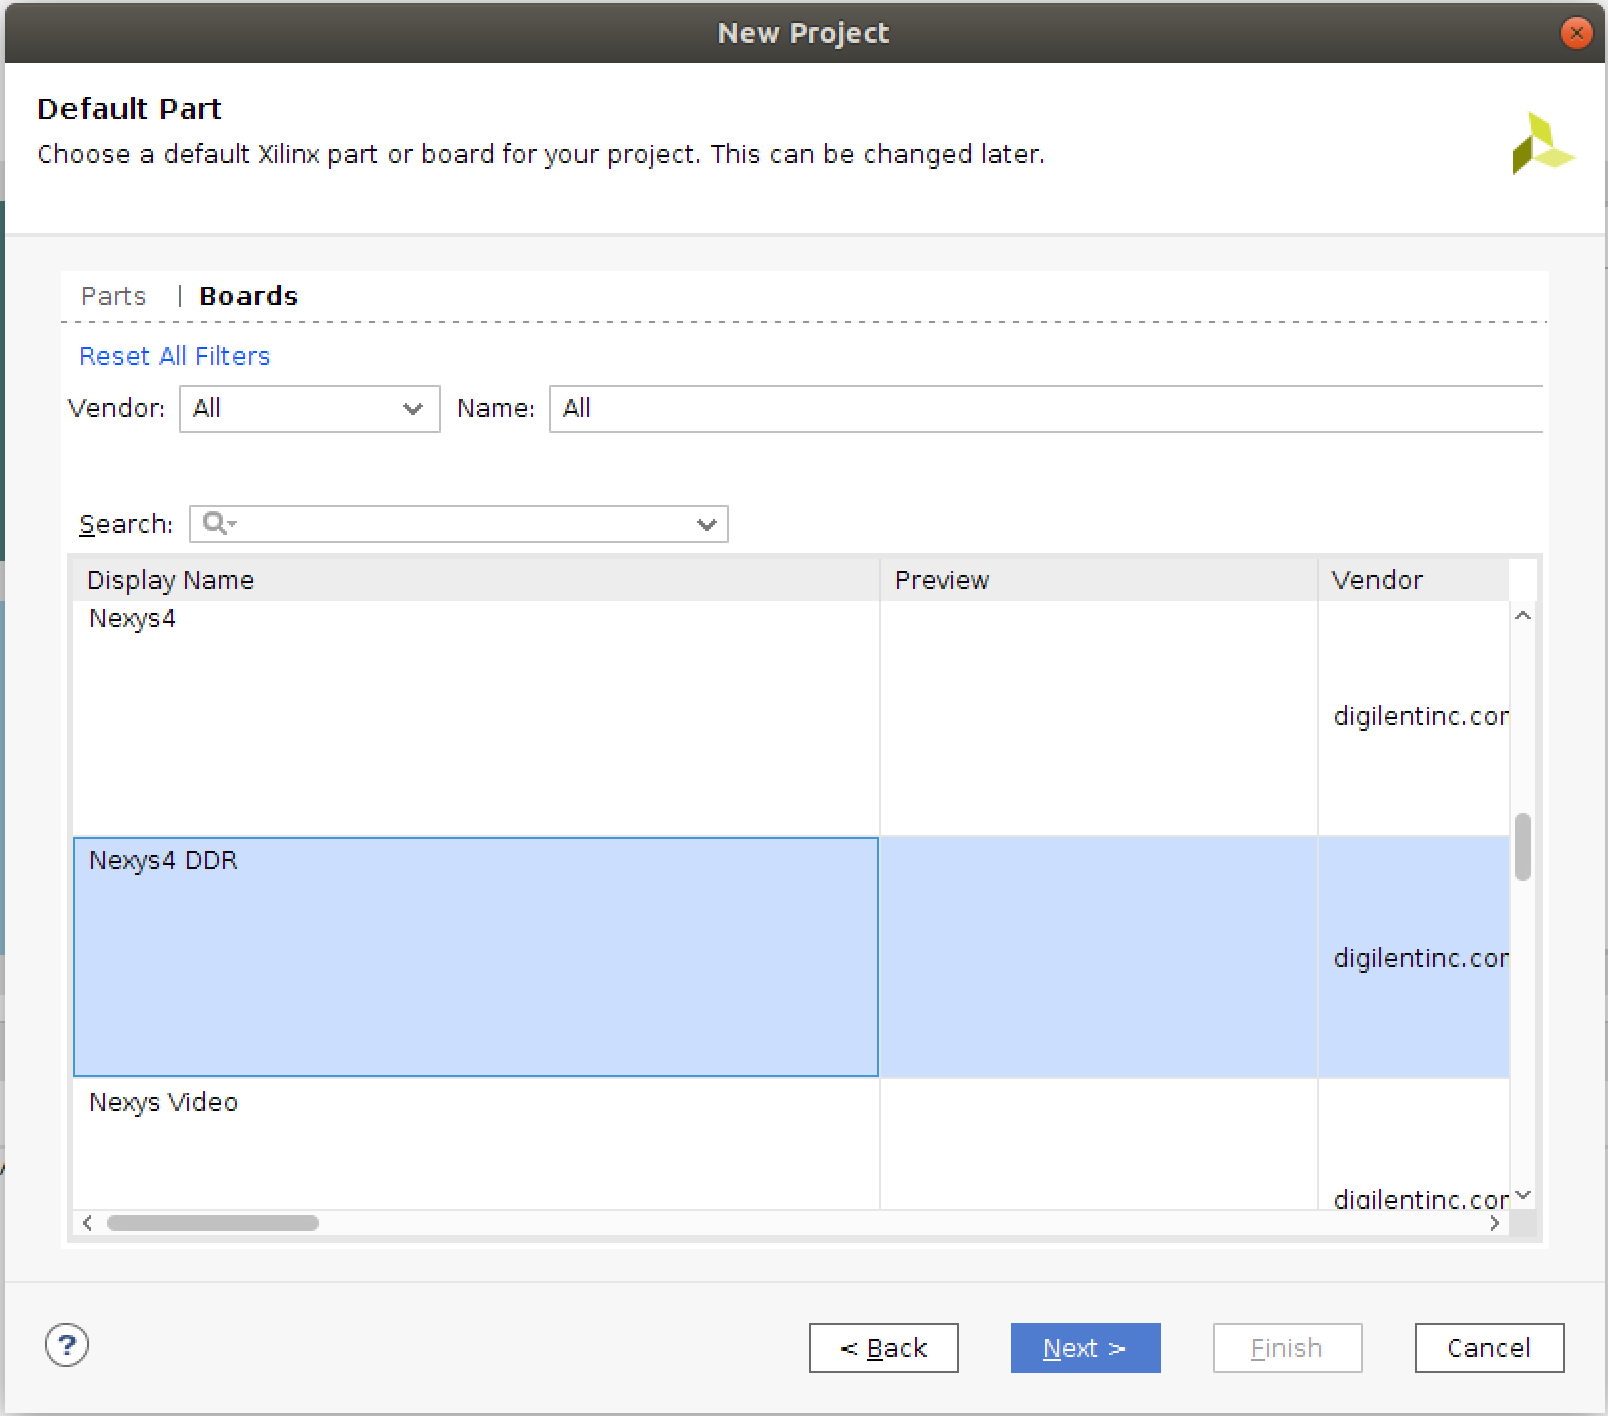
4. At the next window, you choose the device we'll be building on. You can either select the exact FPGA chipset we're using which would be `Family [Artix-7], Package [csg324], Speed grade [-3], Part [xc7a100tcsg324-3]`, or you can click on the **Boards** tab and find our particular development board (Nexys 4 DDR). We recommend going with the Board route. It is easier!
5. The project will now open and since you already specified files, you can just go ahead and build. Lab 1 goes into a bit more detail on this process, but for this quickstart you can go ahead an just click on **Generate Bitstream**. Click OK on the follow-up windows. This will begin a cascade of processes (Synthesis and Implementation will get done since the Bitstream needs them).
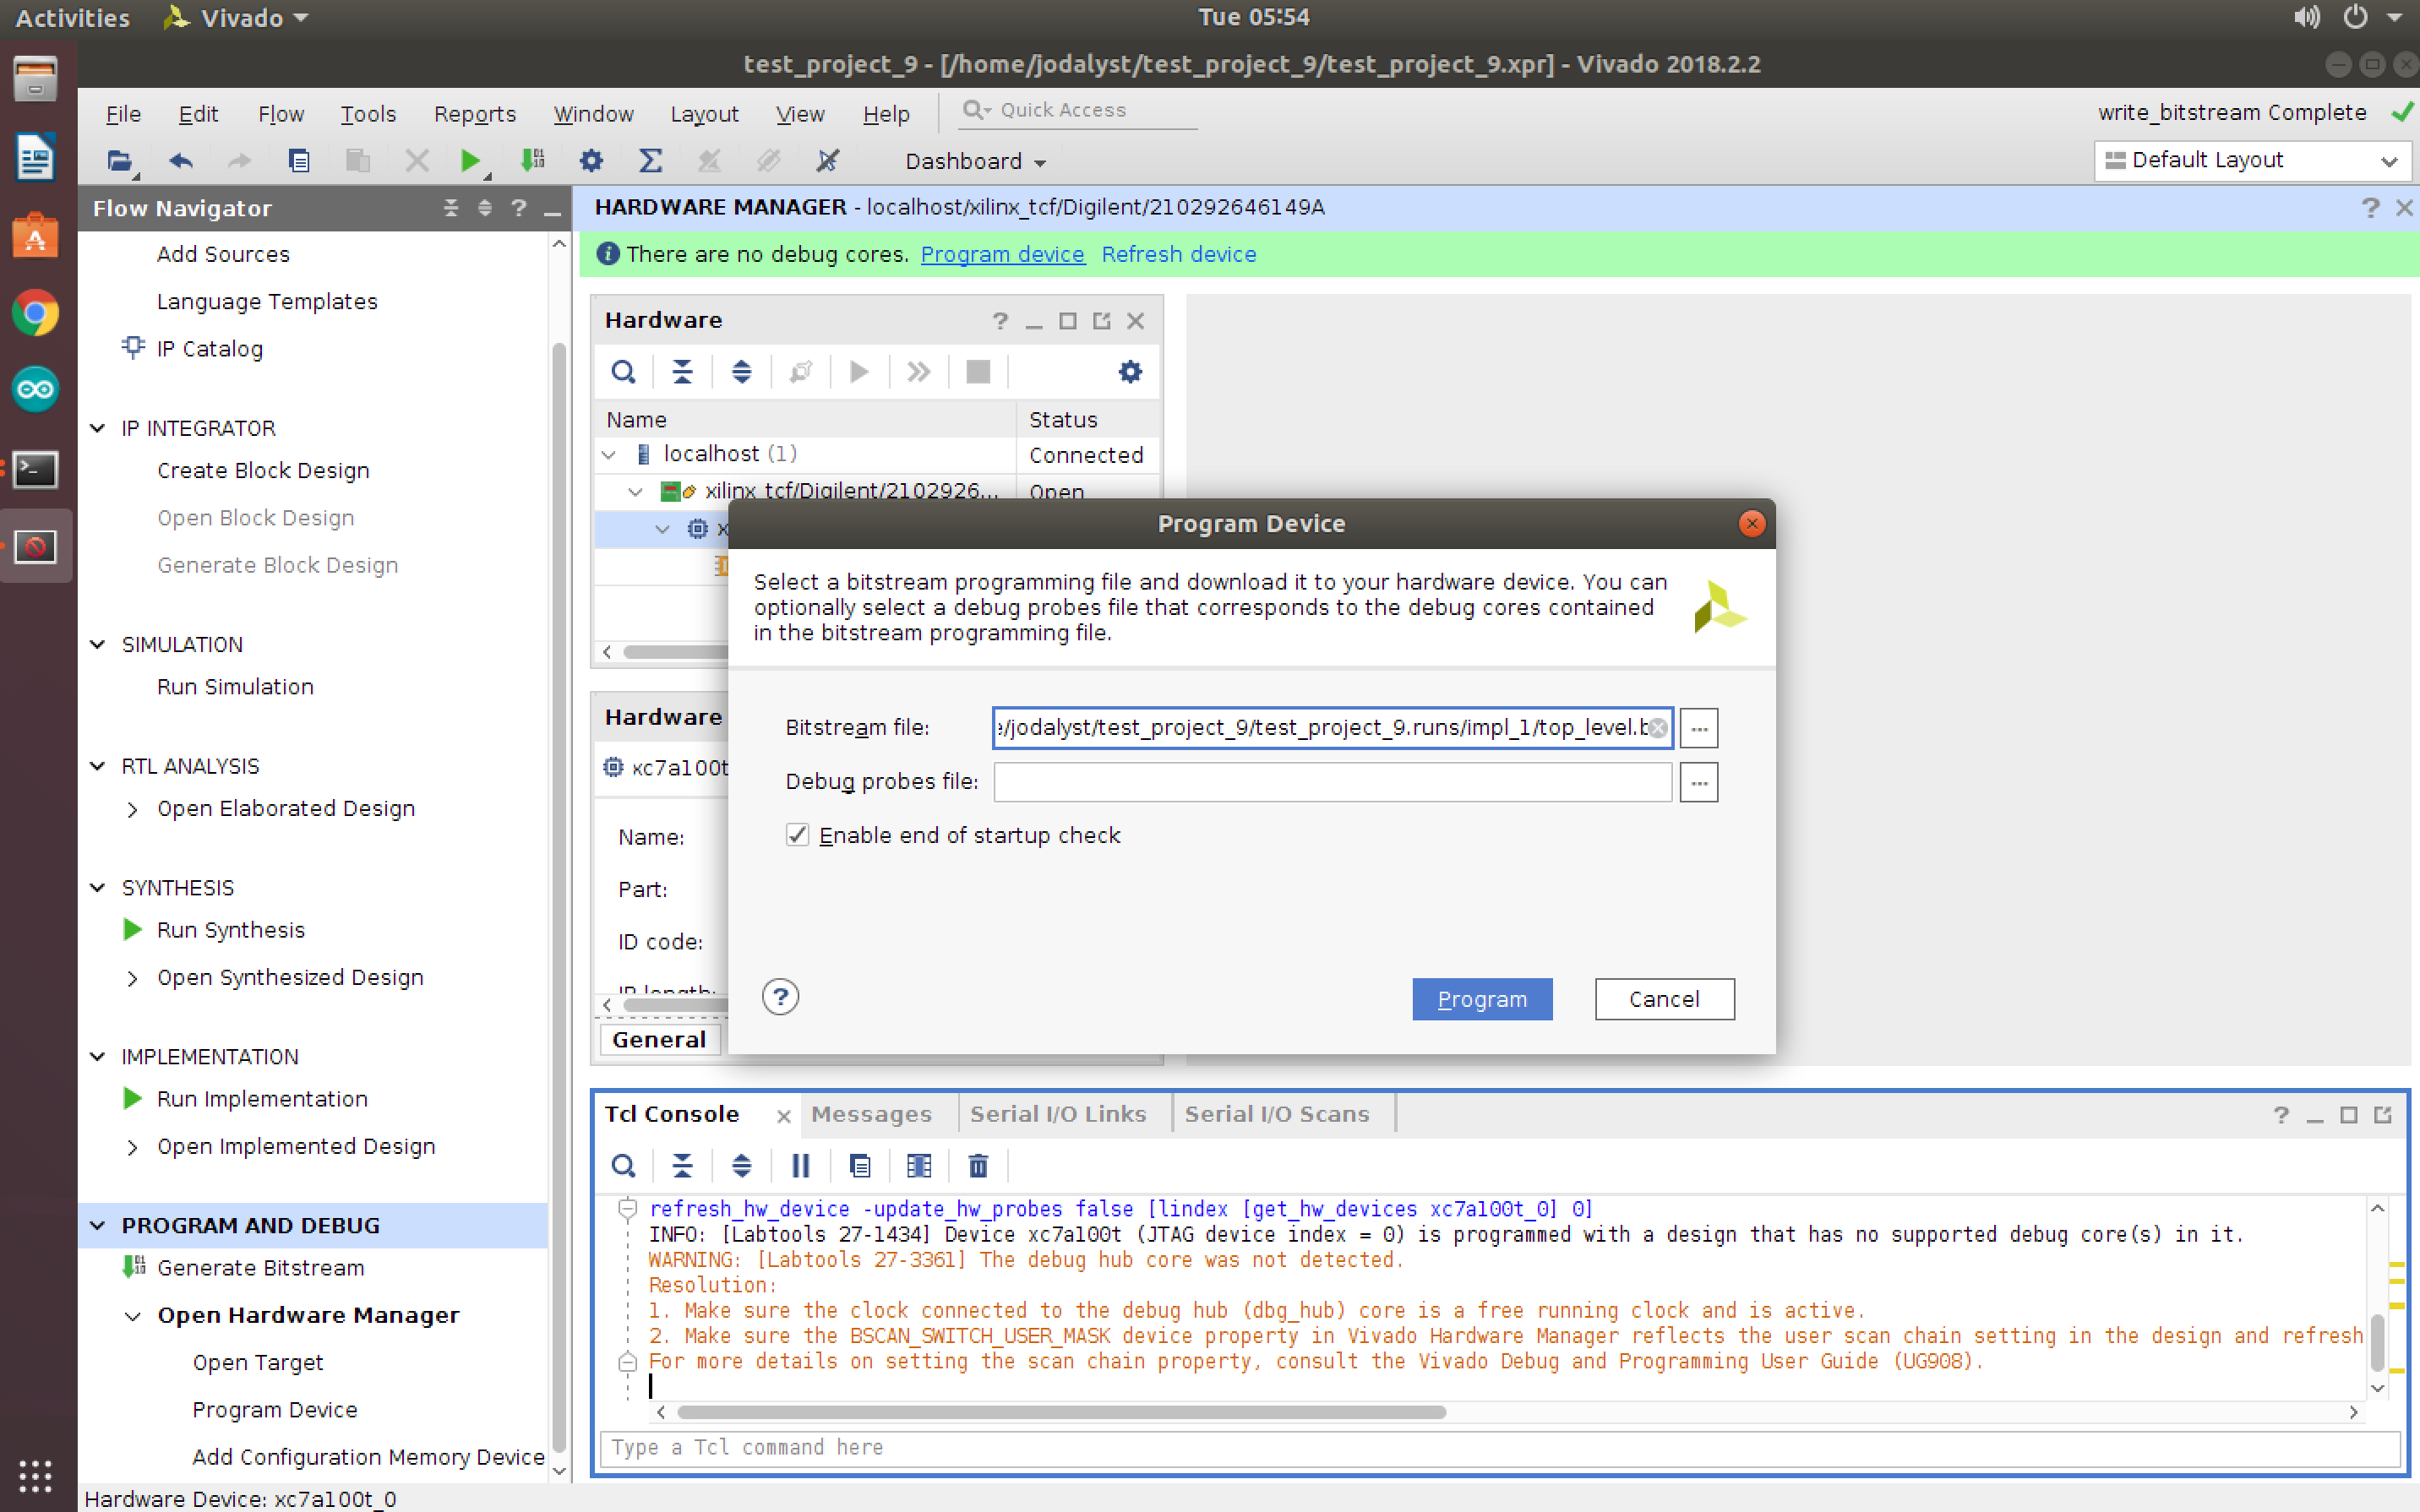
6. After the bitstream is generated, a window will pop up. You can click "OK", but you can also click "Cancel" since at this point it is just notifying you all is done and the "OK" refers to generating a huge summary report. Regardless of what you choose, plug in, turn on the board, select Hardware Manager under Program and Debug, and select the target using "Auto Connect".
7. Now program the target by clicking Program Device (under Program and Debug).
8. the board should program and you should see behavior shown in the video below! Feel free to use the files in this quickstart as a "sanity check" just to make sure you can do a full build cycle with code that is known to be working and good.