
|
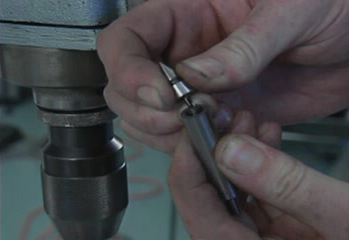
After you decide where your holes should be, you'll need to clamp the piece to the table of the drill press while being sure that the desired location of the hole is directly under the chuck. The tool to use for this job is called a centerfinder. A centerfinder looks like a cylinder with a point at one end, but it is actually two cylinders held together with a spring.
|
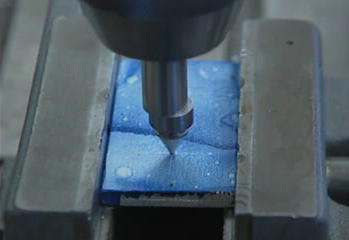
| An unaligned centerfinder |
To use the centerfinder, lock the tool into the chuck so that the end with the point sticks out of the chuck. Clamp your piece onto the table and place the tip of the centerfinder into the dimple made by the punch. If the dimplemark is directly below the chuck, the two cylinders will be aligned and the centerfinder will look like a single cylinder. More likely, there will be a step between the two. Move the piece until the step disappears.
When you get close to being aligned, you can further check for alignment by running your finger along the side of the tool. When you can no longer feel a step between the two pieces, you'll know you're within about a thousandth of an inch.
Be sure not to pull down too hard on the quill when you're using the centerfinder. The two cylinders should be able to slide relative to each other, and too much force will create friction to prevent this. Then instead of sliding, the two pieces will stay together and the quill will bend.
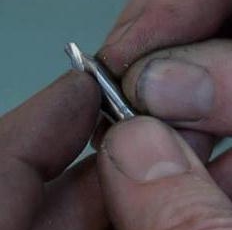 |
Once you have the quill and hole location aligned, you'll want to use the centerdrill. This is a very special drill. It's short and most of the drill has no flute, so it's very stiff. A regular drill is long enough to be flexible, and so tends to "wander" around the workpiece before it starts to cut. The centerdrill is stiff enough so it won't deflect significantly, and you'll get an accurate start to the hole.
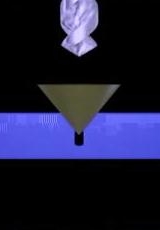
An accurate start will ensure an accurate hole. The small hole made by the centerdrill will act like a funnel, and the normal drill bit will finish the hole the centerdrill started.
