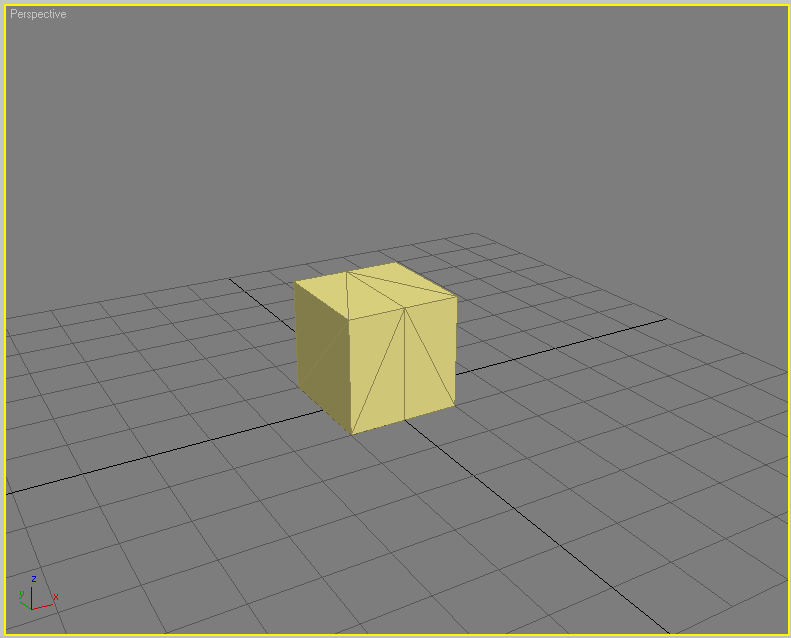
| The bear, as with most models, begins with a cube. Name the cube "l_bear" (lower case L, underscore, and the word bear) for ease in exporting to MD3 format. The cube should be segmented so that it can be divided across the midline. Once divided, you can mirror the cube, and edit the mesh symmetrically. (Note: the bear is created to use as few polygons as possible. We are sacrificing visual quality for speed in the game) |
 |
| Begin by extruding the top face and making the waist. Be sure to extend the lower, outer vertices to make the hip. Also make the belly by moving the front, center vertices forward. |
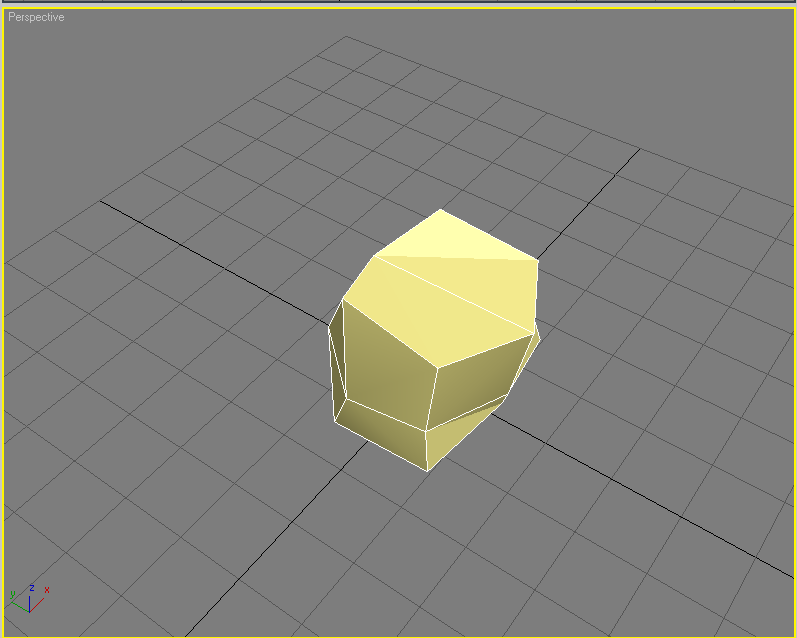 |
| Continue with the upper torso. Finish the belly. For a cartoon look, the bear should look chubbier in the belly and smaller in the upper torso. The arms and head will be finished later. |
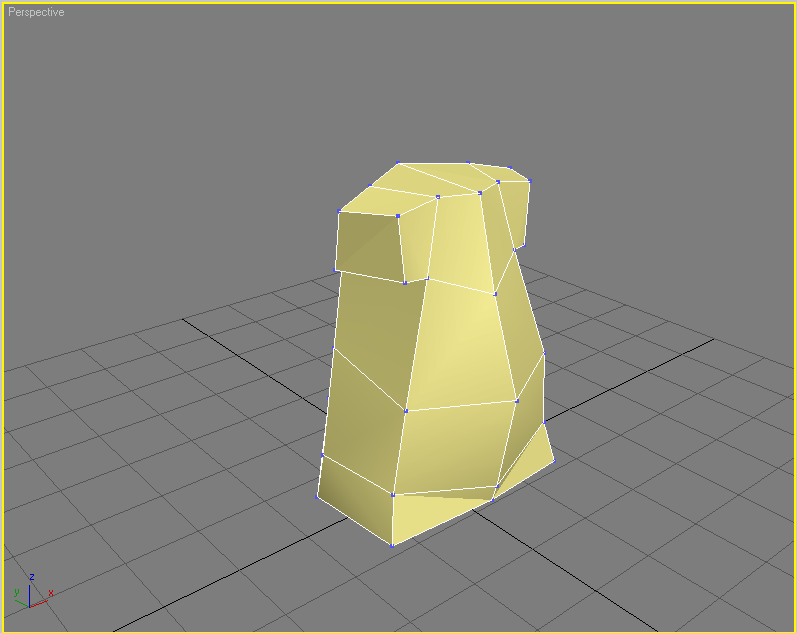 |
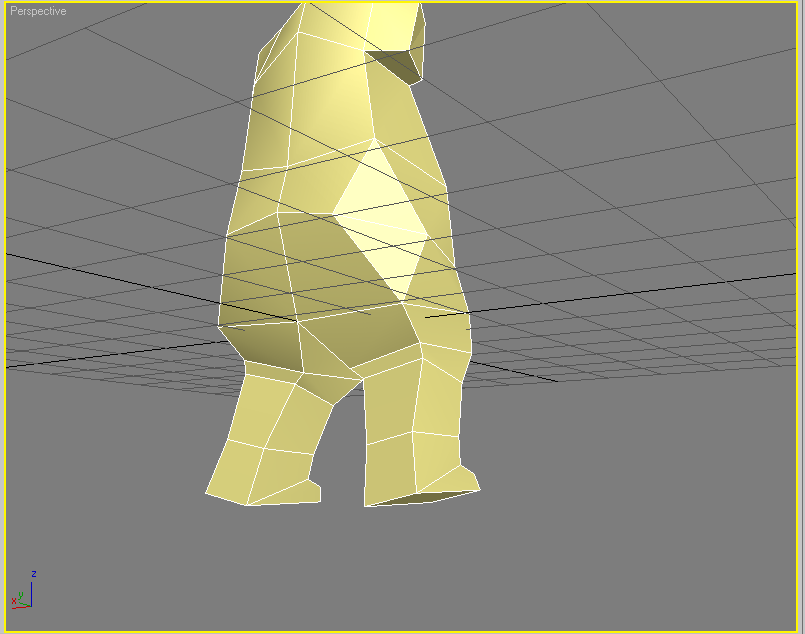
| Extrude the legs from the bottom faces. Leave multiple vertices for areas that bend during animation, like knees and ankles. |
 |
| Finish the arms by extruding the faces at the ends of the shoulder nubs, also making sure to include more vertices at the elbows and wrists. |
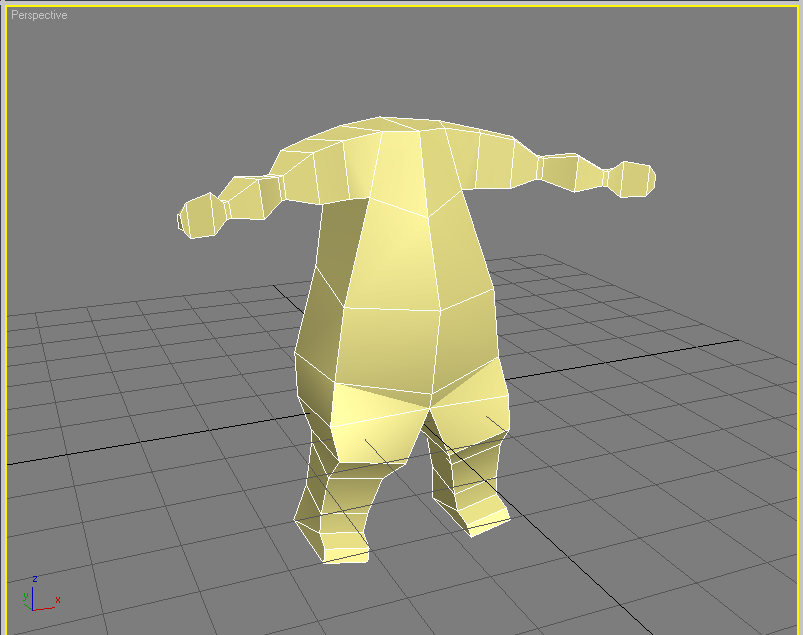 |
| The head can be made by extruding the faces at the tops of the shoulders. Once you have finished the head, the model is now complete. Next is skeletal structure. Be sure to rotate the mesh so that it is facing in the positive X direction and stands on the Z = -24 plane (MD3 Specification). |
 |
| Create spine, neck, and head bones along the midline. |
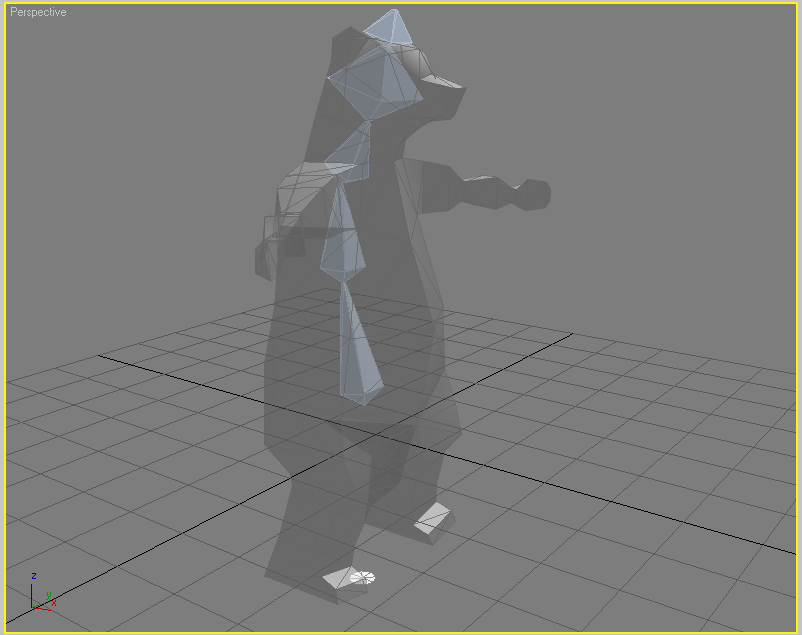 |
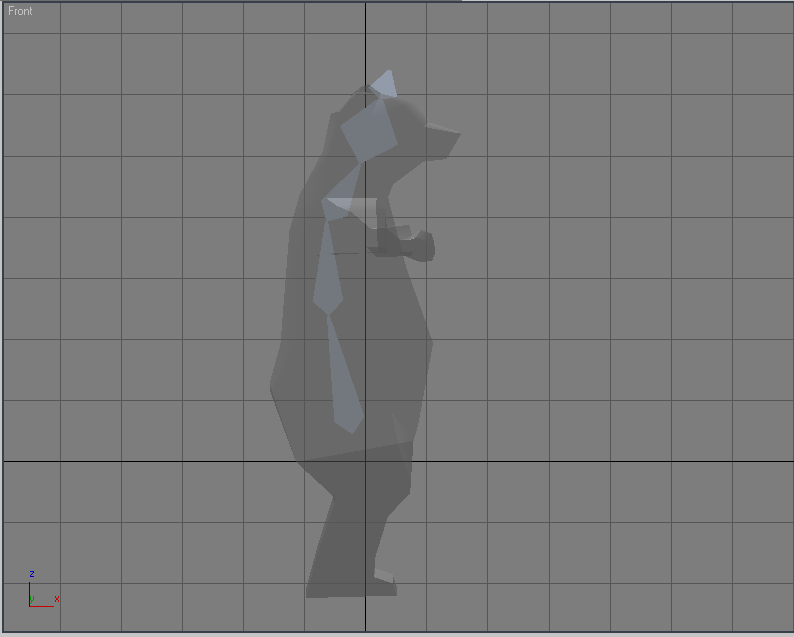
| This is an isometric view of the previous picture to show possible joint locations of the spine. |
 |
| Create leg bones that start from the hip (not necessarily connected to the spine). The nub at the end of the foot is necessary for inverse kinematics. |
 |
| Mirror the bones from the right leg into a suitable position for the left leg. Repeat the creation and mirroring of bones for the arms. Once the bones have been created be sure to link them to the proper bone on the spine. |
 |
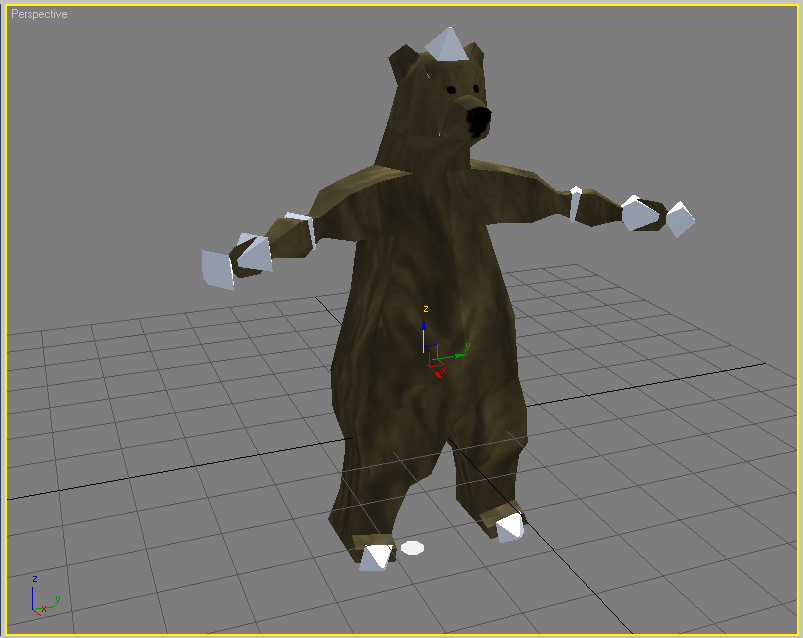
| Character rigging, or skinning, is done differently in every program. Consult your program's help files or tutorials for binding a mesh's vertices to a hierarchy of bones. Once you can mimic the figure to the right by manipulating bones, you should continue. |
 |
| Similar to skinning, mapping each face's texture coordinates is done differently in every program. MD3 models need a texture. Consult your program's help or tutorial on texture baking or unwrapping UVW coordinates for more information. Be sure the UV coordinates are in map channel 1, or they may not export. Be sure to save your baked texture. |
 |
| Once you have a mesh that is skinned and textured, you are ready to begin animation. Don't forget to take a snapshot for the icon. Icon's should be 72x72 pixel PNG files with 32 bit depth (eight bits for each color channel and 8 for the alpha channel). The first texture's icon should always be named "default_icon.png" as this is what is recognized by Starlogo TNG. |
 |
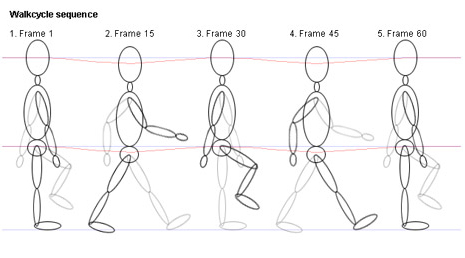
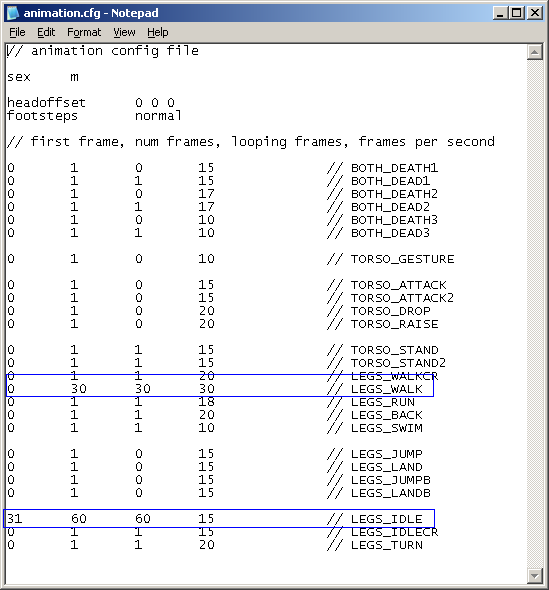
| Starlogo TNG only uses two animations: walking and standing. Shown to the right is an example of the walk cycle. Feel free to be creative in your walk cycle. The standing animation is shown whenever the Starlogo agent is doing nothing (again, be creative, but keep in mind that this animation might be played for the bulk of the time). (Note: to avoid synchronizing issues with upper and lower animations, it is recommended that they be animated in the order shown in the animation configuration file shown below.) |
 |
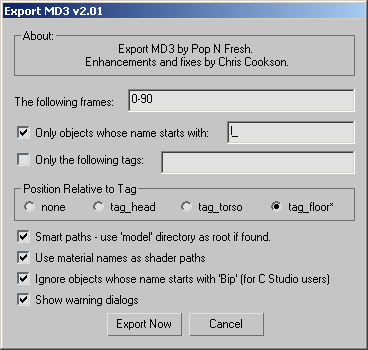
| Once you have animated the walking and standing intervals, you can export the model to an MD3 file. Because this is a single-mesh model, it should be exported to "lower.md3" in a folder with the icon and baked texture. In the example bear, the walk cycle takes place in frames 0-30 and the standing animation occurs in frames 31-90. The mesh is named "l_bear" so only objects beginning with l_ shoudl be exported. Last, make sure it is exported relative to the floor (tag_floor). |
 |
Quake 3 MD3 models typically have a head and torso, but Starlogo TNG models usually do not. Because Starlogo TNG is piggybacking on Quake 3's infrastructure, you need a few more files:
|
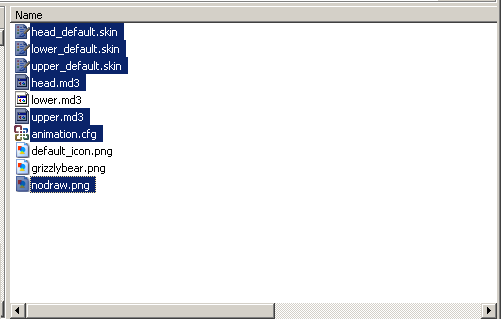 |
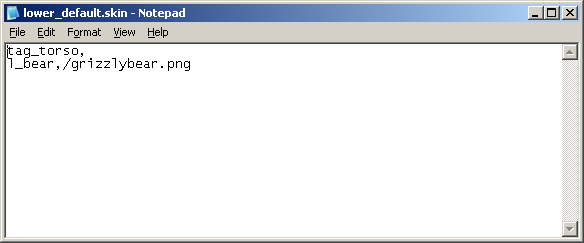
| Once you have loaded all the files, Make sure lower_default.skin has the name of the baked texture file. A known compatible format is 32bit RGBA PNG. |
 |
| Modify the animation configuration file so that the LEGS_WALK and LEGS_IDLE have the proper start time, length, number of looping frames, and frame rates. |
 |
Once you have all of the files completed, drop them into your Starlogo TNG models directory in the appropriate category; this bear should already be in the animals subdirectory. If your bear is better, feel free to replace the included one.
Coming up next: multi-mesh MD3 models. |
|