********
Our last session ended with the soviets about to reveal Great Patriotic War during Barbarossa.
Delay rolls from the first turn of barbarossa made me tear my hair out... lend-lease rolled a 1 (boosted up to a 3 by my two uboats, at least) and more critically the Med HQ rolled a 5 (down 2 to a three). I had a 50/50 shot at getting the Med HQ immediately; this would have given me Istanbul, as I had the forces in bulgaria to build the HQ and was in position to take the city if I had HQ support. This would have cut an enormous number of Turks and Soviets OOS in the Balkans and might very well have left me with a clear line to Ankara for the third turn of summer.
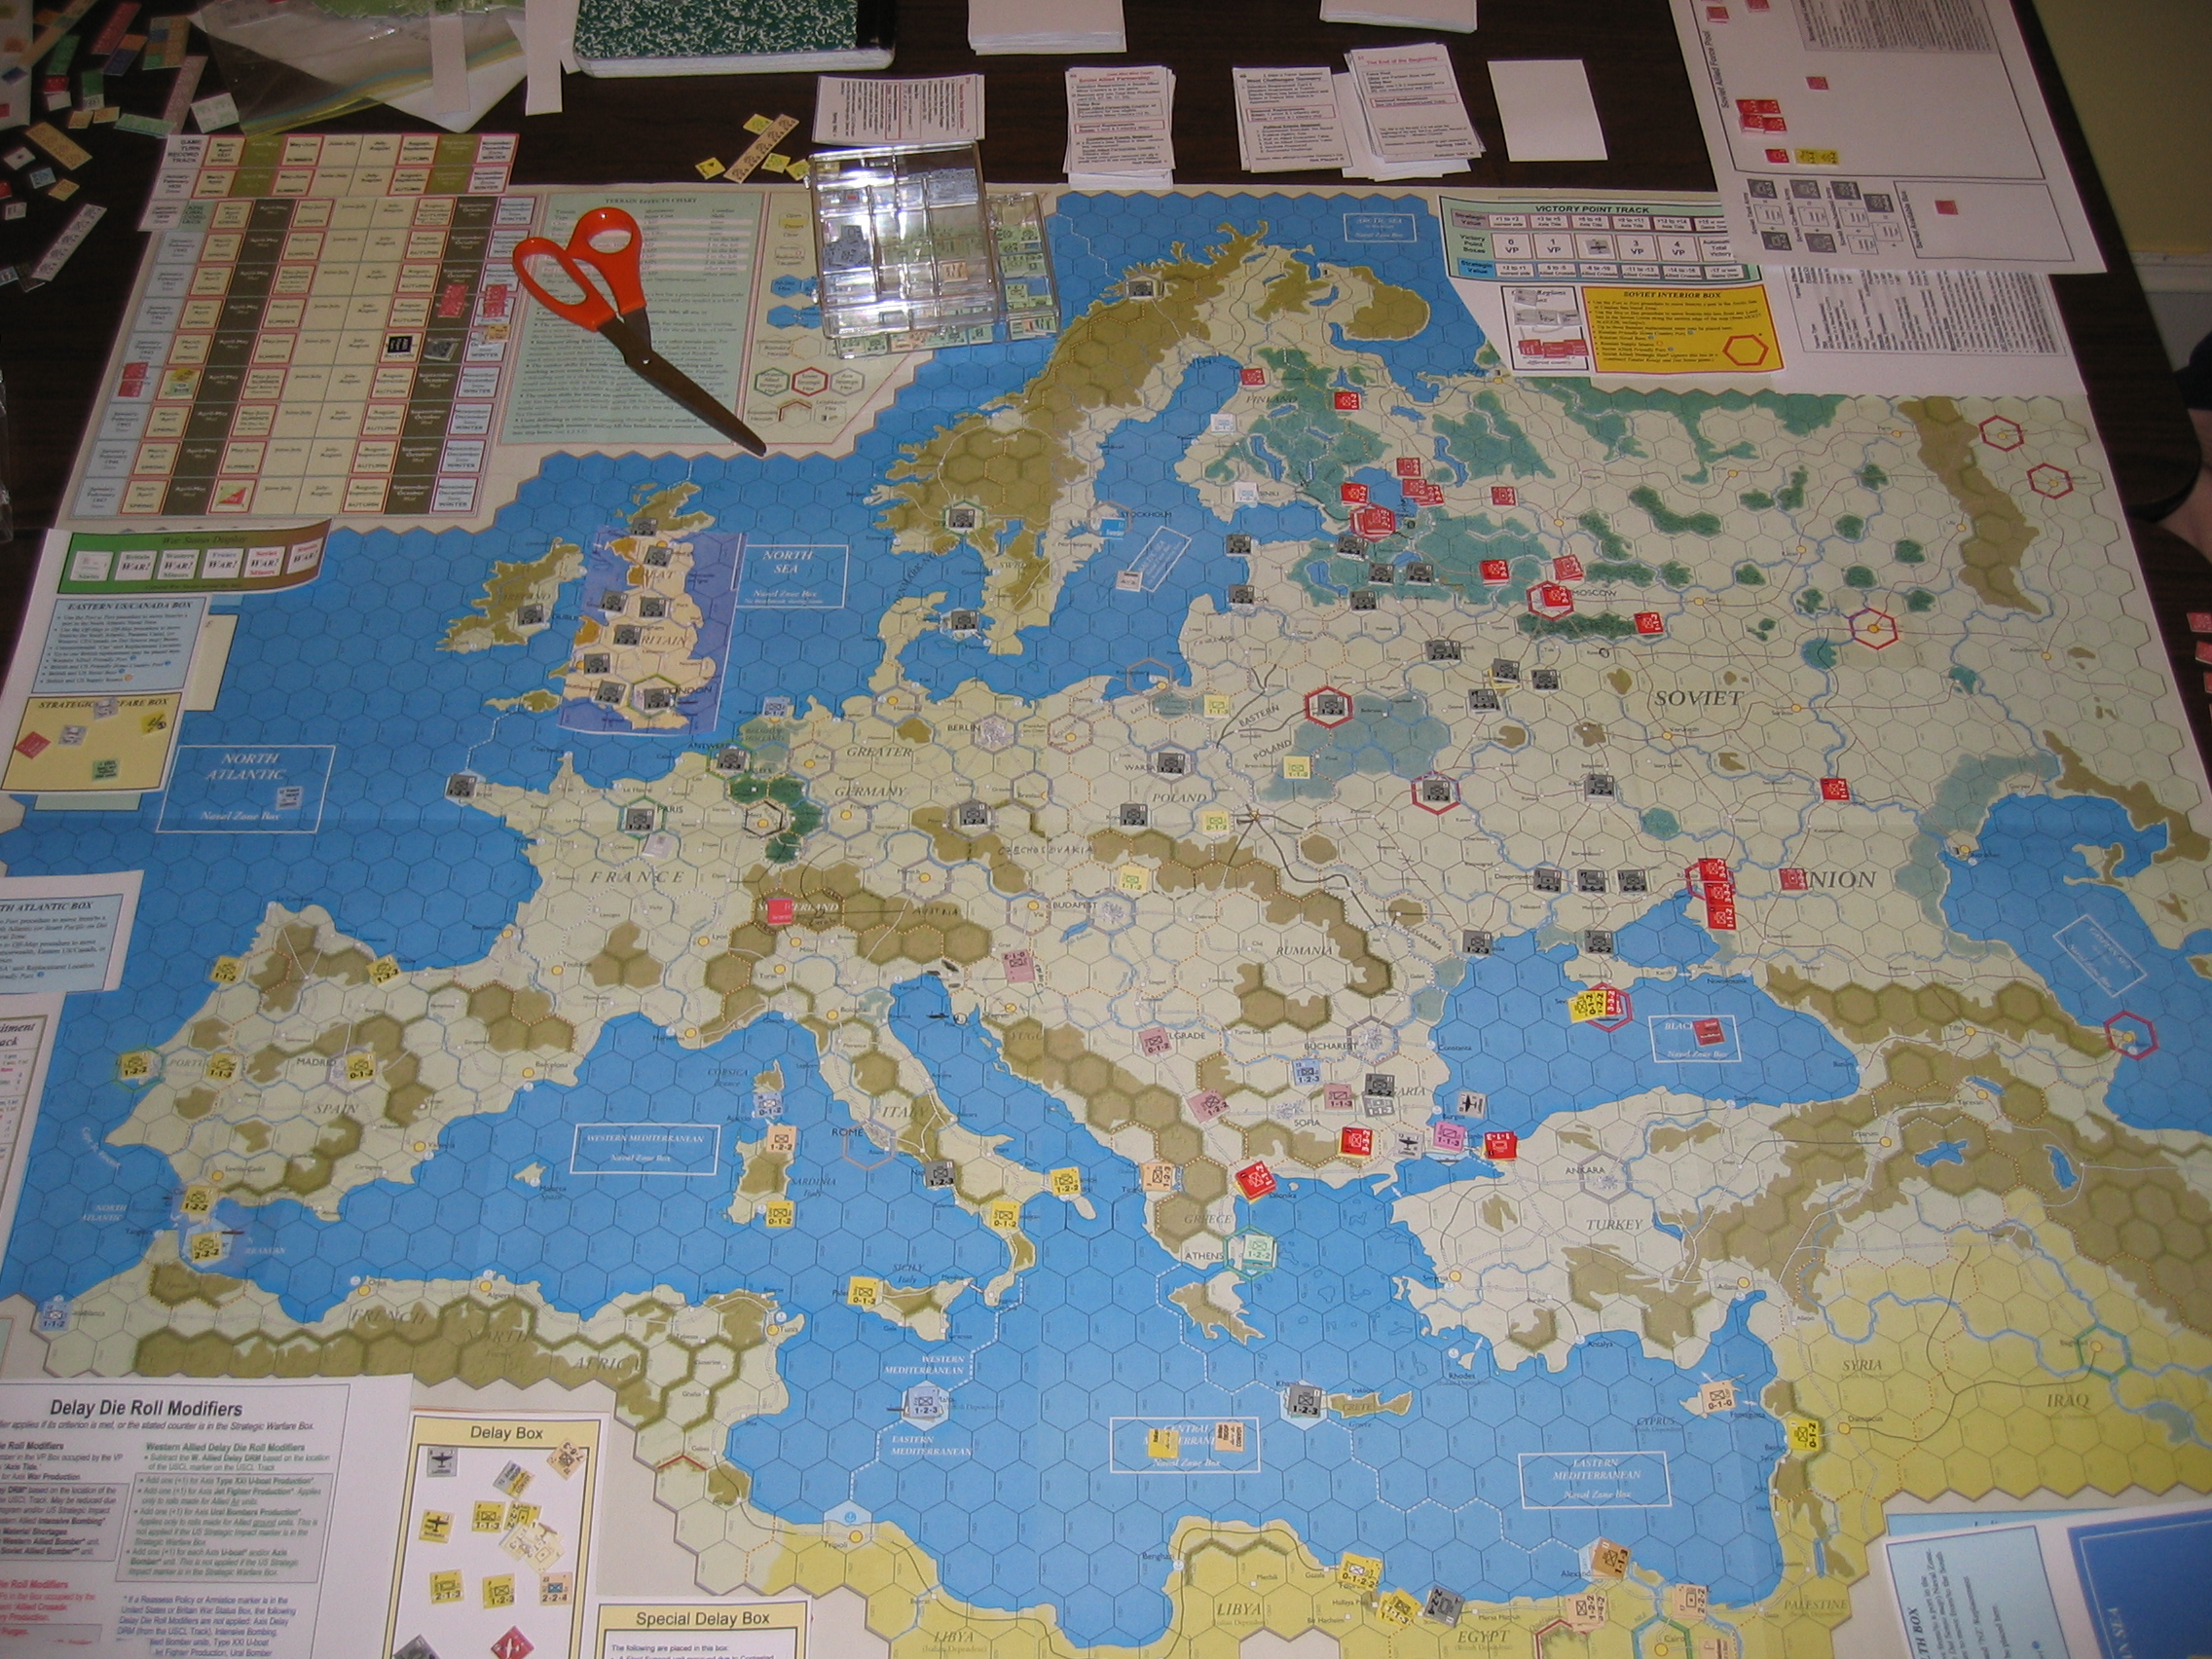
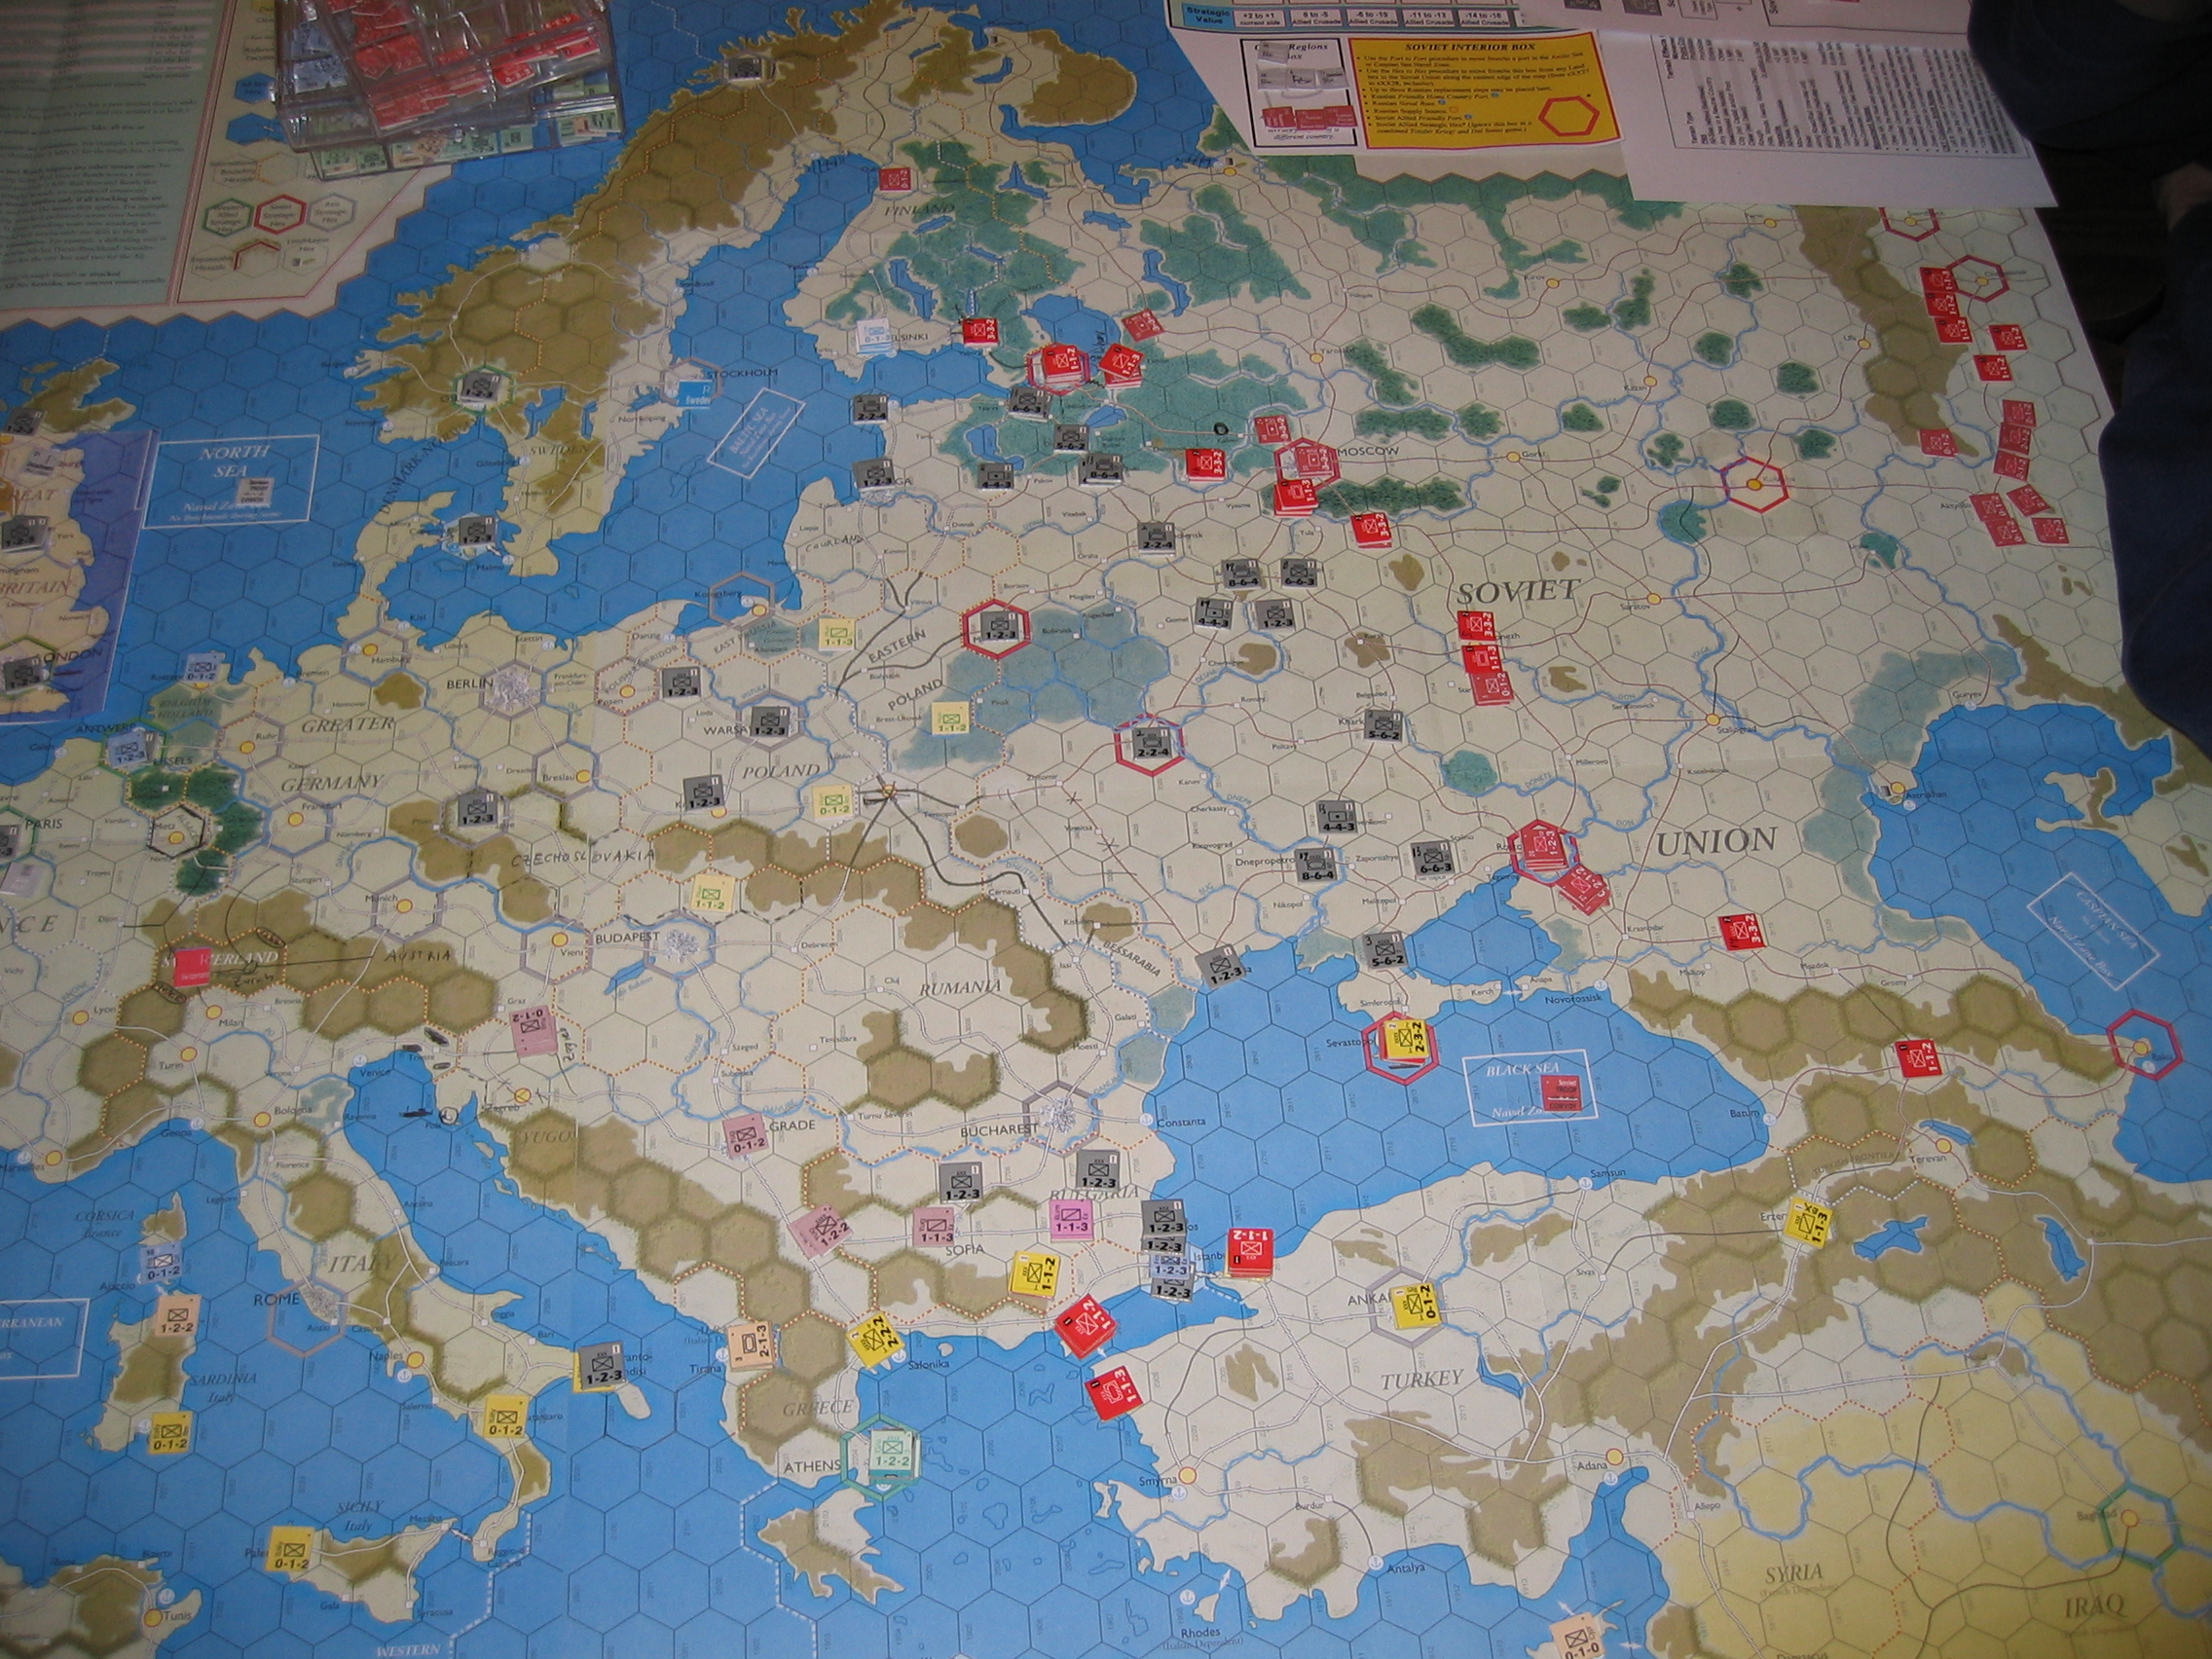
We went from Barbarossa Turn 2 to the end of Counteroffensive Turn 1. The soviet approach to barbarossa was to run like rabbits - complete force preservation. Smolensk, Kiev, Kharkov, Orel and Dnepropetrovsk were all taken with no resistance (frankly, I was astonished... I expected that with so many steps to play with, the soviets would be willing to spend some; the reason for this became clear later).
The second turn of barbarossa just cleared a couple of abandoned Line forts (odessa and bessarabia), and heavily threatened the 20+ soviet steps in and around Leningrad. I used the Political Option to activate the finns.
Third turn of barbarossa, I blew up 7 soviet steps in a Line fort outside Leningrad. The brits invaded Albania and started setting up a Balkan presence. At this point, there were ~8 turkish and ~10 soviet steps in the balkans, along with most of the Yugoslavian and Greek armies and ~7 german steps. I took the Push marker from the Political Option. I think it was around here that the WAllies picked up a Political commitment, and popped their interceptor (well, and rolling on the Table Of Allied Minors).
For Fall, I revealed Partnership, boosting up the italians. [This was before the Partnership cards were weakened so that the War Economy marker and Air Support Units come off one at a time from a 50/50 die roll.] The use of the push marker was an immense dilemma. I pretty much had two options: a 3/4 chance at taking Leningrad (required me to take the airborne as my german replacements on the HQ I'd moved to courland for ths purpose), killing ~10 soviet steps in the process; or, 100% chance of taking Istanbul and cutting the soviet Balkan front OOS, but inflicting relatively few direct casualties. Taking Leningrad would have been a strat hex and shut down an entire flank, along with killing a bunch of soviets. Taking Istanbul destroys the threat to my balkan flank and gets rid of the +1 to Lend-Lease; unlike the opportunity I'd have had if my Med HQ delay roll had been friendly, I wasn't going to get Ankara out of the deal. (I could also have pounded on Sevastopol or Rostov, but I wasn't going to take Sevastopol and was just as likely to take Leningrad as Rostov.) I ended up deciding on the sure thing of Istanbul. ("Typhoon II")
Alex was dismayed because he had plans for the Balkans. For one, he'd played *his* partnership for the Fall, with the turks as the beneficiary (they are, after all, the only Allied country with more than a reserve corps to its name; they've gotten a *lot* of Military Aid over the years).
When I saw this card revealed, I was overjoyed... the Soviets had played a card to boost the turks and I had just cut the majority of them OOS in the Balkans... I should be able to advance against them and crush them in the summer.
Unfortunately, I wasn't able to seal the Balkans, and the vast majority of Soviet and Turkish forces in the area made it back out to turkey via the other straits crossing. Alex ends up quite happy with the situation in the Balkans, as Turkey looks pretty safe from the Axis, which means he's up an HQ, some armor production, and most importantly an air unit. Turkish steps will be scattered around the Eastern Front for the rest of the war, I expect (sort of like Italian Expeditionary Corps, who'll also be dragging around an air unit with them).
I screwed up my deployment in Egypt such that I could only build the Italian HQ to two steps in the bottom of Fall, plus I accidentally had its makings in tobruk instead of closer to the Brit front line in Alamein. This was going to bite me...
...because when I revealed Mobilization Limits, I rolled Allies Support Resistance, and the Italian HQ went right back into the Delay Box. This was a shame, because if I'd not made that screwup, I was in position to throw a 3-2 +4-2 shifts at the british line, and that would have been very good start to cracking the british line in Egypt.
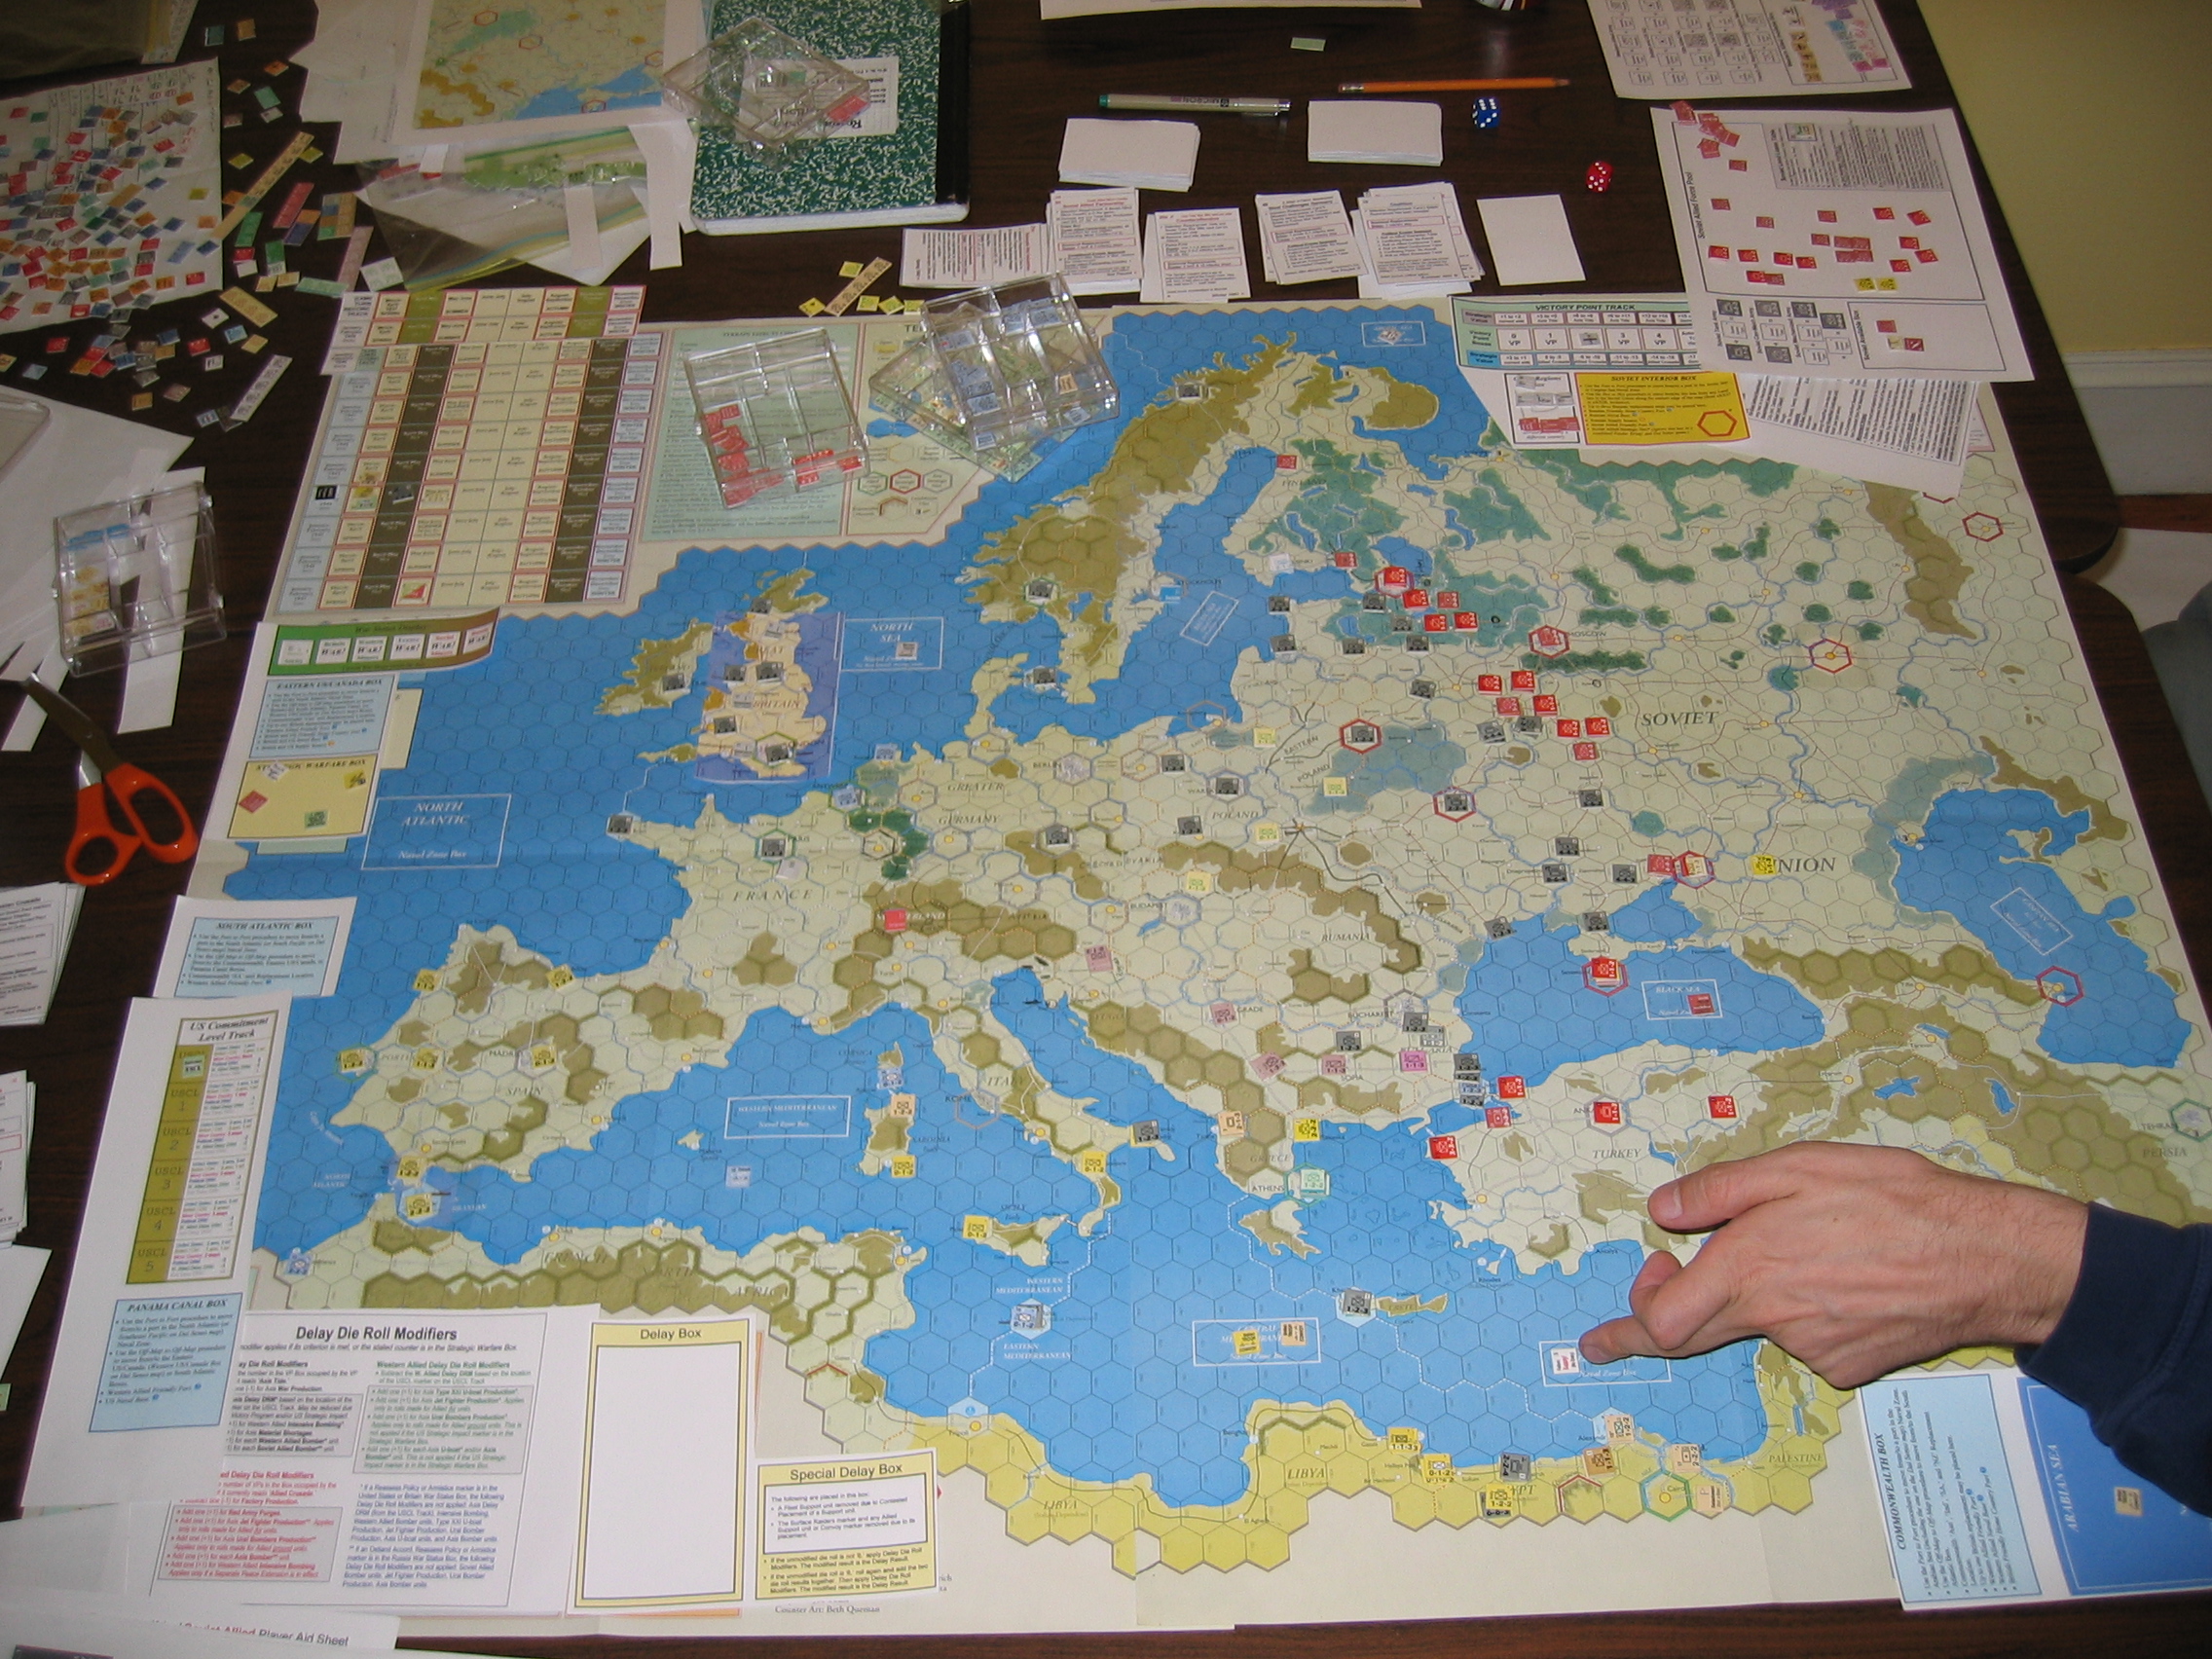
My deployment for receiving the winter Counteroffensive was abysmal; I really could have done a better job of concentrating the german forces into stacks of two armies with HQ support rather than single armies spread out more. I look to have gotten off relatively lightly, however, as the first turn only cost me five german steps (one of them armor), and most importantly the second turn of Mobilization Limits rolled a *supply* failure (...and here you can see Alex's opinions of the Axis' chances in the Med) for the Axis (otherwise, I'd probably have lost the 11 steps of Army Group Center in the next soviet turn, plus South and Center taking a painful pounding).
Where things stand: The germans are adjacent to Leningrad, just got kicked out of Smolensk and Orel, and are still in Kharkov and between Dnepropetrovsk and Rostov. The brits are holed up in Alamein, but have a couple of steps in Albania. The soviets have mostly managed to extract their forces from the Balkans and are defending both the turkish straits from europe with one of their HQ's. The only Russian armor step on the map is in Ankara; there's a *turkish* armor corps in Rostov.
The german force pool is *immensely* strained. I've not yet revealed Speer, and I have six armor and seven infantry corps (plus the airborne) available for replacements. I do have a panzer army and three infantry (plus one on the Turn Track) armies available, but the garrison requirements of Britain plus fighting in the Balkans has things really stretched. I'll be putting 10 infantry steps back into my force pool shortly, using up the three infantry armies there (as well as building up the Med HQ and a random infantry army that was damaged in the Counteroffensive).
The soviets still haven't played General Mobilization. Red Army Reforms hasn't shown up yet, so presumably Alex is holding to a traditional Uranus-in-winter schedule.
Step counts: The soviets have 74 mobile infantry steps (plus 4 fixed forts and no armor; they'd probably have armor left if they'd remembered to have some in their force pool for Counteroffensive). The turks have 12 steps, including one armor (two infantry steps are OOS in Salonika). The brits have 2 armor and 10 infantry. I count 75 german infantry and 9 armor. Axis minors sum to 2 armor and 54 infantry, by my count. Of course, total Axis steps actually in the USSR are a measly 8&42 (most of my minor steps are tied up in the italians, yugoslavians, and Spanish, very few of which can get to the USSR and those keep on being pressed into service in the Balkans). I'm doing a terrible job of keeping with my rule of thumb: it's all about the Russians.
Allied delay rolls continue to be Pretty Damn Good (only notable exception is the turkish HQ, which won't show up until Summer). Axis delay rolls are acceptible, except when they don't matter. Then they get really good. :)
But I don't get to complain about luck this session, because even though Alex only rolled a single Ar1 in his 10(?)-attack first-turn Counteroffensive, I didn't get a Command Failure from Mobilization limits. That would have really screwed over the Axis.
In our next session...