general operating principle of this machine
A screw rotates inside a heated cylinder to create the high shear rates necessary for heating, mixing and fluidizing the polymer. This is called the 'extrusion' part of the process and fills the barrel with enough material for a 'shot' to be injected into the mold. The entire screw is then plunged vertically by a hydraulic ram during the injection process to inject this shot of molten polymer into your mold.
In larger industrial machines the screw mechanism is generally twin-screws counter rotating for higher shear rates that feed material into a shot reservoir whereupon hydraulic rams inject material into the mold.

 the control panel
In order from top to bottom of the machine Familiarize yourself before beginning!
operation
|
|
power on Big green start button turns on hydraulic pumps for ram and screw. Big red power button turns on heating elements, timers and control mechanisms. Also, please note the huge red emergency button at the bottom of the machine. Please be aware of this as the method for turning the machine off if anything seems to be going wrong. Remember, emergency stop and ask questions later |
|
|
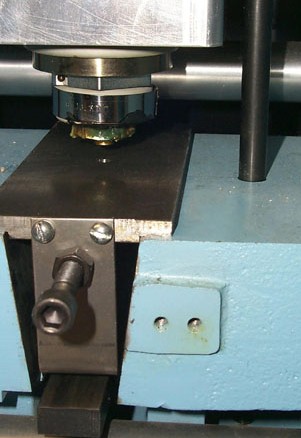
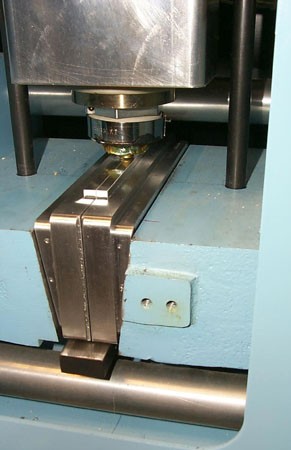
feed hopper The feed hopper can be seen from above when looking down at the machine. This is where the polymer pellets are poured. The hopper must be emptied and filled before molding. Note that the feed hopper can be rotated to prevent or allow flow of pellets into machine. To empty the feed hopper rotate the hopper to the purge hole and pour material into a bucket under the purge hole. Re-align the feed hopper when done. purge The machine is ready to be purged of old plastic. Place the purging fixture into the machine as shown at left. Be sure to align the nozzle with the hole in the purging fixture. Switch to In - Start Cycle to engage the nozzle to the purging fixture. |
|
|
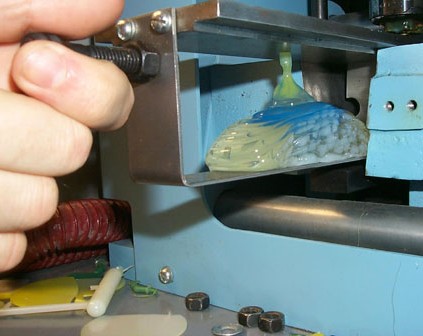
extrude Pushing the "extrude" button turns the injection screw and loads polymer from the hopper into the heaters and then through the nozzle into the fixture. Note this only gives a low pressure in the melt and is not suitable for injecting into actual molds. Keep extruding until polymer stops flowing (if you are intending to clear the injection molder for a different color or polymer). Switch In - Start Cycle button to Carriage Out and remove purging fixture and purged polymer. |
|
|
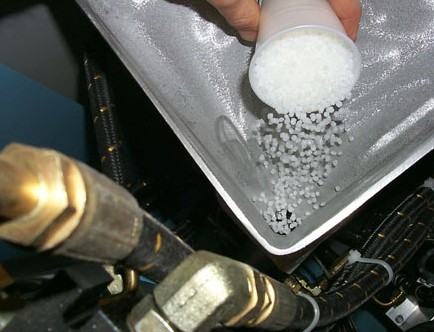
running mini-jector First, mix together your polymers. The High Density Polyethylene (HDPE) can be mixed with the polymer dyes available on the shelf under the mini-jector. It takes only a dash of dye to color an entire cup of HDPE, as shown. Pour the polymer into the hopper, which has of course already been emptied of old material. |
|
|
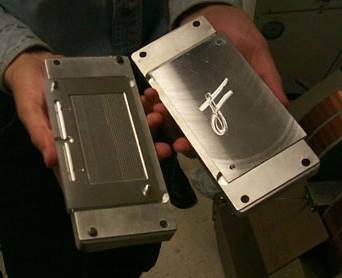
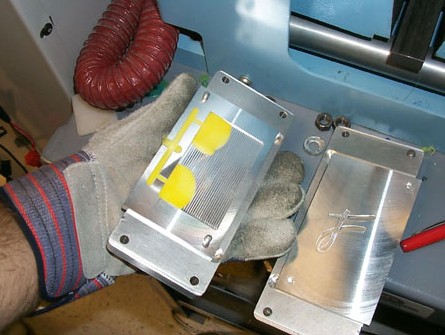
insert die The inserts go into the blank mini-jector die. There's only one correct way to do it, and it's not too hard to figure out... |
|
|
ready, set, go The die is inserted into the V-shaped cavity so that the entrance hole in the mold is aligned with the injection nozzle. If you are going to be making multiple moldings, it is a good idea to make alignment marks on the die. |
|
|
fine tuning: pre-heated mold It is unlikely that the first piece will turn out as expected. If the shot is incomplete, the mold might be too cold (in other words, the polymer solidified before reaching the extremities of the mold). One way to aid this is to pre-heat the mold with a hot air gun. In commercial molds, heating elements are often built-in. |
|
|
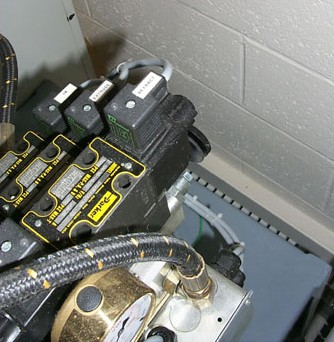
fine tuning: injection pressure Another option to fill the shot is to increase the molding pressure. The mini-jector has a fine tuning adjustment for increasing injection pressure at the rear of the machine. If you are at all unsure of operating this refer to the manual and/or a proficient mini-jector user. The guage which shows injection pressure is located on the right hand side rear of the machine (see left). The adjustment valve is behind this at the very rear of the machine. Rotate the adjustment valve with a hex key to change the pressure. |
|
|
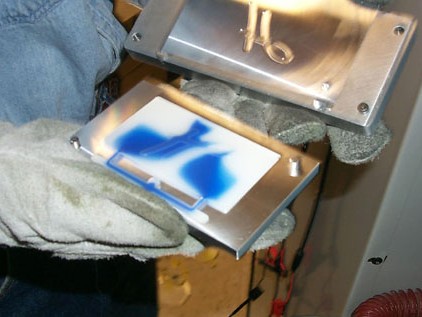
success! After some tweaking, pieces will come out as desired. These settings should be recorded for future use. Extra flashing and the material left from the sprues can be trimmed with an exacto knife or scissors. |
original

