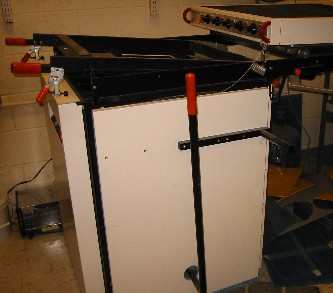
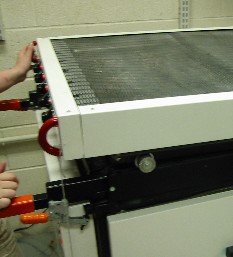
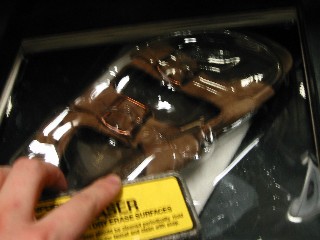
the vacuum former
The vacuum former, a Formech 660, lives in the shop next to the injection molder. The plastic pieces for molding can be found on the floor under the heating element tray (bottom right of photo) or in the racks near the laser cutter.
objects
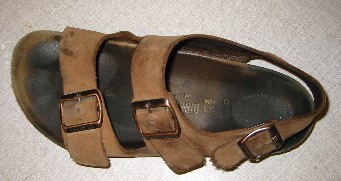
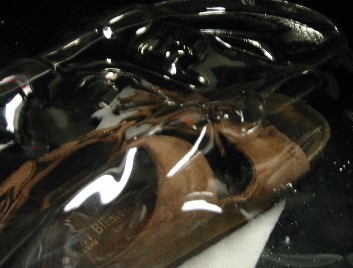
Well chosen objects are important to the quality of the final piece. Keep in mind that the possible plastic sizes are 12" x 12" and 24" x 24". The actual model must be a bit smaller than that, including height, since the plastic has to stretch over the object. Compressible things like stuffed animals and unhardened clay can make really neat forms, but how much the object and therefore the mold is squished varies greatly from object to object. Do not try to vacuum form electronics that you care about, things that will melt at low temperatures, or parts of your body. For these items, make a mock-up in cardboard or another form-able material first.
setup
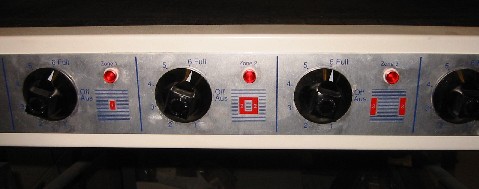
The machine should already be powered on. If not, press the power button (far right, front). Turn the heating elements on. Depending on the type and thickness of plastic, anything between 3 and 6 will work. For a 12" x 12" mold, only elements one and two need to be used. The perimeter heating elements are needed only for the 24" x 24" molding. The plates also have to be removed before making a large mold.
Cover the hole in the middle of the base with a piece of foam, available in the foam cutter drawer opposite the vacuum former. This allows the vacuum to be drawn around the object. Put the object on the foam, and then the plastic on the gasket above the base with the object. Use the long handle on the side to draw the object up close to make sure it fits within the gasket. Allow a little bit of clearance on any side. When ready, lower the object to 6-8" below the plastic.
locked and loaded
With the top frame down, close the clamps on either side. Pull the two handles together while putting a lot of weight on them. If it doesn't feel right, check to make sure both frames are in place and that nothing is being forcibly bent. Pull the pre-heated element tray over the rest of the machine, and hold it in place. If let go it has the tendency to go sliding back on its track.
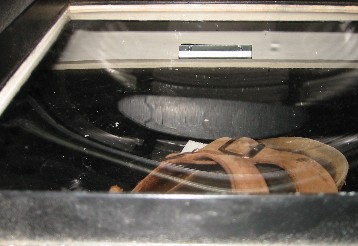
is it ready yet??
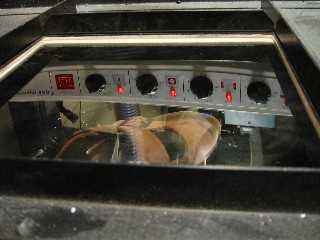
When the plastic is soft enough for forming, it will be warm to the touch and sagging into the open base, as shown at left. It can take anywhere from 30 seconds to 3 minutes to reach this state, depending on the type and thickness of plastic and the temperature of the heating elements.

mould
When the plastic is appropriately soft, use the long handle on the right side of the machine to bring the object into the plastic. The plastic should drape around it. Here, the eraser (see below) may be helpful. Push the "MOULD" button on the front of the machine, and watch the plastic get sucked down around the object. It should sound like a normal vacuum pump running, combined with the sound of shaping plastic.
release
When the plastic has been pulled down tight around the object, hit the release button. Use the handle to try to bring the base down. If it sticks, hit release and hold it down a few seconds. The object and plastic should separate, allowing the lever to move. Unclamp the frame to remove plastic and object. When finished, don't forget to turn off the heating elements.
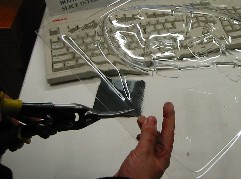
tricks & tools
Learning the machine is a snap, picking up the various tricks to perfect molds is best done over time or through the experience of others.
not supposed to happen
Inevitably, things go wrong sometimes. Here are a couple good examples. The one on the left shows a piece of plastic that was formed without the hole covered. It makes a satisfying *SSCCCHhhlLLOOOP* but this is not a sound you want to hear when making your final project.
On the right is an example of the lip that forms around the edge of the lower plate when the plastic is too-warm or too-saggy. Not dangerous by itself, but it often requires brute force and destruction of plastic to remove these from the frame.
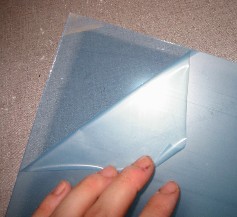
Be sure to peel the protective blue coating off both sides of the PET before attempting to heat it. Silly, but true.