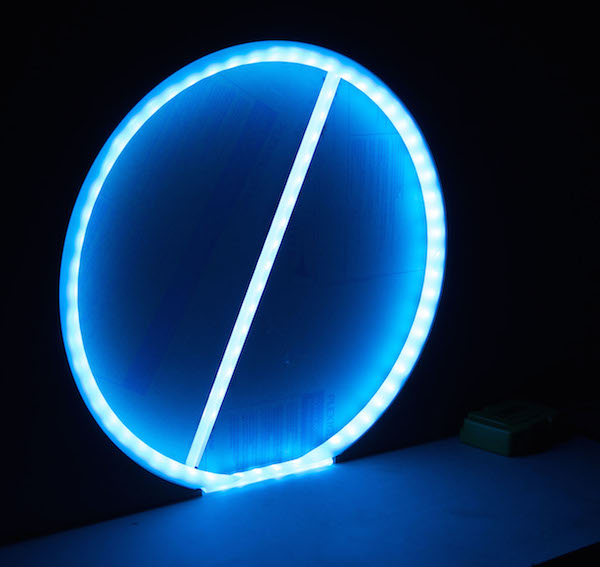
For the door lights, we wanted to achieve the following effect:
We decided to go with this effect because it received the most positive feedback from users, and we especially liked how the rotation of the lights countered the rotation of the door. The lighting effects were achieved using three digital RGB addressable LED strips, which allowed us to control each LED individually. We used two shorter strips for the edges of the door panels, and one long one for the door frame itself.
An Arduino library of code is already available online for controlling this type of LED strip (available here ). Although the library includes pre-existing effects, we wrote our own functions to achieve the particular effect we wanted. The program can be modified to accommodate different timings, number of LEDs, and colors. However, due to the way the bright pulse at the head of the light animation is currently written, colors are limited to primary and secondary colors.
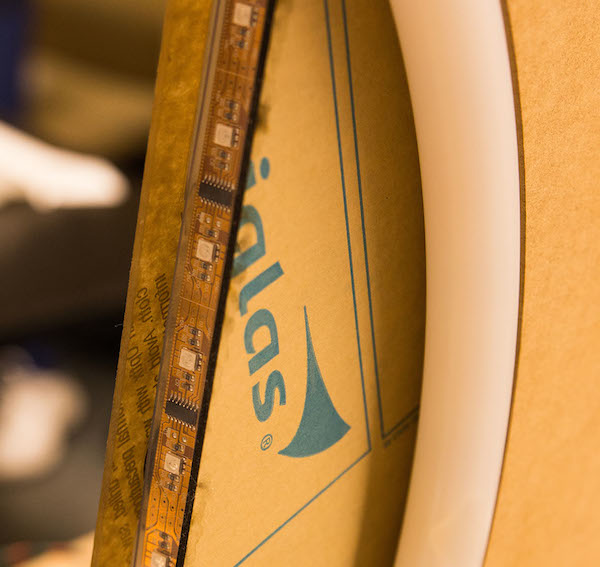
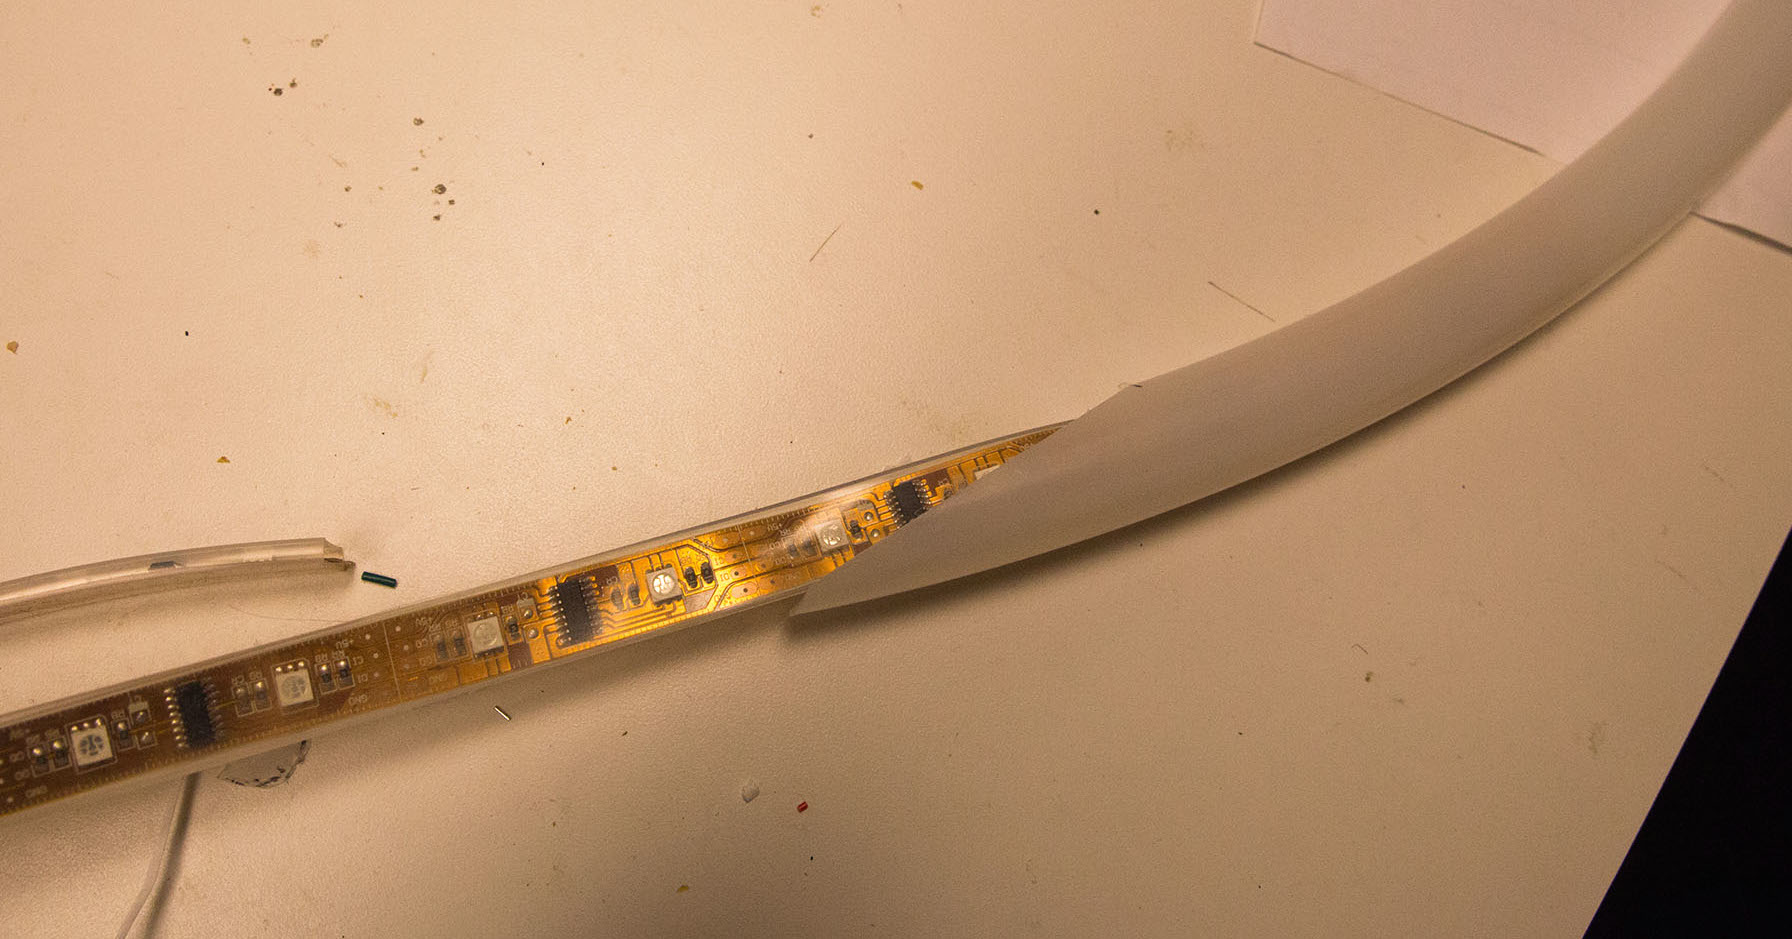
The other main challenge with the LED's was housing them in a way that would be attractive while diffusing the lights, as well as easy to fabricate and scale. For the circular frame of the door, we wanted to have the lights be visible both on the inner edge as well as having a narrow band visible from a front view. Although we initially explored the idea of having a beveled edge, we decided it would be difficult to fabricate a covering. We decided that circular tube would achieve the same goals of allowing the lights to be seen from the front and inner edge while still being aesthetically pleasing. We ultimately used 1" polyethylene tubing with a wall thickness of 1/8".
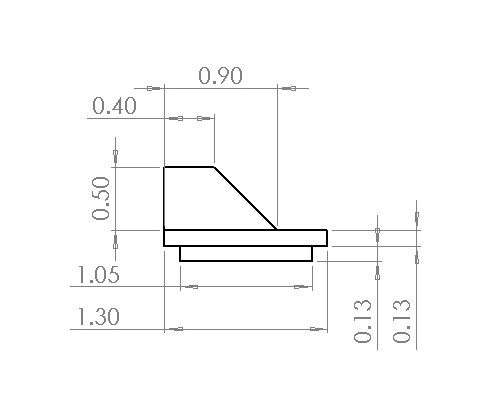
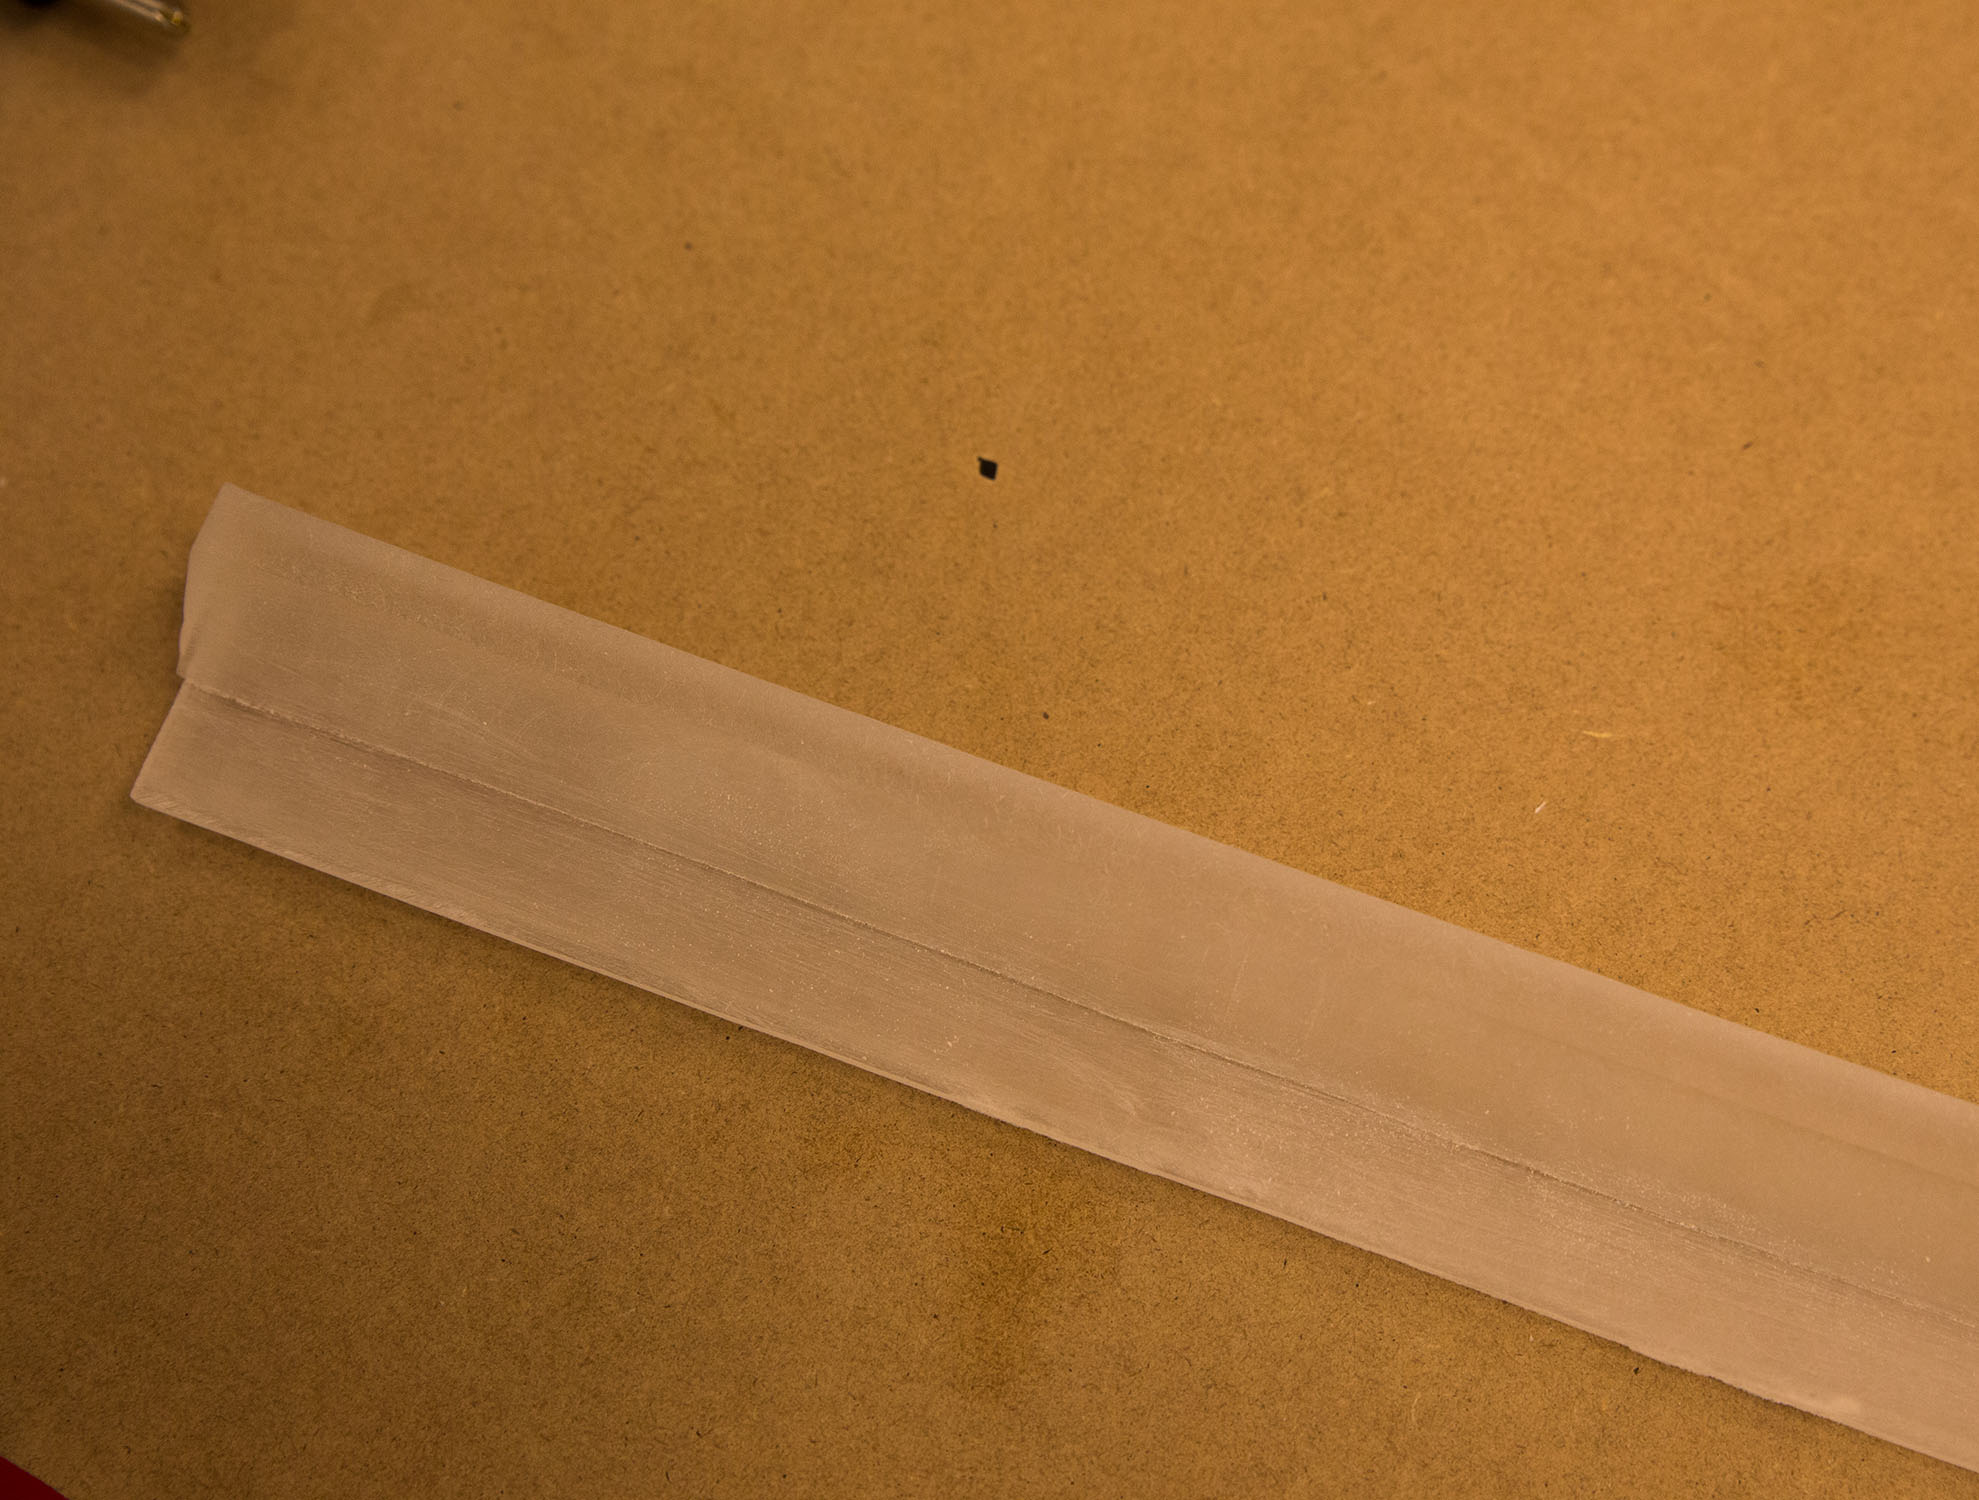
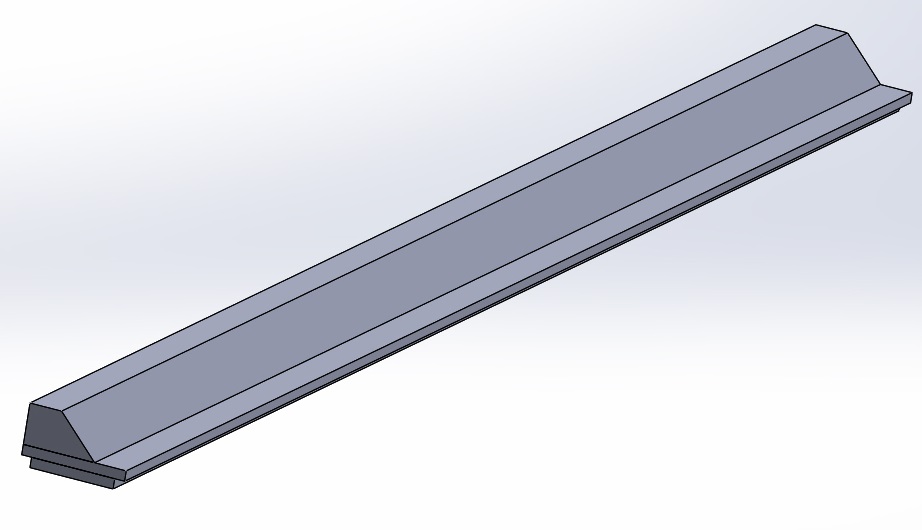
For the edges of the door panels themselves we had the additional challenge of making something that would also seal the door. For the purposes of the prototype, we focused on blocking light from the other room, maintaining the aesthetics of the door, and diffusing the LED's rather. This means that there still needs to be work done in determining how to effectively seal sound. We decided to use edge lighting with beveled acrylic pieces that would both diffuse the light and create an interlocking seal. We used three layers pieces of acrylic as shown in the diagram below, that were inset into the panel. Although we used acrylic, we believe that a seal using a soft, translucent plastic or rubber might achieve the same visual effect while allowing for better sound isolation. However, due to the constraints of the class, we choose not to custom make such a part and settled with acrylic for the ease of fabrication.
Scaling up: Although Amy's original design features a fairly narrow band of light, for the quarter scale model, we were limited in how small we could make the lighting effects by the size of the LED strip. The 36" inch clearance for wheel chairs is not maintained in this quarter scale model because the size of the tube significantly cuts away part of that space. For the full scale model, we envision that the tube containing the light will be much smaller relative to the overall size of the door.