Large Data and Imagery
Table of Contents, Get code for this tutorial
Note: You can execute the code from this tutorial by highlighting them, right-clicking, and selecting "Evaluate Selection" (or hit F9).
In this section, you will learn techniques for dealing with visualizing large amounts of data, whether it may be numerical data or imagery data.
Contents
Importing Large Data
When you want to analyze and visualize large amounts of data, a good thing to think about is whether you need all the data at once. Can you get away with processing and visualizing chunks of data at a time? If yes, you can use various importing functions to import parts of the data file at a time and process/visualize them. Here are some of those importing commands:
These functions can be used in conjunction with for loops to step through the large data set. In the documentation linked above (last bullet point), there are examples of using loops to read through text and binary files.
Down Sampling
When it comes to visualizing a large data set, consider down sampling the data before plotting. Even though your variable may have over 1 million points, the area on your screen for your plot will not have that many pixels to capture all the details. Here are some functions for down sampling (resampling) your data: interp1, interp1q, interpft, interp2, interp3, interpn, pchip, spline.
For image (2D), you can use interp2 or a more appropriate function imresize from the Image Processing Toolbox.
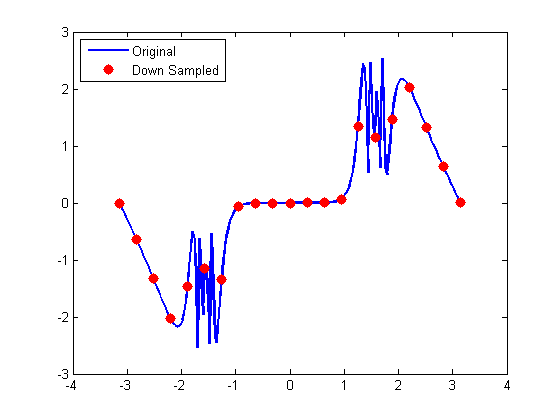
Here's a quick example of using interp1:
% High-resolution data
x = -pi:pi/100:pi;
y = tan(sin(x)) - sin(tan(x));

% Low-resolution
xi = -pi:pi/10:pi;

% Down Sampling
yi = interp1(x, y, xi);

% Plot
plot(x, y, xi, yi, 'r.', 'LineWidth', 2, 'MarkerSize', 25);
legend('Original', 'Down Sampled', 'Location', 'Northwest');
Large Images
Now, let's talk specifically about large images. Images can become quite large depending on the application, such as medical applications or satellite imagery. The Image Processing Toolbox contains a number of tools for dealing with large images.
We will take a look at 2 types of files that are commonly used for large image applications: TIFF and JPEG2000.
Image
"large_image4.jp2" and "large_image4.tif" are based on an image taken from HiRISE (High Resolution Imaging Science Experiment). This particular image is from here. The original image from the website was 100000 by 20000 pixels. For demonstration purposes, we will be working with a small subimage (5000 by 5000). We can use imfinfo to get some basic image information.
imfinfo('image.tif')
ans =
                     Filename: 'image.tif'
                  FileModDate: '25-Aug-2010 14:37:39'
                     FileSize: 24212064
                       Format: 'tif'
                FormatVersion: []
                        Width: 5000
                       Height: 5000
                     BitDepth: 8
                    ColorType: 'grayscale'
              FormatSignature: [73 73 42 0]
                    ByteOrder: 'little-endian'
               NewSubFileType: 0
                BitsPerSample: 8
                  Compression: 'PackBits'
    PhotometricInterpretation: 'BlackIsZero'
                 StripOffsets: [5000x1 double]
              SamplesPerPixel: 1
                 RowsPerStrip: 1
              StripByteCounts: [5000x1 double]
                  XResolution: 72
                  YResolution: 72
               ResolutionUnit: 'Inch'
                     Colormap: []
          PlanarConfiguration: 'Chunky'
                    TileWidth: []
                   TileLength: []
                  TileOffsets: []
               TileByteCounts: []
                  Orientation: 1
                    FillOrder: 1
             GrayResponseUnit: 0.0100
               MaxSampleValue: 255
               MinSampleValue: 0
                 Thresholding: 1
                       Offset: 24171874
Large Image Preview
We see that it's an 8-bit gray scale image.
If you try to load (using imread) or view (using imshow) the original image, you may run out of memory, especially if you've there are other large variables already in the workspace or if you're working with even larger image. In those cases, you may still want to be able to load, manipulate, and view your images.
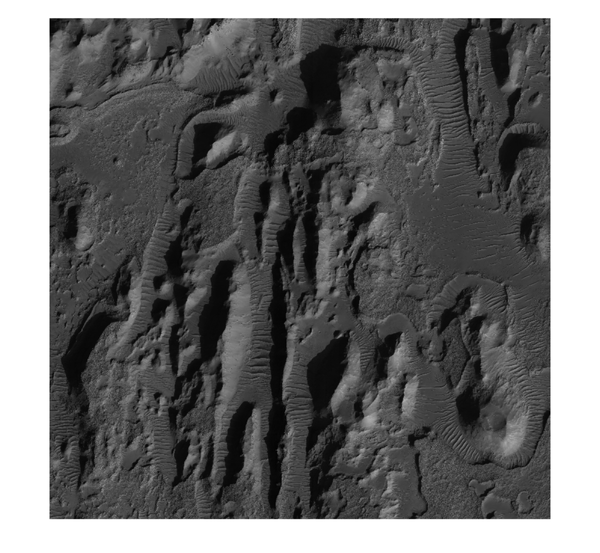
For TIFF images, there are a number of things you can do. First, you can get a preview (lower resolution) of your large image:
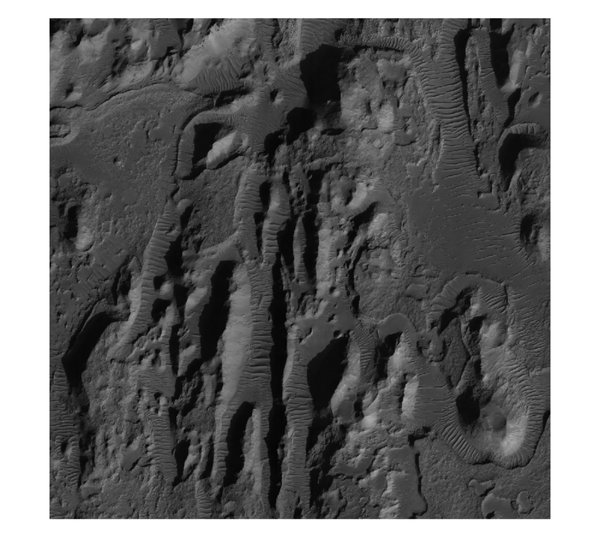
imshow('image.tif', 'Reduce', true);
Warning: Displaying subsampled image (reduced to 17%).
Loading Subset
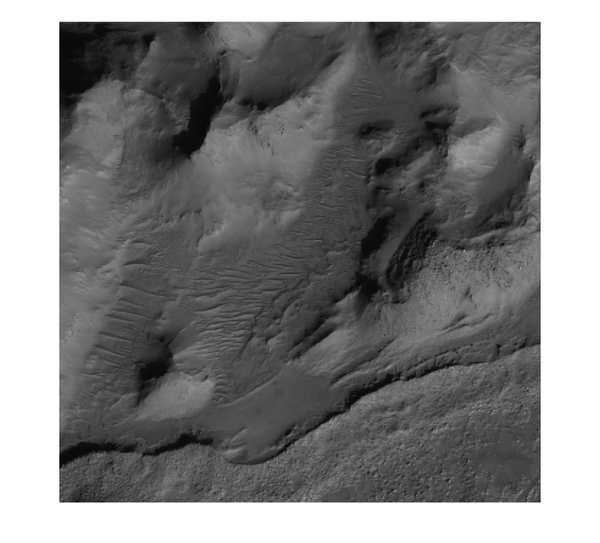
If you only need to view (and analyze) sections of your image at a time, as opposed to analyzing the whole image at once, you can use the PixelRegion parameter to load a subset of an image.
% Read the first 1000 by 1000
small_image = imread('image.tif', 'PixelRegion', {[1 1000], [1 1000]});
ImageSize = size(small_image)
imshow(small_image);
ImageSize =
        1000        1000
Warning: Image is too big to fit on screen; displaying at 67%
"PixelRegion" parameter can also be used with JPEG2000 files.
Block Processing
In addition to loading sections at a time, if you want to do some analysis on it, you can use the command blockproc. Note: blockproc was introduced in R2009b.
blockproc allows you to process the whole image, one block at a time. In addition, you can specify a border for your blocks, in case each block may require information from neighboring blocks.
This function is also useful when your image is simply too large to hold in memory at once. You can specify a "Destination" file, and it will create a new file as it processes the image (file-to-file image processing).
if verLessThan('images', '6.4')
   disp('You need Image Processing Toolbox R2009b or newer to use the function BLOCKPROC');
else
   % Run only if the file does not exist
   if ~exist('image_light.tif', 'file')

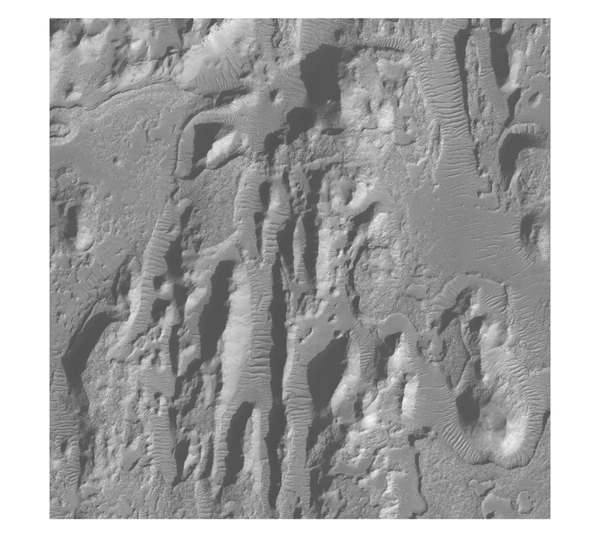
      % This function brightens the pixels by adding 75 to each 8-bit value
      brightenFcn = @(block) block.data+75;

      % Process 1000 by 1000 blocks at a time, and save the output as
      % "image_light.tif"
      blockproc('image.tif', [1000 1000], brightenFcn, ...
         'Destination', 'image_light.tif');

   end
   imshow('image_light.tif', 'Reduce', true);
end
Warning: Displaying subsampled image (reduced to 17%).
Accessing Down Sampled Image from JPEG2000
JPEG2000 allows a direct way of accessing a down sampled version of the image from the imread command.
% ReductionLevel of 2 means 2^2 = 4 times reduction.
downsampled_image = imread('image.jp2', 'ReductionLevel', 2);
ImageSize = size(downsampled_image)
imshow(downsampled_image);
ImageSize =
        1250        1250
Warning: Image is too big to fit on screen; displaying at 67%
Viewing Very Large Images in True Resolution
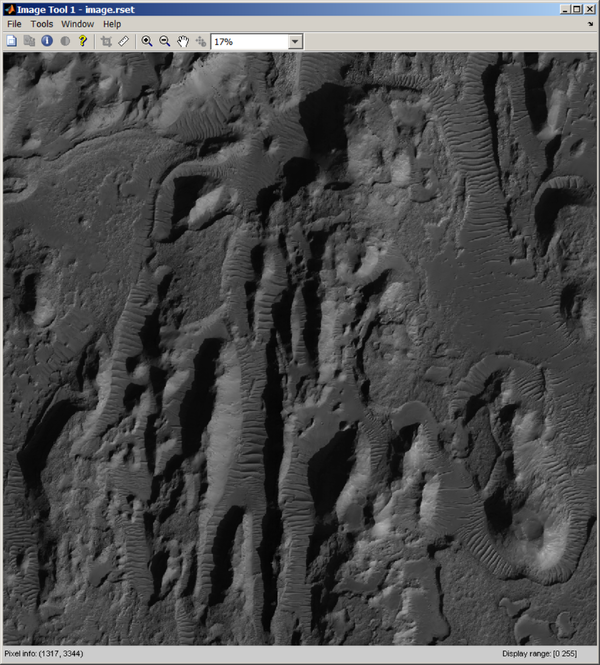
Even with all of these techniques for down sampling and subsetting, you may still want to be able to view and explore the original image. For that, you can use a reduced resolution data set (R-Set) image. The data set contains various resolutions of the image, and when loaded using imtool, it can be quickly explored.
The first step is to create an R-Set file using rsetwrite. This could take some time, depending on the size of the original image and the capacity of your computer. Once it is created, you can open it using imtool.
% Run only if the R-Set file does not exist. (This process may take some
% time)
if ~exist('image.rset', 'file')
   rsetwrite('image.tif');
end
imtool('image.rset');
Once opened, be sure to explore by zooming and panning. Zoom in very far to see the details.