Contents
 Intro
IntroBuying Wood
Squaring up a piece
Making pieces
Gluing
Sanding
Finishing
Intro
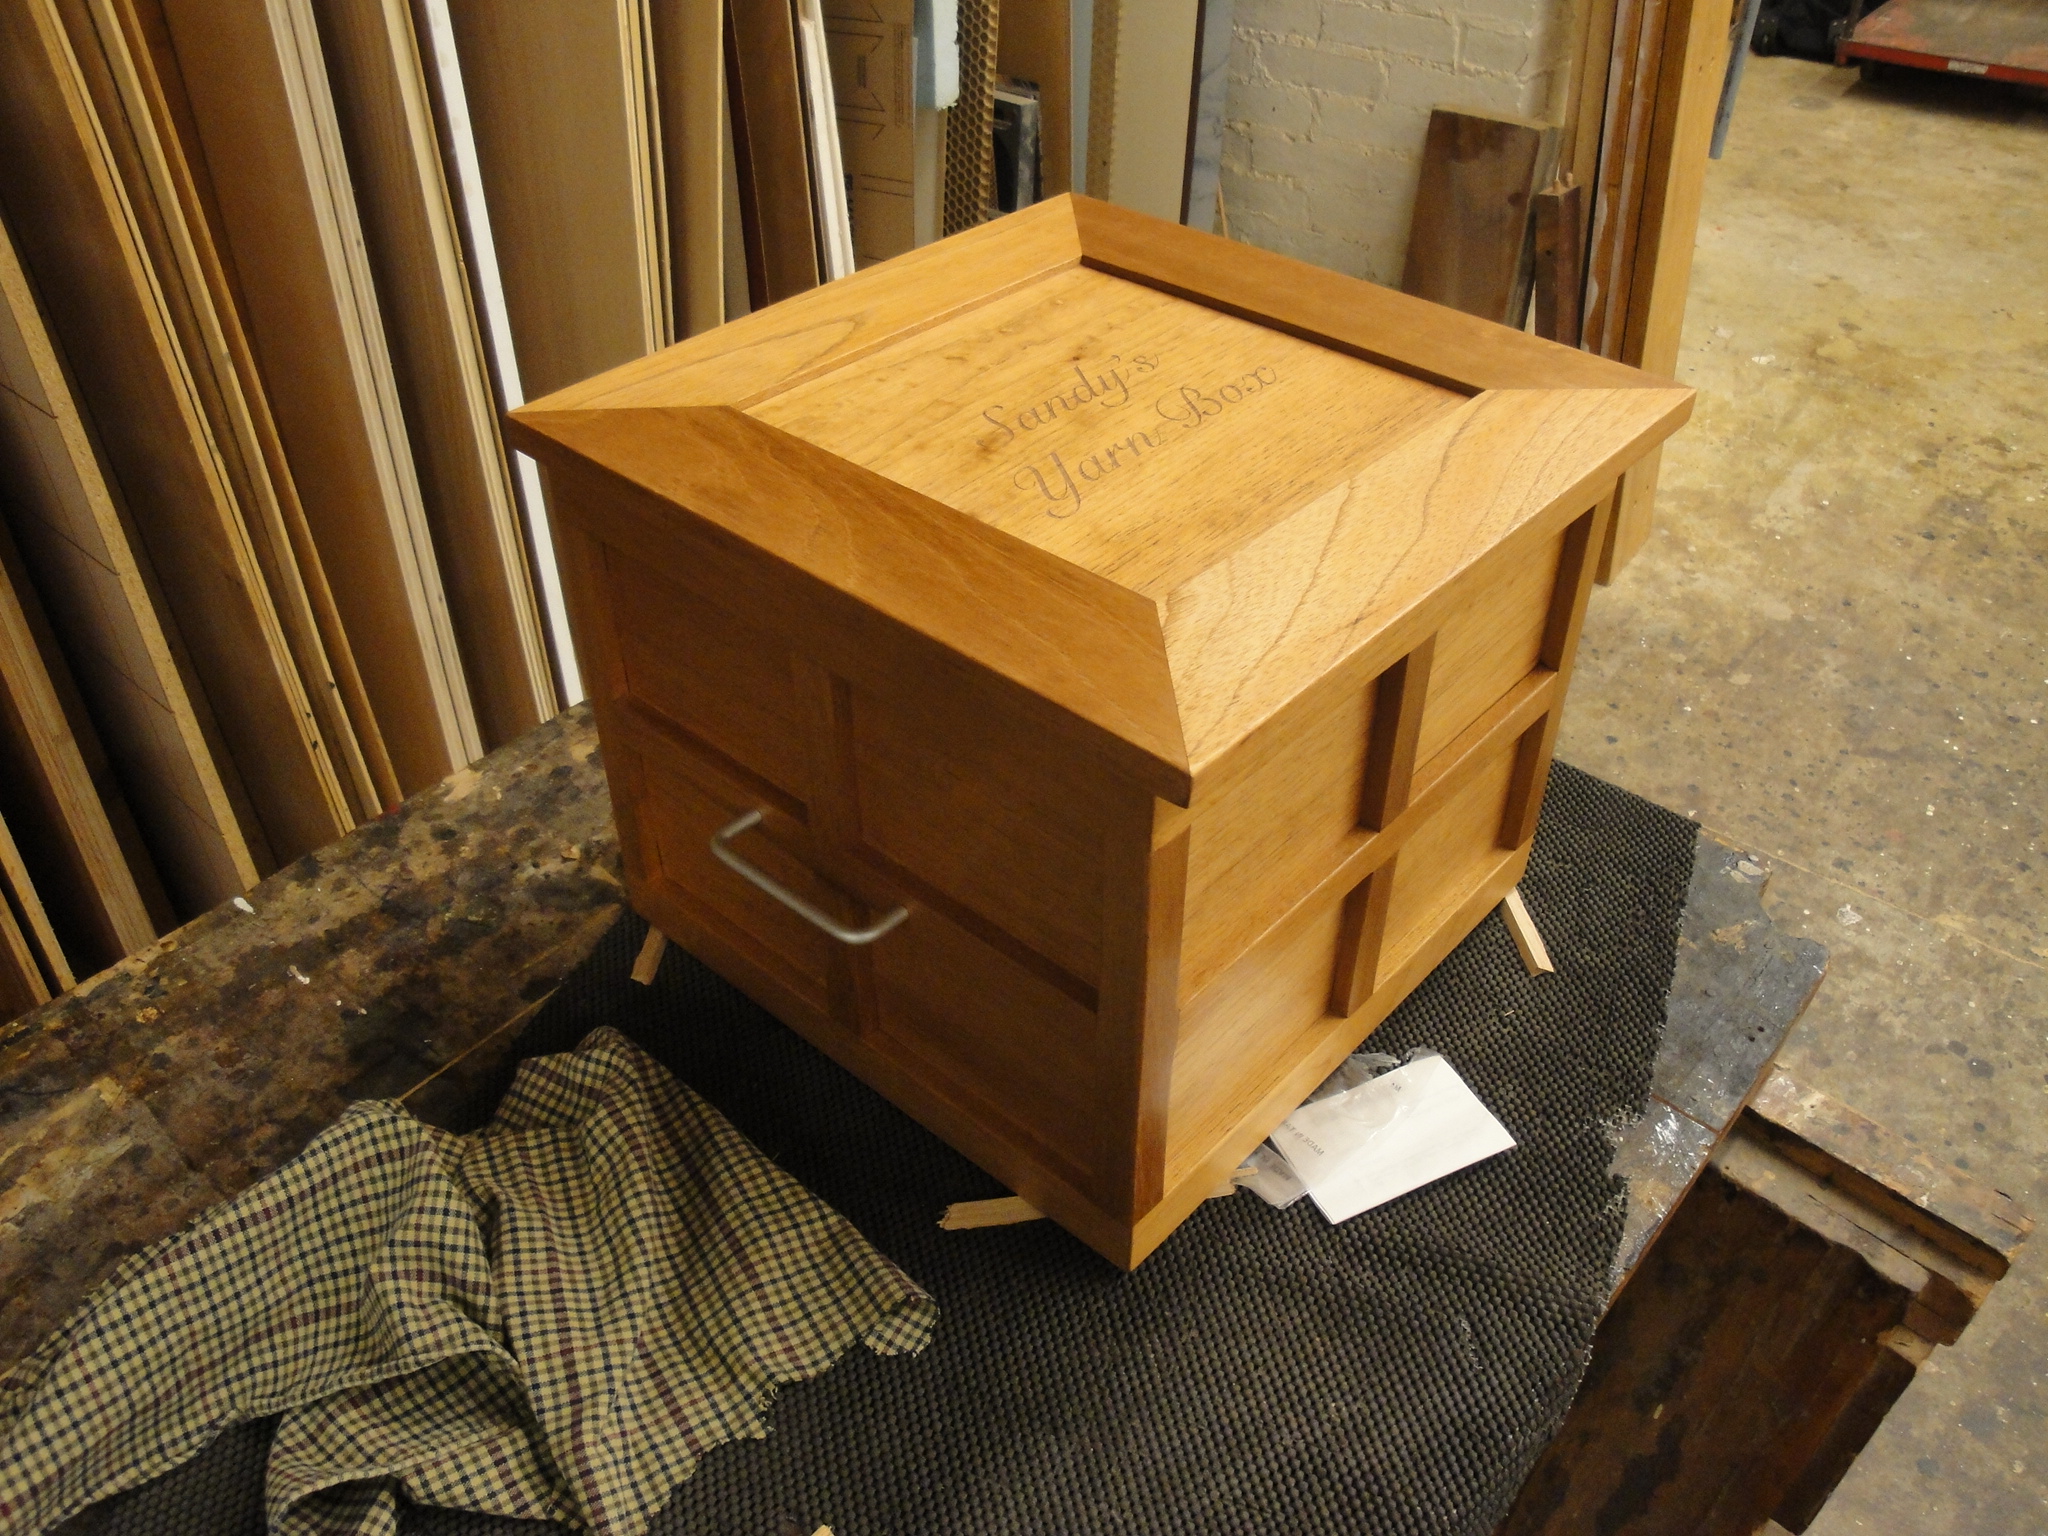
I recently finished a woodworking project, and I thought it would be a good idea to collect all of my thoughts about woodworking in this entry, giving the reader a step-by-step process for completing a woodworking project. Woodworking can be a rewarding albeit time-consuming process. There will be several lessons that carry over into general machining. I will cover buying wood, making parts, connecting those parts, sanding and finishing.
Buying wood
You won’t get far in a woodworking project if you don’t have any wood. However, buying wood is more complicated than just buying a piece online due to the structure of wood. Unfinished wood absorbs moisture in the air, which causes the wood to change shape. Thus, buying wood online is not a good idea because you don’t really know what condition the wood is going to be in when it gets to you. How it was made square, how it was stored and how it was packaged and shipped all affect the condition it is in when it arrives. It is better to go to a lumberyard and pick out a nice piece yourself. For Sandy’s Yarn Box, I went out to a place called Anderson & Mcquaid in Alewife. What you want to look for is an oversized piece that is not significantly bowed, bent, or twisted and has few, if any, defects (knots and cracks). Keep in mind that for the most part, wood (undimensioned lumber) comes in random sizes; it’s whatever they could get from the tree. Thus, you have to be flexible with your layout and be sure to buy a piece that is oversized. Also, keep in mind that you don’t have to make all of the pieces from one giant piece of wood. You may have to buy several strips since pieces that are wider than 10 in cost extra. You also may have to cut one long piece into pieces and glue them together to make wide pieces. In short, picking a piece of wood is like picking out a girlfriend: it has to be the right size and shape, it has to look good and it has to have few defects.
Squaring up a piece
 Although a piece of lumber may look square, but remember that it’s not square until you make it square. When I say, “square,” I mean that all of the sides are flat and rectangular. There are three steps to squaring up a piece: Jointing, Planing, and Table Sawing.
The Jointer is a machine that is designed to make a flat face. The biggest face is the face you should joint first. Pick the face that is concave down. Also, if the grain has a slight angle, make sure that you are cutting into the grain to minimize blowout (blowout is when the jointer tears the wood rather than cutting it.) Also, I like to mark the wood with a squiggly line over the entire face, so that I know that once that is gone, I have jointed the entire face. Now you have one big flat face.
The jointer has a fence that is perpendicular to the bed, so you can use the big flat face as a reference to make a flat face orthogonal face. You may be tempted to make the other faces flat on the jointer as well, but this is bad practice. You’ll probably make trapezoidal faces as opposed to rectangular faces. To make the next big face flat, you should use a Planer. The Planer makes one face parallel to the other face, so we’ll use the plane the face parallel to the first reference face we made. The Planer is also used to make the wooden piece to the right thickness. Take off about 1/16” on each pass for softer woods and 1/32” for harder woods. Then, to make the other long skinny face parallel to the second face we jointed don’t use the Planer, it’s dangerous; we’ll use a table saw.
Using the fence on the table saw (with the blade at a 0-degree angle, i.e. orthogonal to the bed) ensures that the fourth face and the second face are parallel, and that it is orthogonal to the first and third faces. The fence also has a ruler on it, so you can use it to cut it to the proper width. For the last two faces, use a cross-slide on the table saw. The cross-slide ensures orthogonality. Make one small cut by eye, and measure from that face to mark a line and cut the piece to length.
Although a piece of lumber may look square, but remember that it’s not square until you make it square. When I say, “square,” I mean that all of the sides are flat and rectangular. There are three steps to squaring up a piece: Jointing, Planing, and Table Sawing.
The Jointer is a machine that is designed to make a flat face. The biggest face is the face you should joint first. Pick the face that is concave down. Also, if the grain has a slight angle, make sure that you are cutting into the grain to minimize blowout (blowout is when the jointer tears the wood rather than cutting it.) Also, I like to mark the wood with a squiggly line over the entire face, so that I know that once that is gone, I have jointed the entire face. Now you have one big flat face.
The jointer has a fence that is perpendicular to the bed, so you can use the big flat face as a reference to make a flat face orthogonal face. You may be tempted to make the other faces flat on the jointer as well, but this is bad practice. You’ll probably make trapezoidal faces as opposed to rectangular faces. To make the next big face flat, you should use a Planer. The Planer makes one face parallel to the other face, so we’ll use the plane the face parallel to the first reference face we made. The Planer is also used to make the wooden piece to the right thickness. Take off about 1/16” on each pass for softer woods and 1/32” for harder woods. Then, to make the other long skinny face parallel to the second face we jointed don’t use the Planer, it’s dangerous; we’ll use a table saw.
Using the fence on the table saw (with the blade at a 0-degree angle, i.e. orthogonal to the bed) ensures that the fourth face and the second face are parallel, and that it is orthogonal to the first and third faces. The fence also has a ruler on it, so you can use it to cut it to the proper width. For the last two faces, use a cross-slide on the table saw. The cross-slide ensures orthogonality. Make one small cut by eye, and measure from that face to mark a line and cut the piece to length.
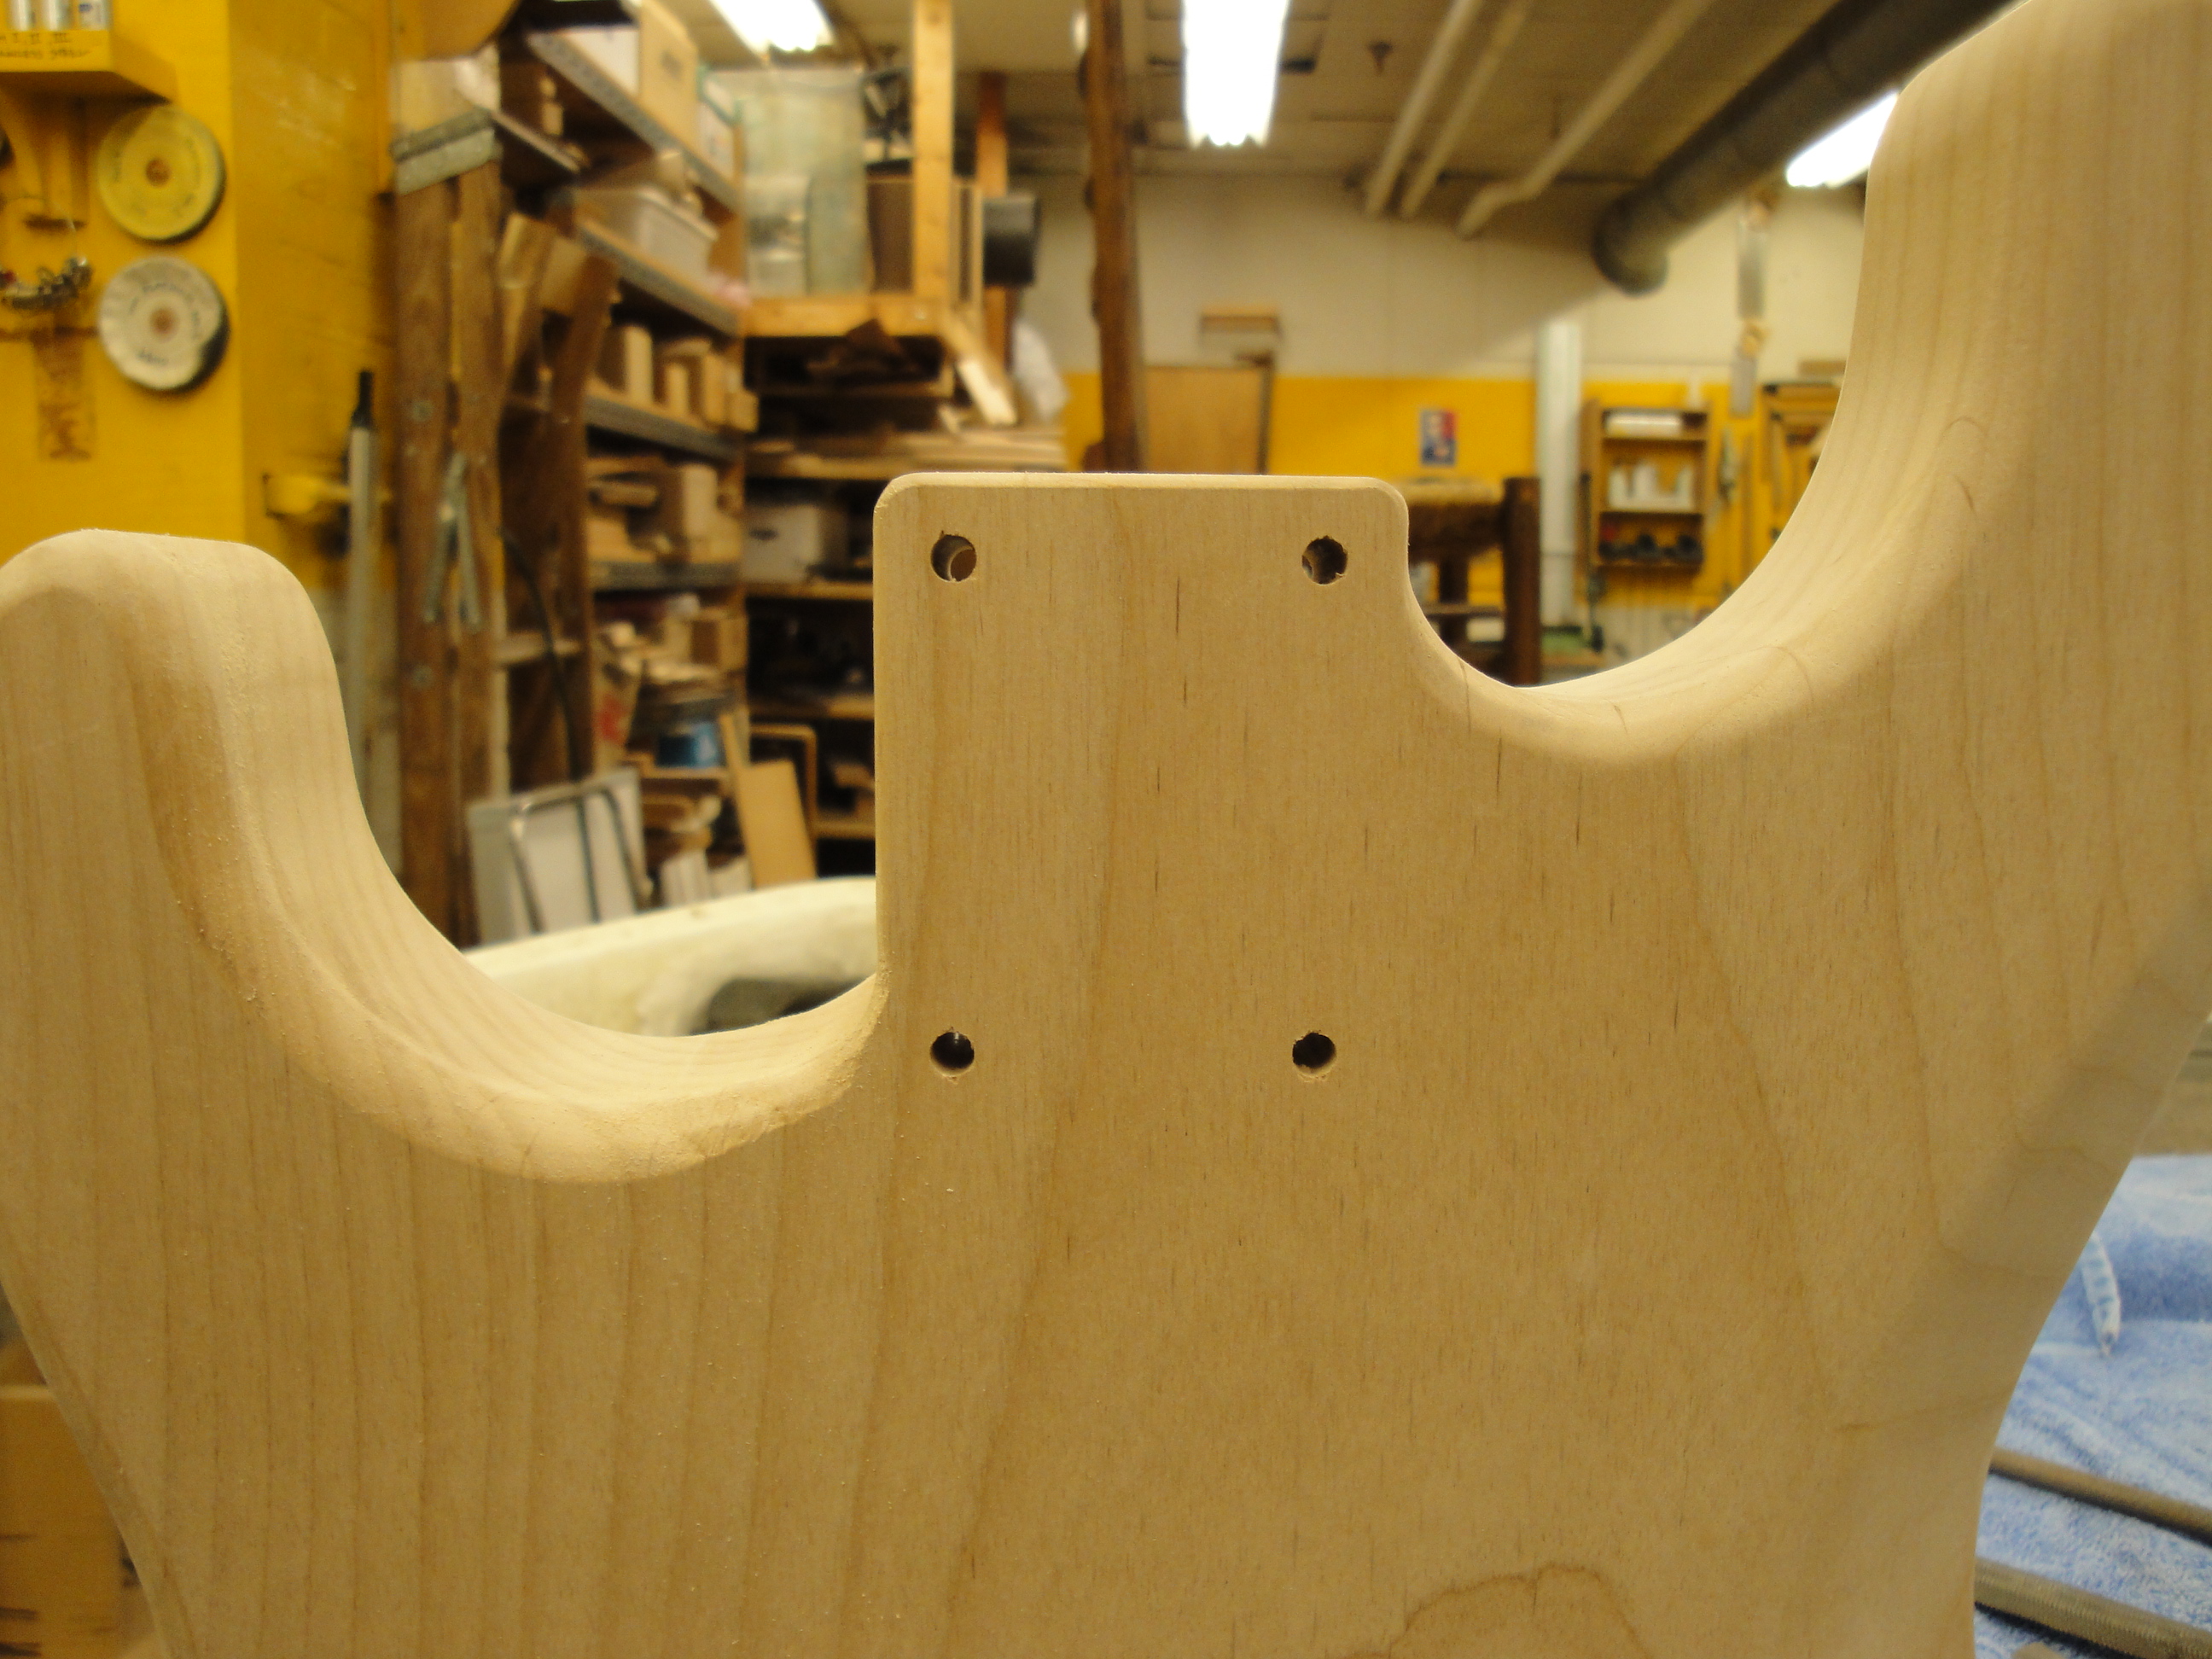
Making pieces
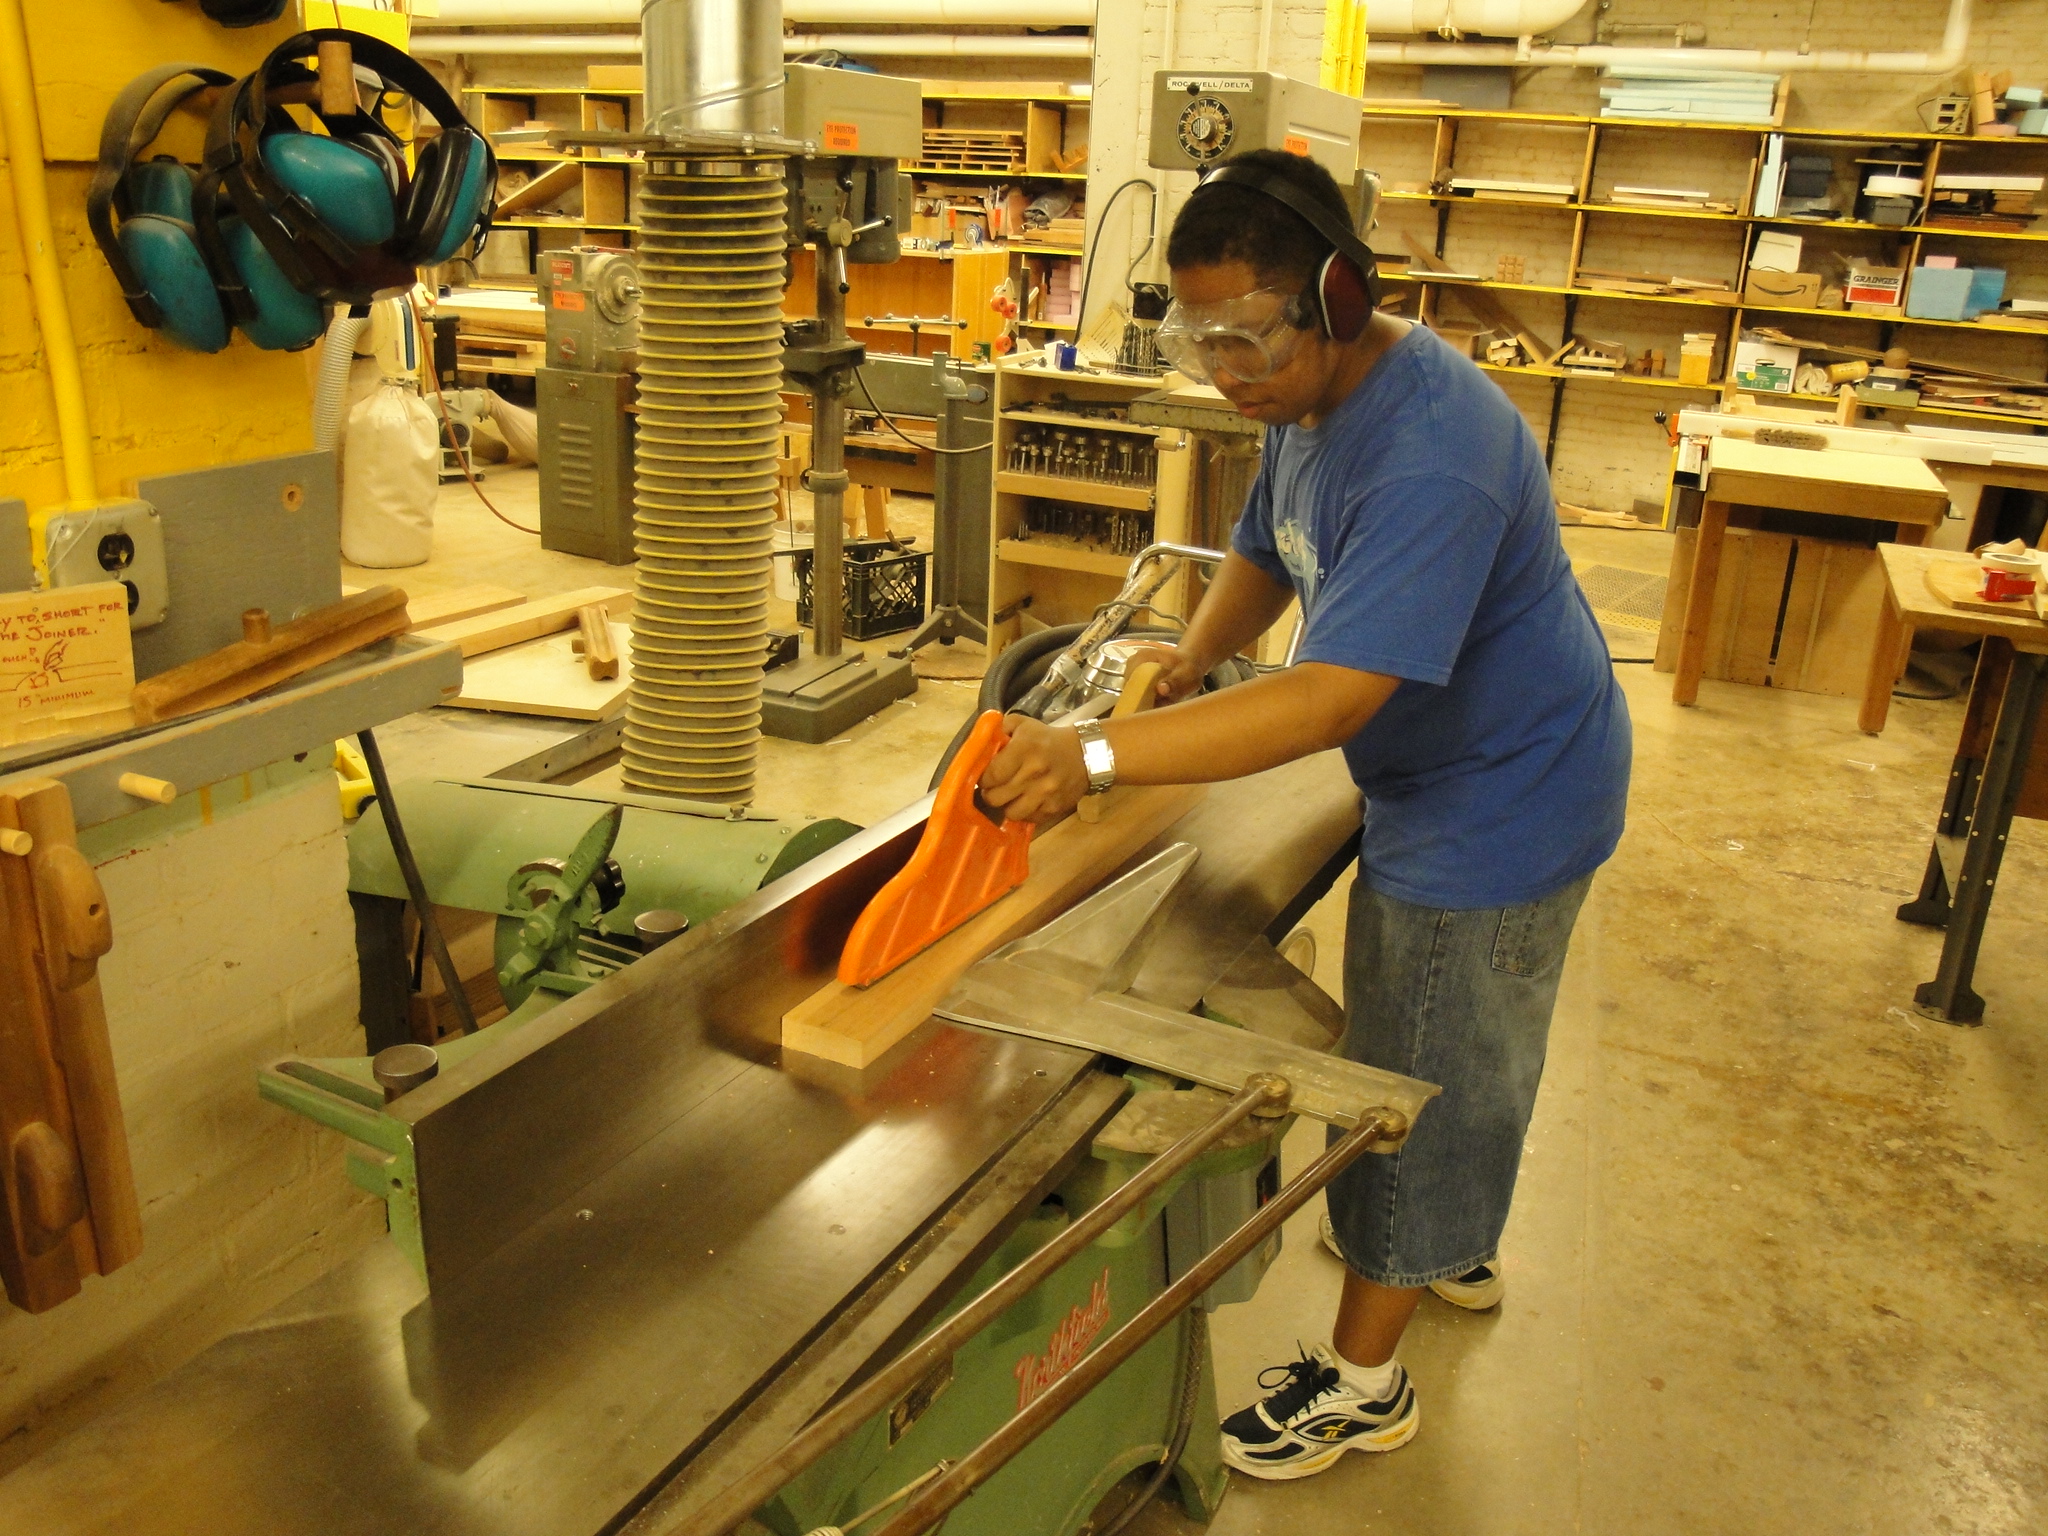
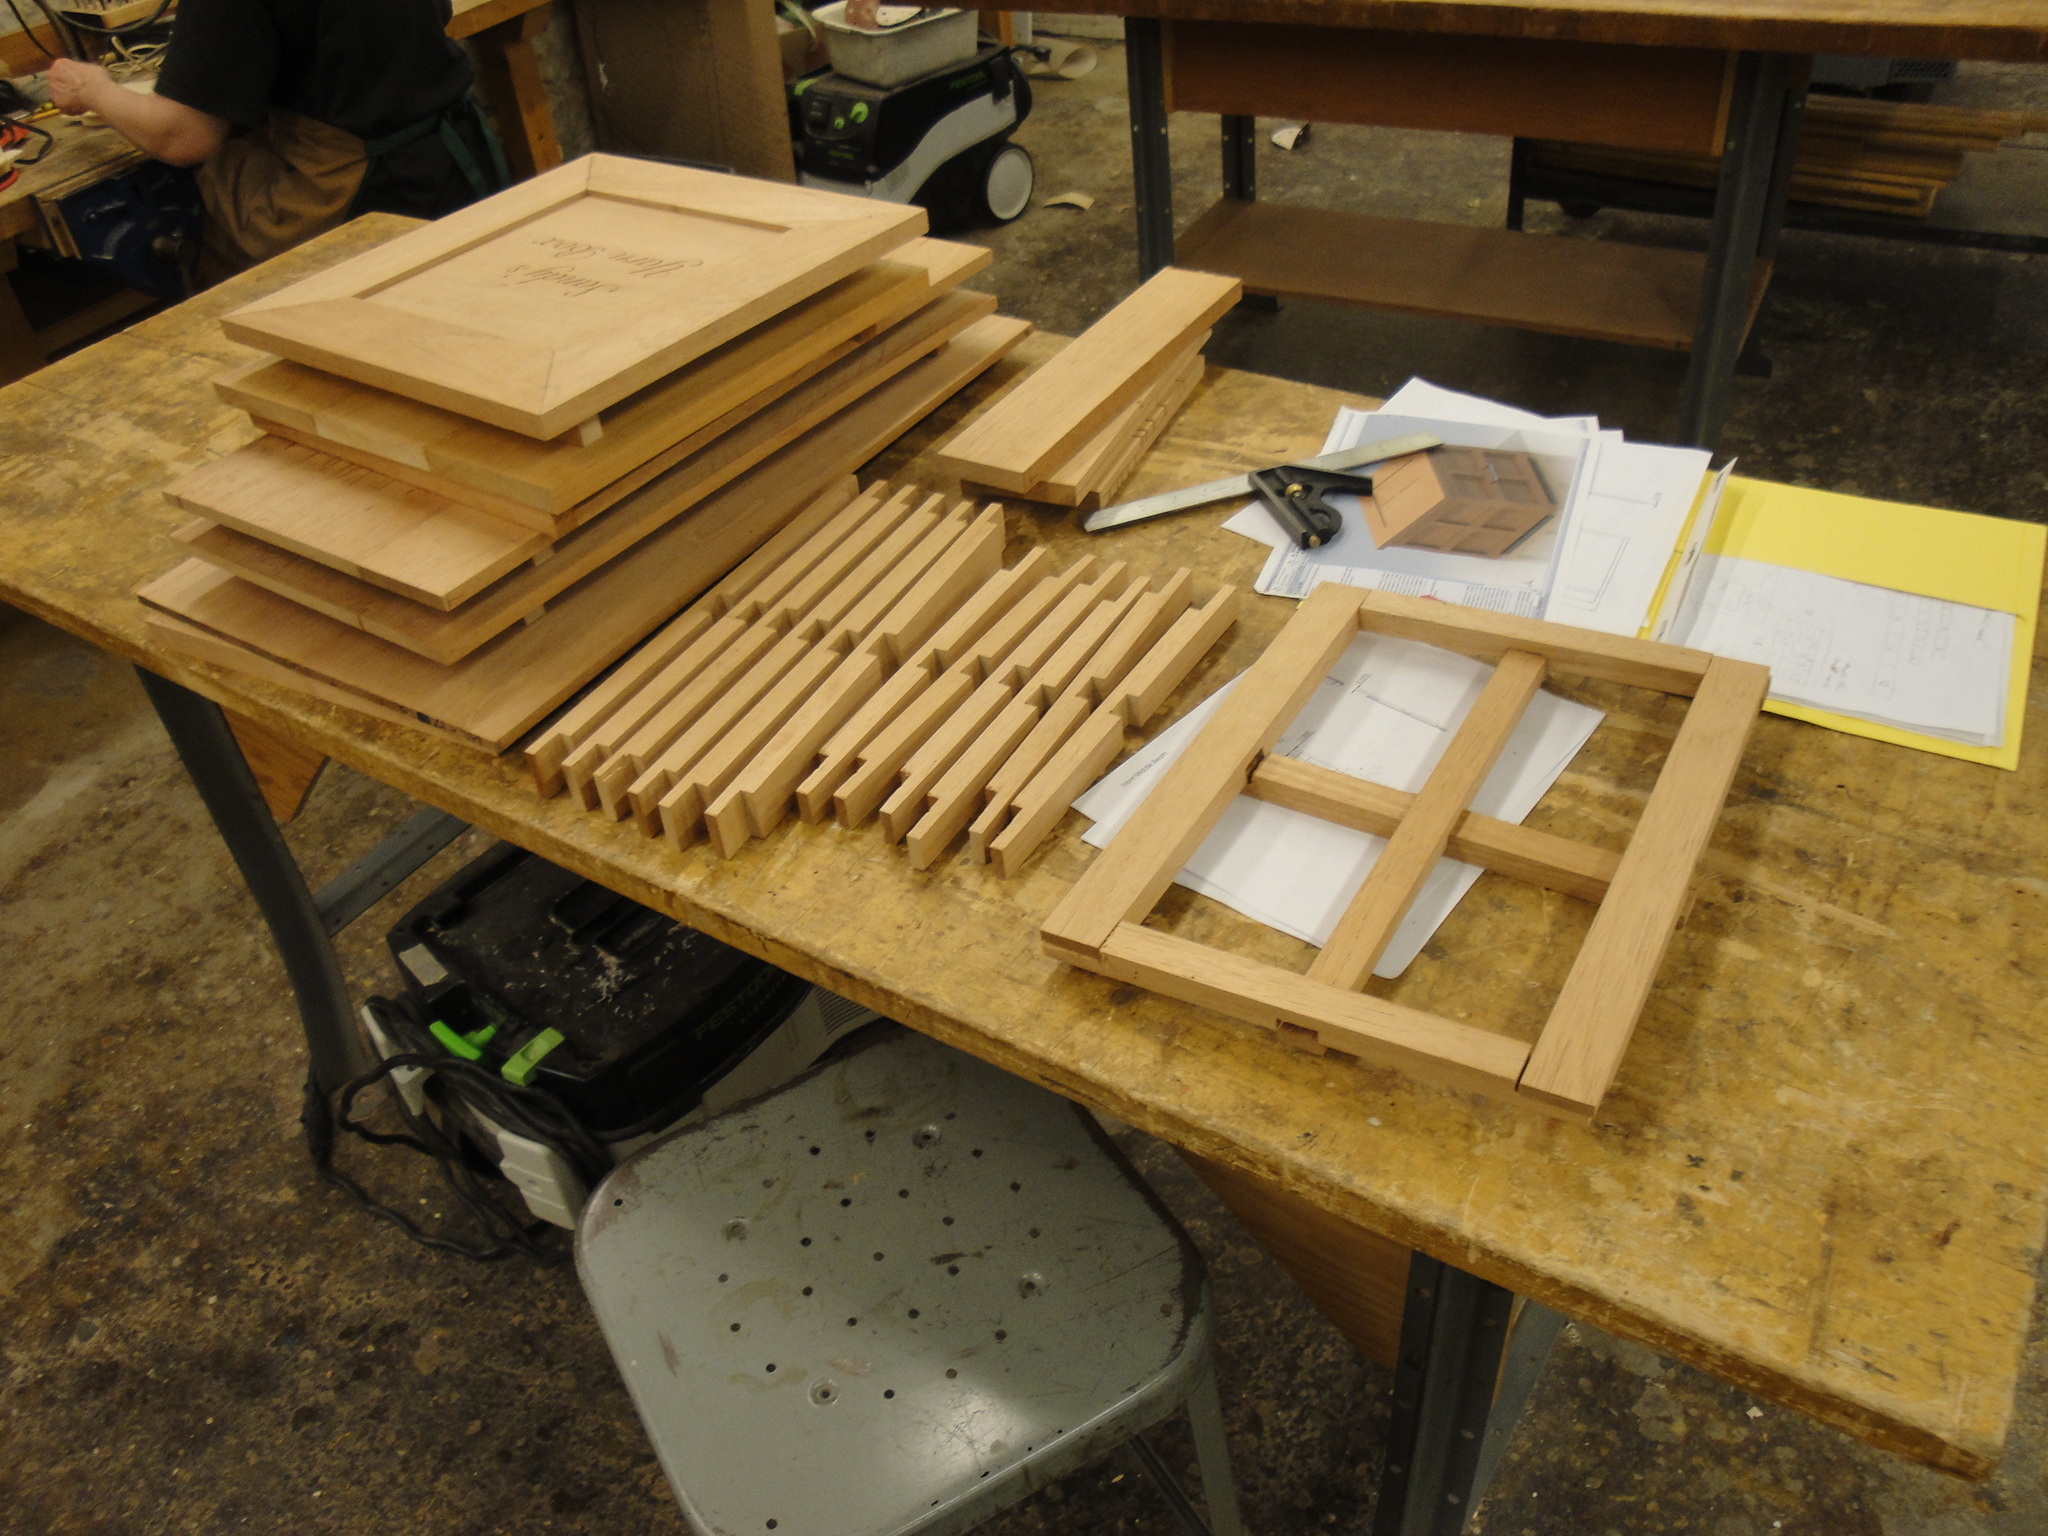 Layout is critical in making the pieces. You should think about what orientation of the pieces maximizes the amount of useable wood. Also, you need to consider the order of operations when cutting the pieces.
When budgeting time for machining, keep in mind that the setup is manual. There are few, if any, digital readouts in woodworking. You typically have to measure and mark a line on a scrap piece of wood, make a cut, measure the scrap piece, make adjustments, make another cut on another piece of scrap, measure again, etc. until you’re ready to try it on your actual wood.
Keep in mind that woodworking is dangerous. In metal and plastic working, there is usually something that separates you from the work piece, e.g. a vise in a mill. In woodworking, you usually hold the wood in your hand and run it through a machine (Jointer, Planer, Table Saw, Table Router, etc.) It’s a little scary at first, but remember to keep calm and pay close attention to where your fingers are and you should be okay.
If you have to make multiple pieces (or more accurately, multiple cuts at a certain length), set up a stop. Measuring pieces over and over again leads to more errors and it takes an extremely long time.
Layout is critical in making the pieces. You should think about what orientation of the pieces maximizes the amount of useable wood. Also, you need to consider the order of operations when cutting the pieces.
When budgeting time for machining, keep in mind that the setup is manual. There are few, if any, digital readouts in woodworking. You typically have to measure and mark a line on a scrap piece of wood, make a cut, measure the scrap piece, make adjustments, make another cut on another piece of scrap, measure again, etc. until you’re ready to try it on your actual wood.
Keep in mind that woodworking is dangerous. In metal and plastic working, there is usually something that separates you from the work piece, e.g. a vise in a mill. In woodworking, you usually hold the wood in your hand and run it through a machine (Jointer, Planer, Table Saw, Table Router, etc.) It’s a little scary at first, but remember to keep calm and pay close attention to where your fingers are and you should be okay.
If you have to make multiple pieces (or more accurately, multiple cuts at a certain length), set up a stop. Measuring pieces over and over again leads to more errors and it takes an extremely long time.
Gluing
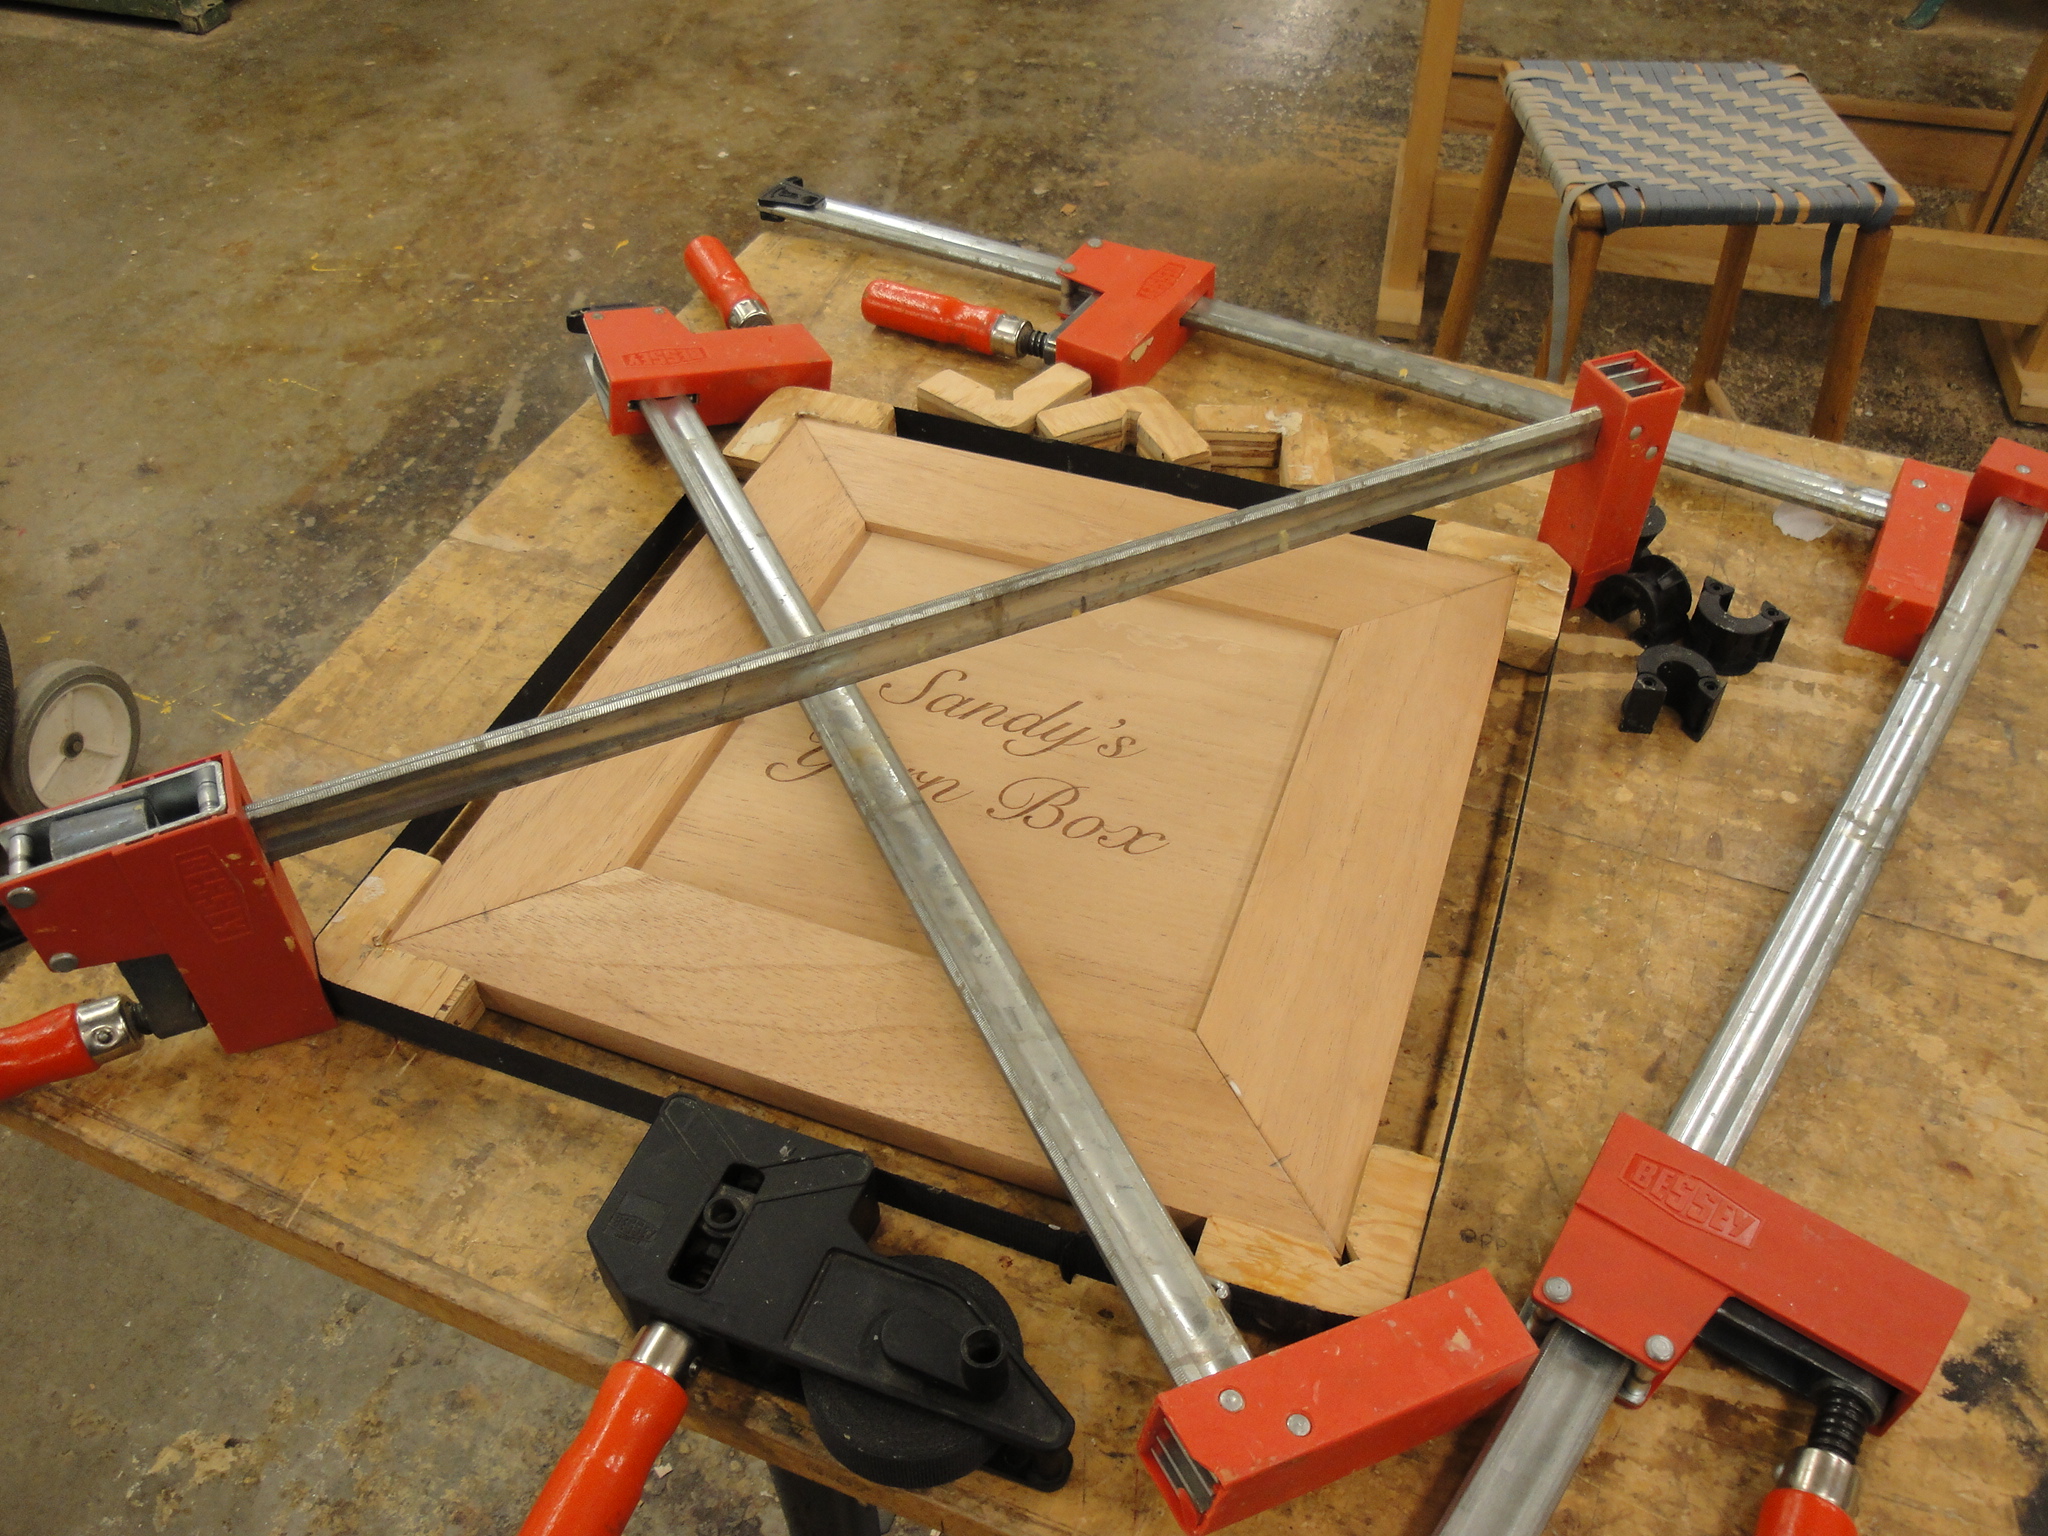 Once you’ve made the pieces, they need to be assembled, and in woodworking a common assembly method is gluing. With proper clamping and setup, the bond between glued pieces can be stronger than the wood itself. From Stefan’s equation from fluid mechanics, we see that a good glue joint requires a large surface area, a high viscosity, and a small glue thickness. The surface area comes from the design, the viscosity comes from the glue, and the small thickness comes from clamping pressure. With practice and advice, you can come up with the appropriate size and number of clamps to get the right pressure. Ideally, there should be some squeeze-out to ensure that the entire face is covered, but not too much squeeze-out because then you’re wasting too much glue. Remember that a strong glue joint comes from joining two clean, flat faces. If you’re gluing end grain, the joint is inherently going to be weak since the glue just goes up the end grain, so you’ll need some sort of reinforcing agent, either a clever joint like a dovetail, or a reinforcing agent like a biscuit. Also, remember that even with slow-setting glues, you have less than 5 minutes to deal with the glue, so time is of the essence. Try a dry run to see how things fit, make adjustments, glue and clamp, let it dry overnight, and pick it up in the morning.
Sanding
 Once you have an assembly made, it needs to be sanded smooth. The typical approach is a coarse-to-fine approach. Use a coarse grit sandpaper to remove major imperfections, and then use finer grit to remove smaller imperfections and scratches from the coarser grit. Whenever possible, you should sand with the grain. Sanding requires patience and practice. It is personally my least favorite part of woodworking because it is slow, it requires a lot of work, and the benefits are subtle (albeit necessary).
Finishing
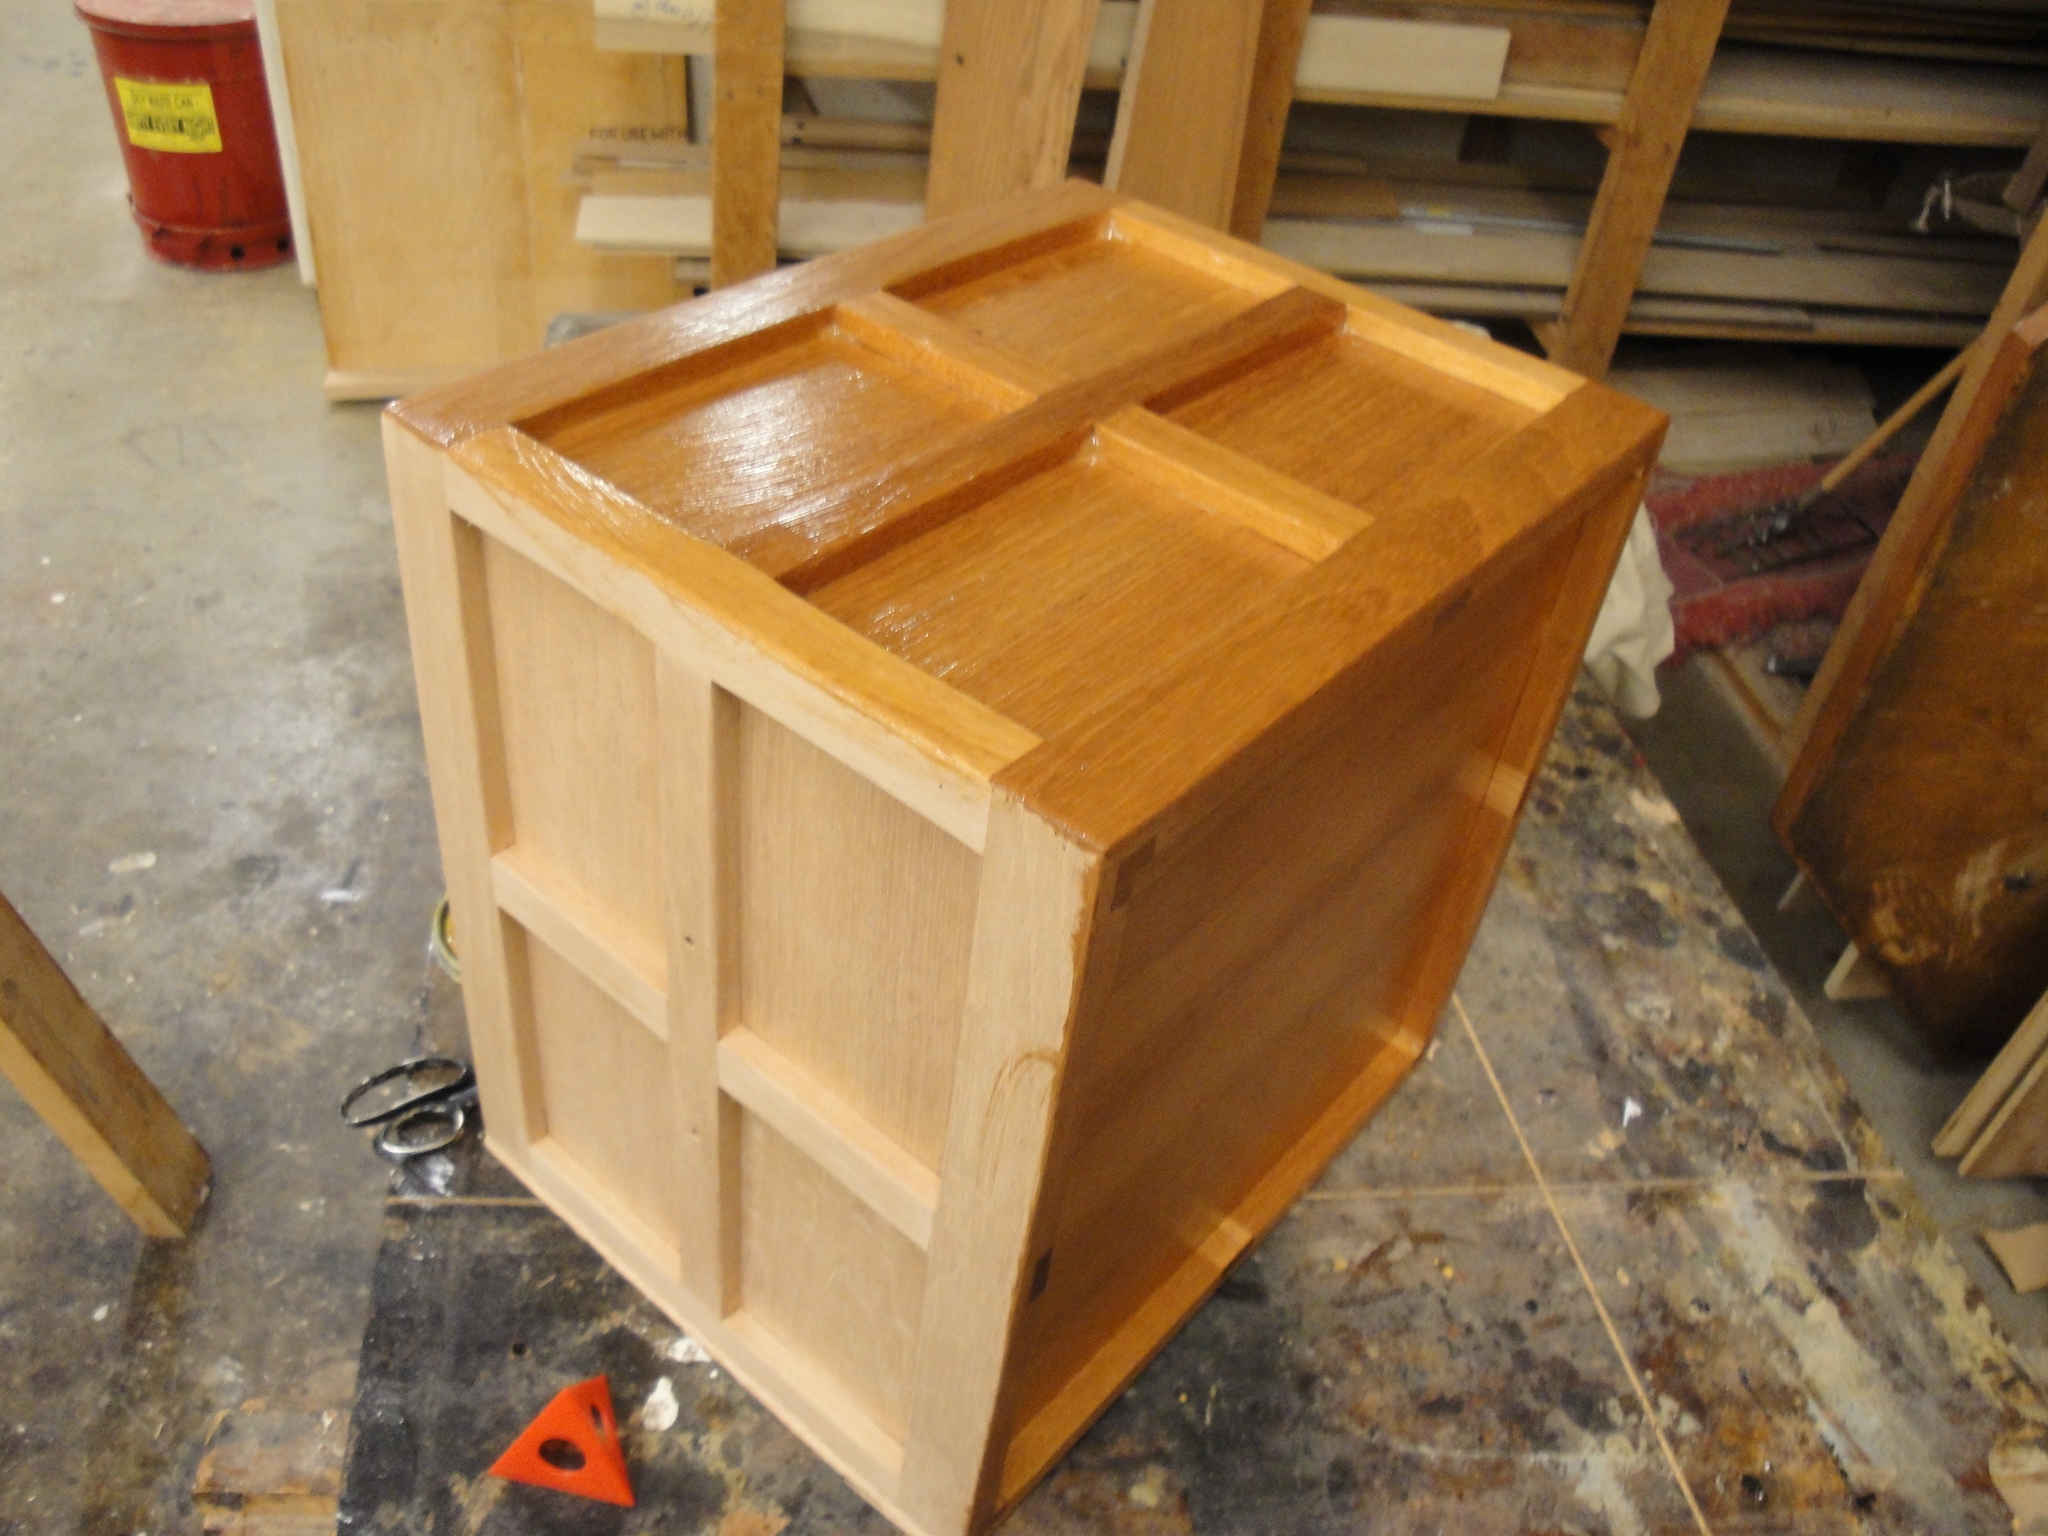 Once you have a glued, sanded assembly, a finish is almost always applied. A finish protects the wood from dirt and grime; it seals the wood from being exposed to air, and it brings out the natural beauty of the wood. It is usually not the intention of the finish to change the color of the wood; for that, use a stain. A finish usually requires several coats because the wood soaks up the first couple of coats. Depending on the finish, you’ll have to wait anywhere between a couple of hours to overnight between coats. Also, depending on your skill level, you may have to sand it in between coats with very fine sandpaper.