A Tabletop Demonstration Railgun
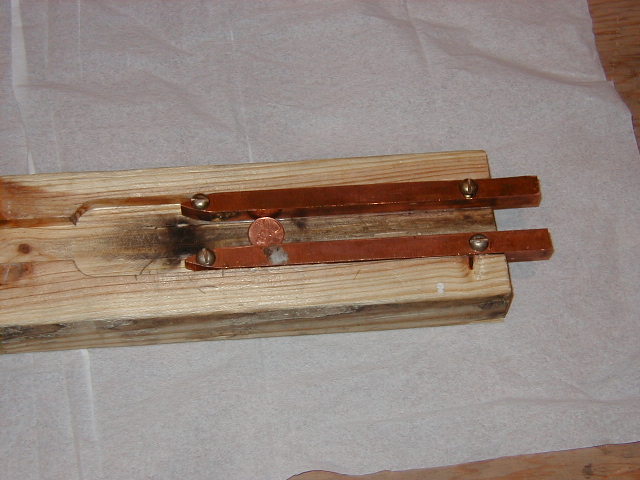
The first rail design consisted of two copper bars, about 3/8" x 1/2" x 7", screwed down to a
2x4, with a channel cut out for the projectile to slide down (pennies at the time).
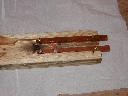
Figure 4: First Setup
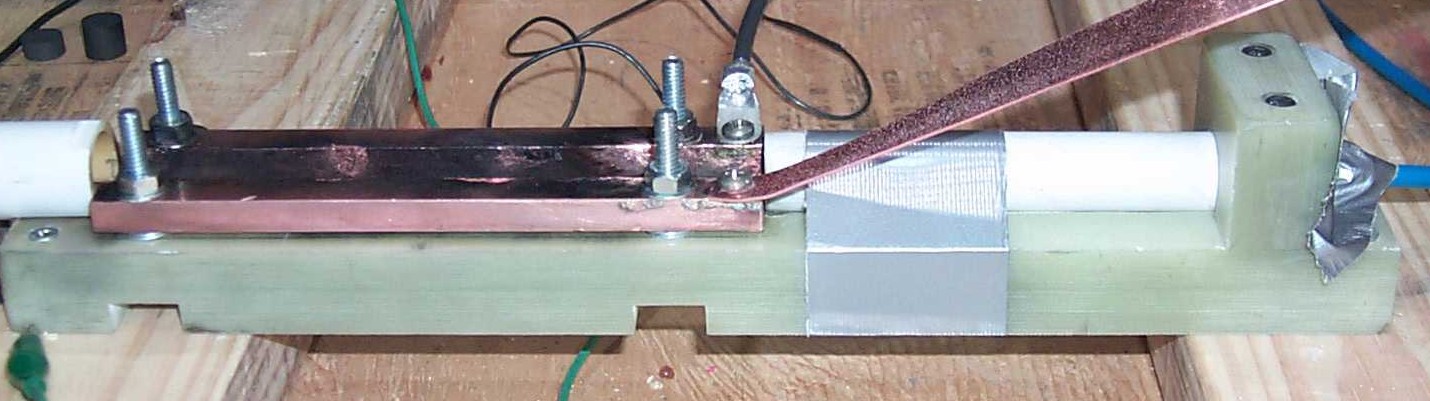
We then moved to bolting the same rails down to a piece of plastic on the final design. The
projectiles slid better on the plastic, and it was easier to make sure that everything is square
and level.

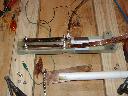
Figure 5: Final Setup
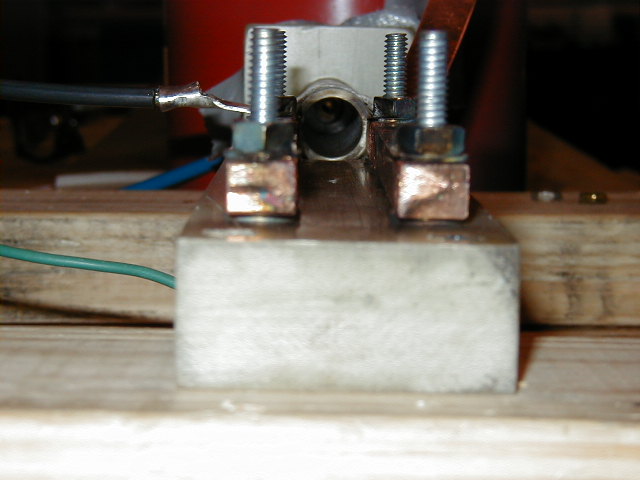
Copper was used for the rails because its low resistance would help give us a larger current.
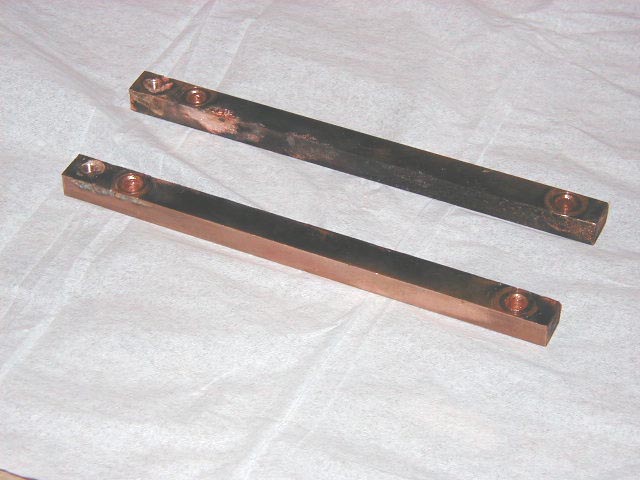
The rails are showing some erosion, which could become a problem after several shots.
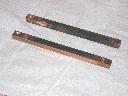
Figure 6: Eroded Rails