INSTALLING MAPSMITH
1) Connect the iPaq to the computer which has the MapSmith files on it. You should have a MapSmith folder which contains a Blank Shapefiles folder, a Data folder, and a number of files. Use ArcGIS to put the blank shapefiles into the projection you want, and put them in the Data Folder. You also must have a projection file (.prj) in the Data folder representing whatever projection all your data sets are in. Basemaps (raster datasets) must be .sid files, and must be in the same proejction as the shapefiles. Put any basemaps you want to use into the Maps folder.
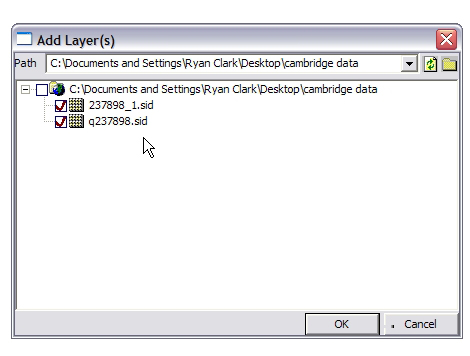
2) On your computer, open ArcPad. Add the shapefiles you projected, as well as the basemaps you want to the map. You can use the folder icon in the upper right to browse for the data files. It's important that you save the map file as "fieldcamp.apm" and put this file in the MapSmith folder.
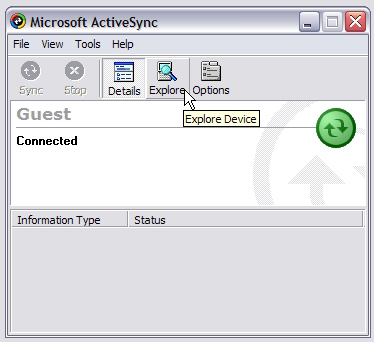
2) In ActiveSync, press Explore to open the iPaq as a window. Then simply copy the MapSmith folder from your computer onto the iPaq Storage Card.
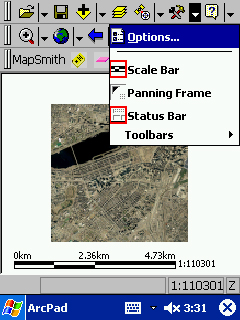
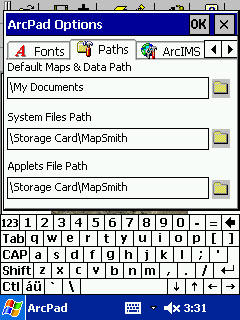
3) Open ArcPad on the iPaq. Click the pulldown menu next to the icon that looks like a wrench and a hammer. Select Options.
Use the arrow to scroll over and select the Paths tab. Change the System Files path and the Applets File Path to \Storage Card\MapSmith. Click OK to save your changes.
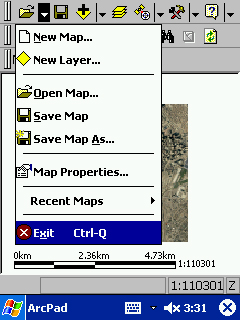
4) Close ArcPad by clicking the pulldown next to the folder icon at the top left. Select Exit.
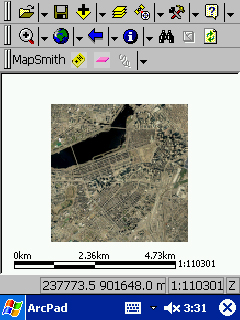
Now re-open ArcPad and verify that the MapSmith Toolbar has appeared.