


2.00b Toy Product Design
Let's Play - Toobers!
Final Assembly 2Preparing your Enclosure
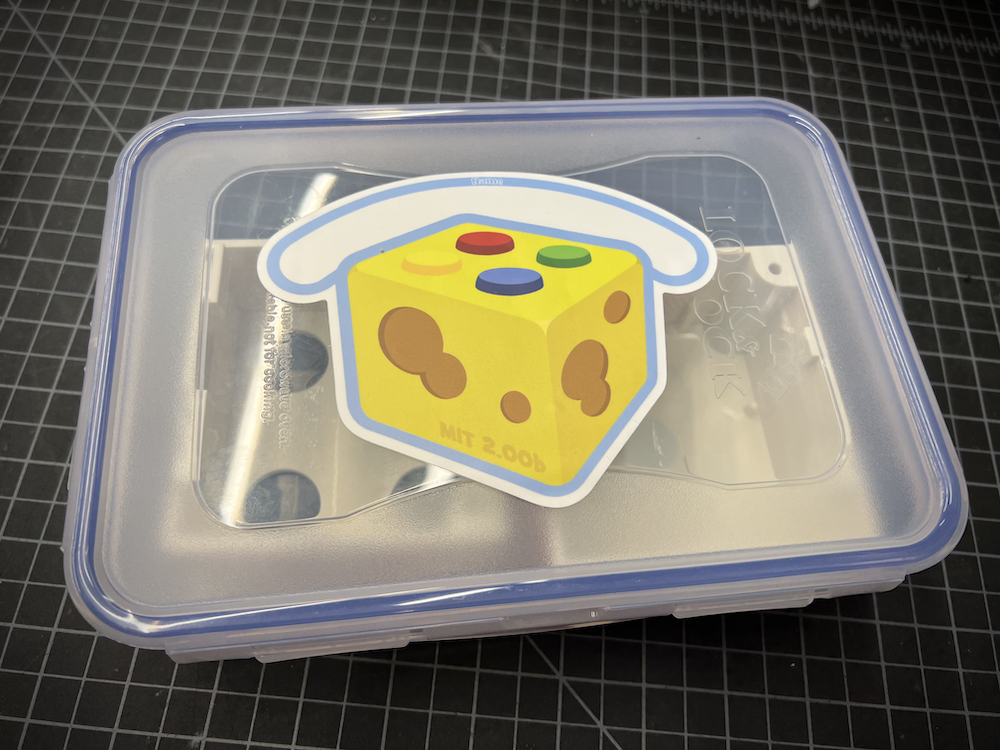
Hand-Packaged for you!
We've packaged your freshly printed Toobers in this lovely little tupperware container so all the pieces stay together (if you have additional pieces.) This tupperware container is for you to keep! You can use it to move other small parts, electronics, or sandwiches!
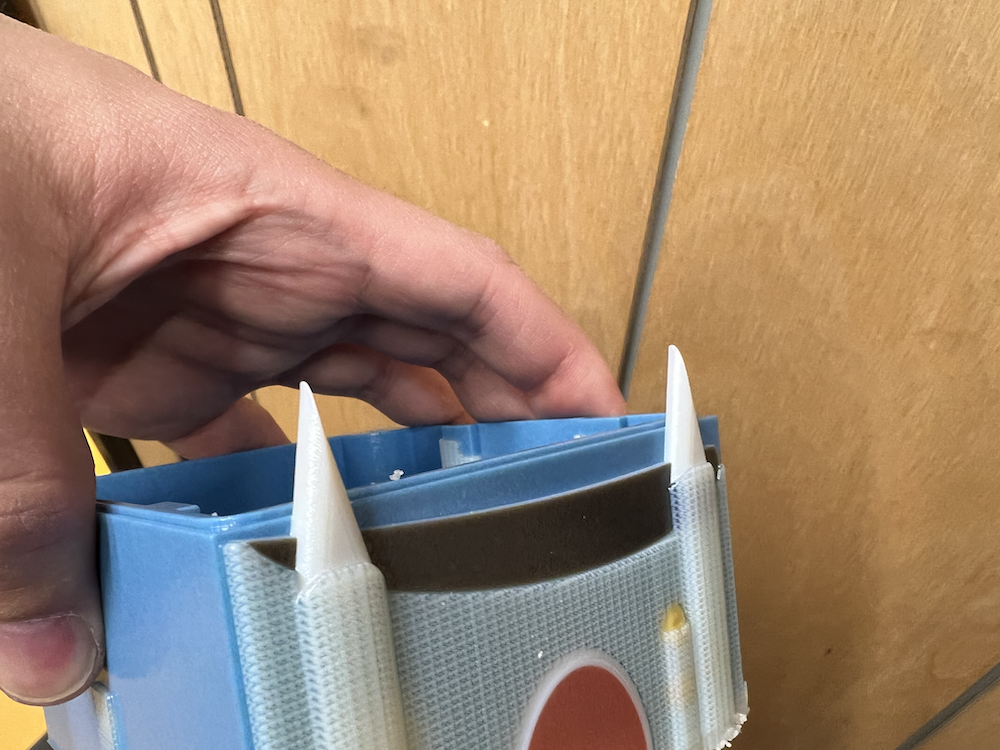
Be Careful! Parts are Brittle!
If you recall from the lecture, these prototypes can be very expensive and take a while to print, given they are printed on very precise machines. Unfortunately, if you accidentally damage your Toobers, you may not be able to get one reprinted until the end of the semester. If you drop your Toobers on the floor, it will likely shatter, so be careful!
Watch out for small, flimsy parts! The plastic material is brittle, and these parts are especially prone to snapping off. (See the awesome Toobers design below for an example) Be careful, and never apply force to your Toobers!.
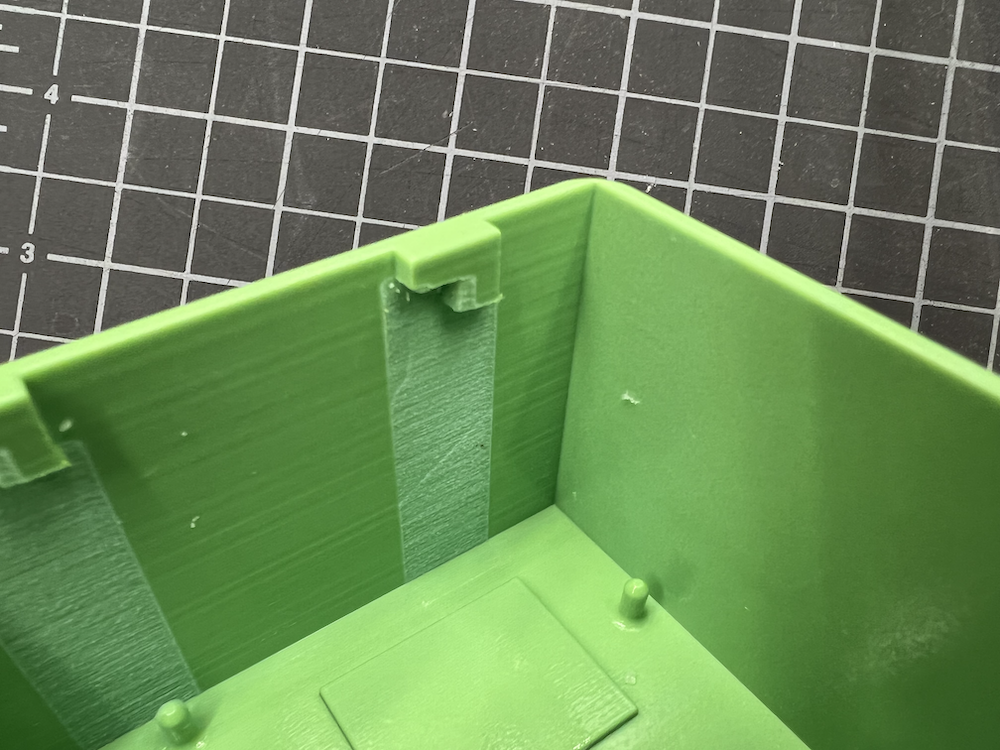
Removal of Extra Gunk
This 3D printer uses a gel-like substance to create its 'support material'. Take a moment to make sure that all the gunk has been thoroughly removed from the parts. Extra places to look out for includes: the locking mechanism, the speaker holes, and the screw holes. If there is extra support material, use something soft like a toothpick or a popsicle stick to scrape off any excess.
Avoid using something too abrasive, like 100 grit sandpaper (or sandpaper on the belts) on your Toobers! Depending on how the color was printed on, you may accidentally sand off too much of your Toobers and reveal a different color.
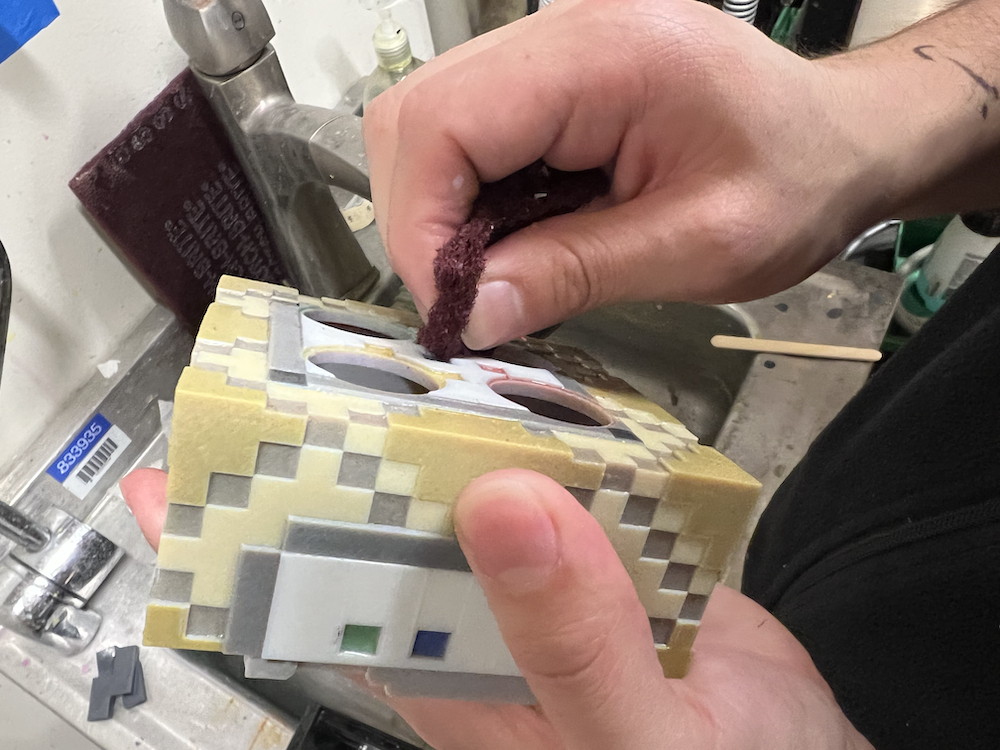
If you want to give it a nice finish and remove any layers of residue, some water and a little rubbing with some scotch brite pads will do the trick!
Sticky Toobers
If your Toobers is feeling a little sticky or unpleasant, dampen a paper towel or shop rag with some isopropyl alcohol and wipe the part down. It shouldn't take much to give it a nice, smooth, clean finish!
Threaded Insert
When designing an enclosure for your toy prototype, you want to think about how the insides could be accessible for repair, while not having it fall apart when you're testing/playing with the toy! The locking mechanism for Toobers constrains 5 out of the possible 6 degrees of freedom, while the screw constrains the final one. Ask your instructor if you'd like a little more clarification on this.
For using screws on 3D printed parts, we generally don't want to 3D print threads that the screws will go into (since the screws are metal and the part is plastic, it's easy for one to over power the other). One thing you can do is to use a nut on the other end. But for 3D prints, an alternative is to use a metal threaded insert.
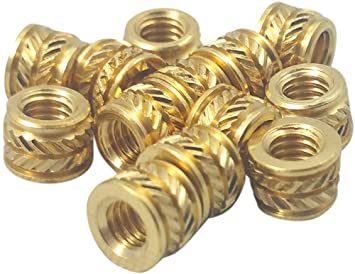
This heat set threaded insert can be affixed to your Toobers using a soldering iron with a special tip. Similarily, if you need to remove the threaded insert, there's an "extraction tip" for that as well. Remember to allow the soldering iron to cool before changing out the tip!
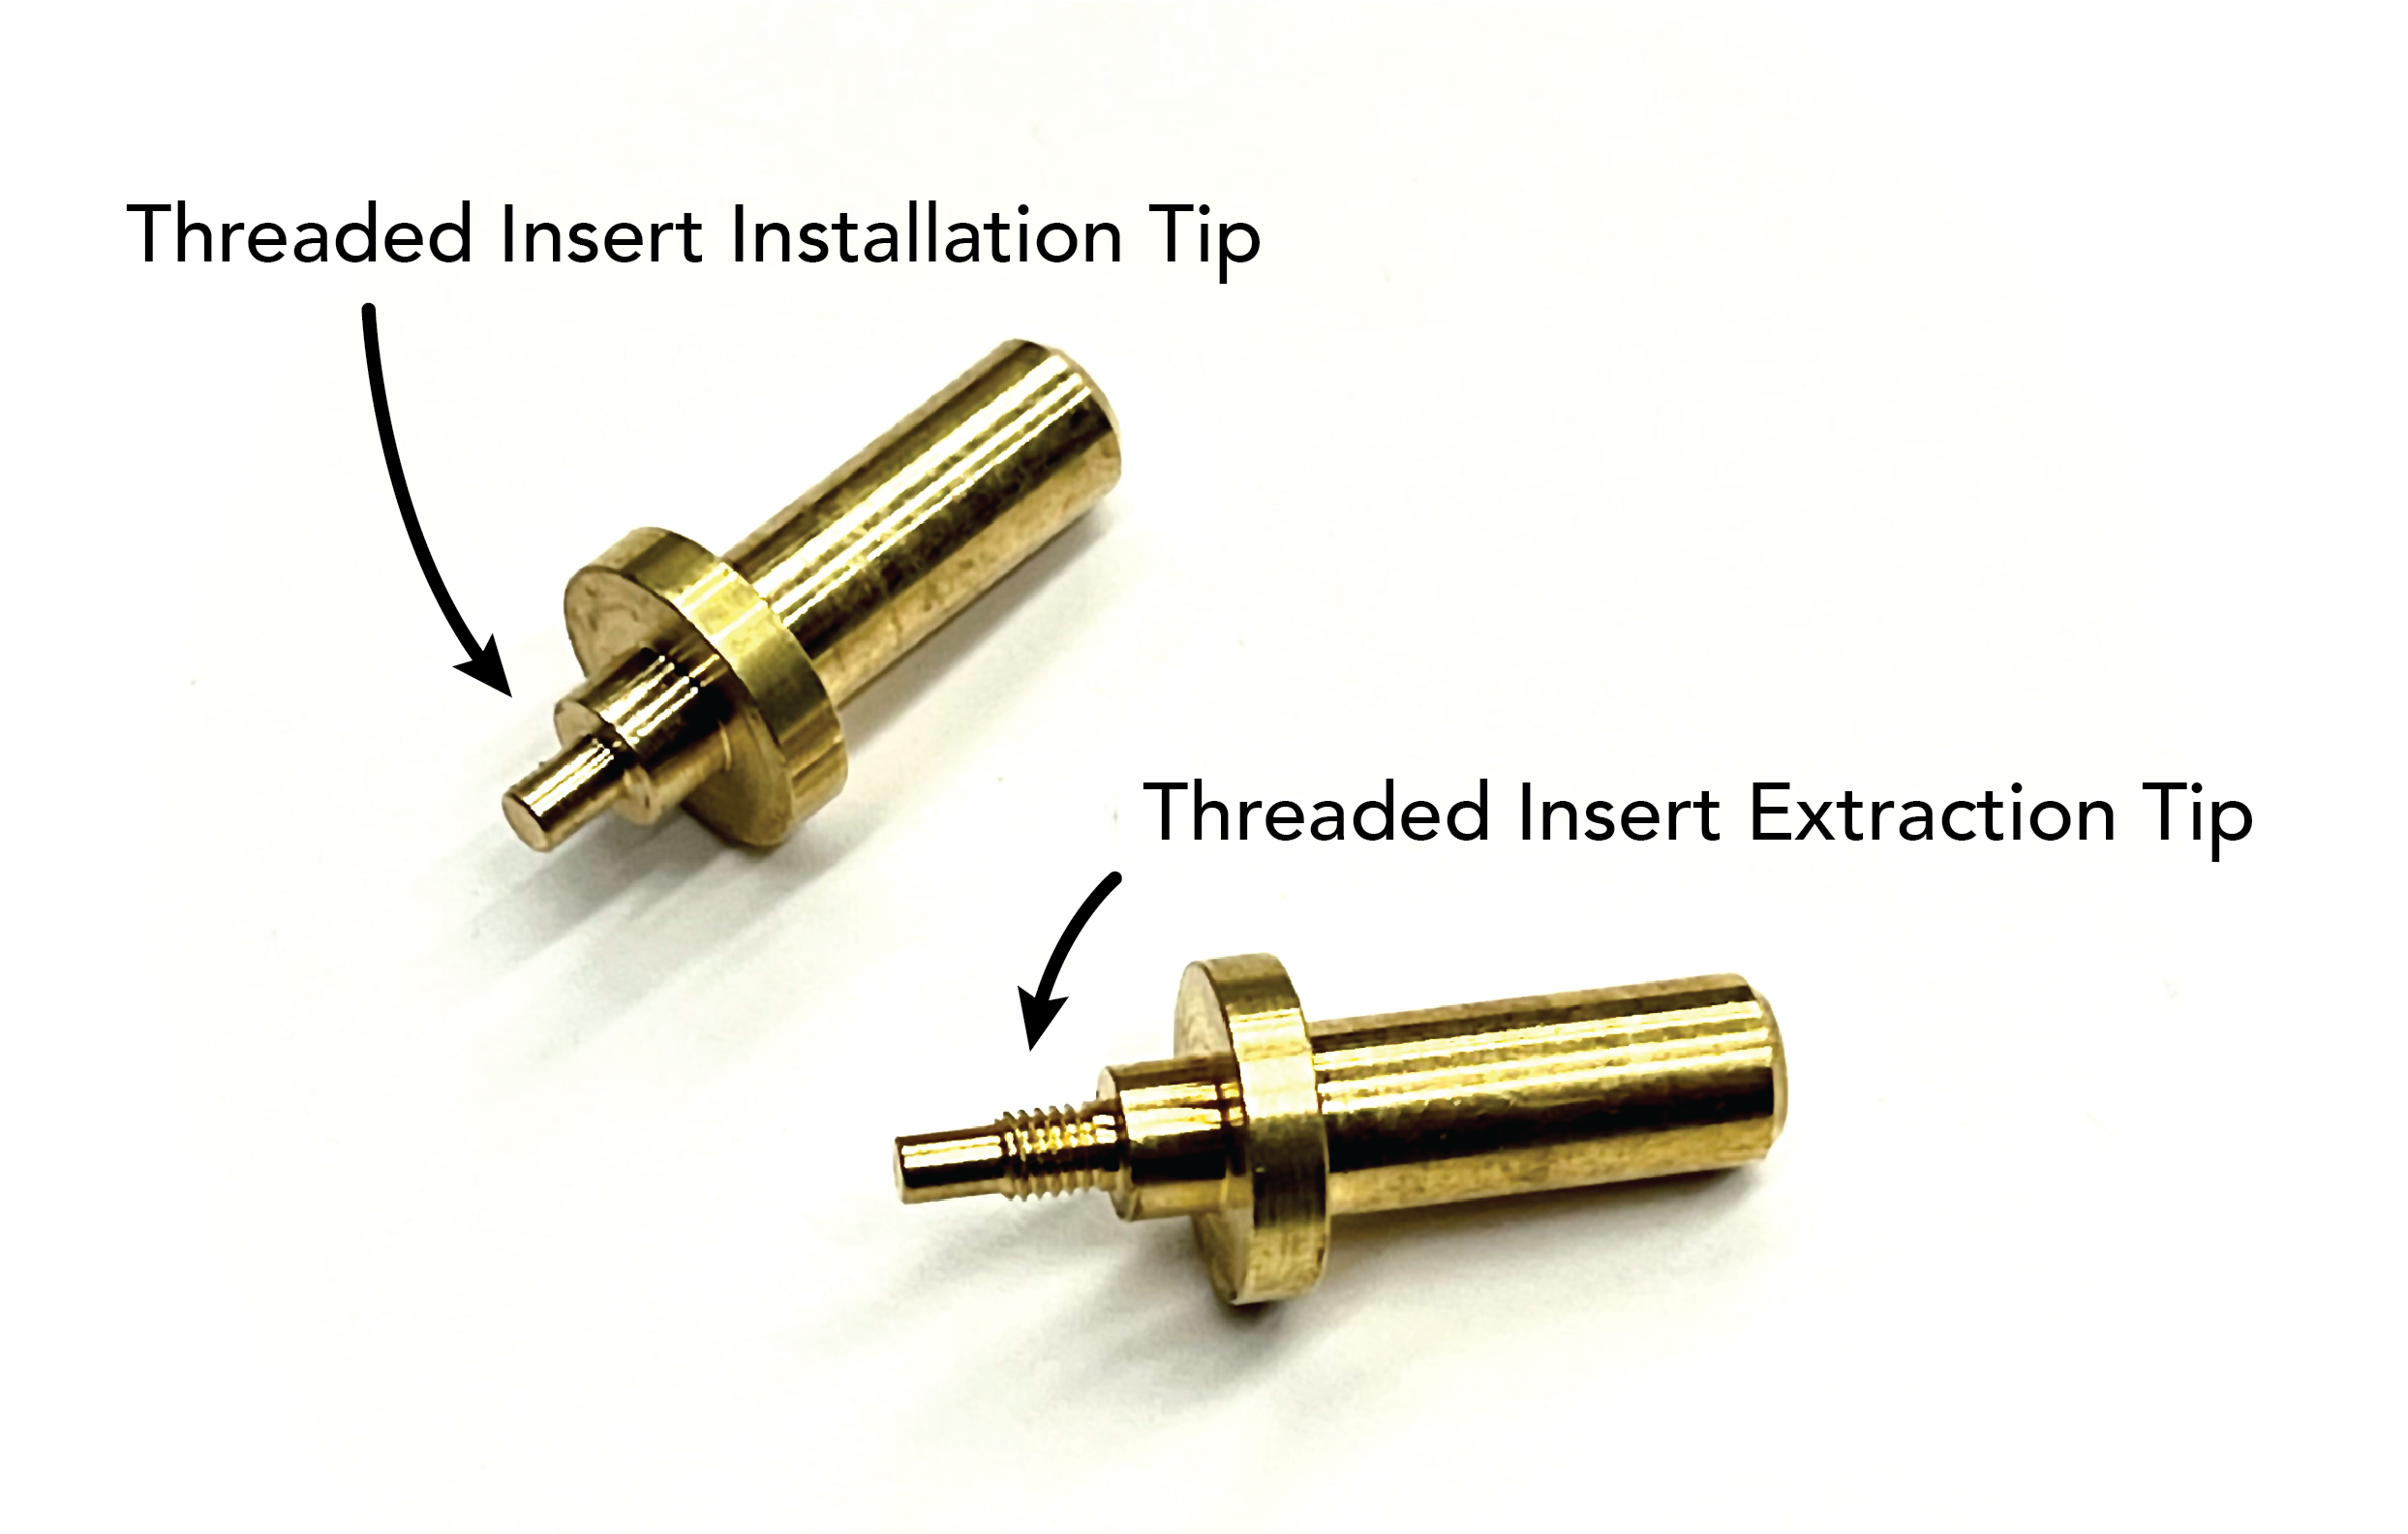
First, place the threaded insert on your Toobers, pushing it in slightly so it's vertical and ready to be melted into the plastic. Next, take the soldering iron with a special tip (see image below), and press the heat set insert into the Toobers so that the top is flush (or even a couple thou past) the top of your Toobers. DO NOT push with excessive force! Once the soldering iron has conducted enough heat to the threaded insert, it should melt relatively easily into your Toobers. Go slow!
Remember, HOT! Careful not to burn yourself or your teammates. Give your threaded insert a few minutes to cool down before touching it. You can wipe away any excess material, or use an Olfa knife to trim off any bumps or plastic that may have appeared in this process.