


2.00b Toy Product Design
Let's Play - Toobers!
Electronics 3Test the Microcontroller
This Lab
Welcome to Lab 1! The goal of this first lab will be to prototype a version of our Toobers toy on a breadboard. Everything you need for this lab will be in the electronics kit (the blue box!). It's yours to keep, and you're free to use any parts for anything you'd like in the future.
To start, please write your name on your electronics kit!
Take a couple minutes to check out the Toobers Kit Catalog (provided in your kit) along with all the different components. Make sure you can identify each item, and feel free to ask if you have questions!
For this lab (and a lot of the next) we will primarily be working independently on our own prototype - but that doesn't mean you can't ask your teammates for help and work together!
Hello Arduino!
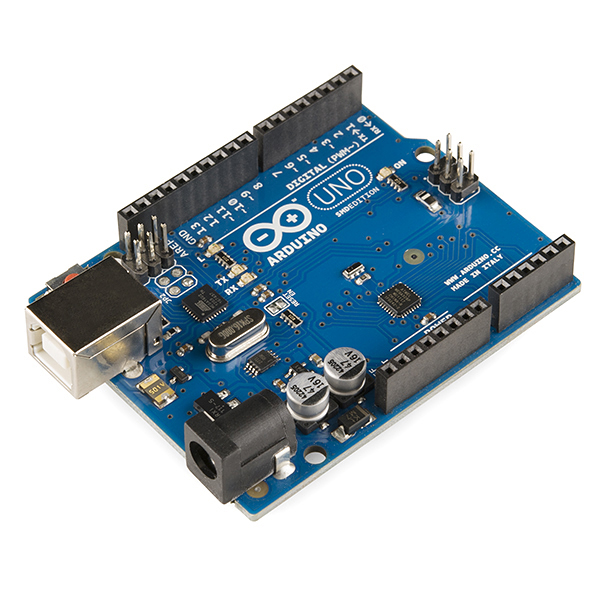
We'll be using an Arduino Uno microcontroller. Arduino makes a whole line of controllers, and many of them can be programmed and controlled in the same way. Once you learn how to work with an Arduino, you'll be able to use fancier Arduinos- some of which even have built-in WiFi, Bluetooth, etc.!
The basic idea behind an Arduino is that it allows us to programmatically take in inputs from the real world, have software applied to them, and send outputs back out into the real world. This is the 'brains' behind our operations, and how we'll be controlling the logic for our Simon-esque game!
Connecting & Uploading Code to the Arduino
Connect the USB type B end of the USB cable (that's the one that might look like a printer cable) to the Arduino, and then connect the other end (USB type C) to your computer. If you don't have a USB type C connector on your computer, we have plenty of USB type A cables - just ask a staff member in a lab coat and we'll swap it out for you!
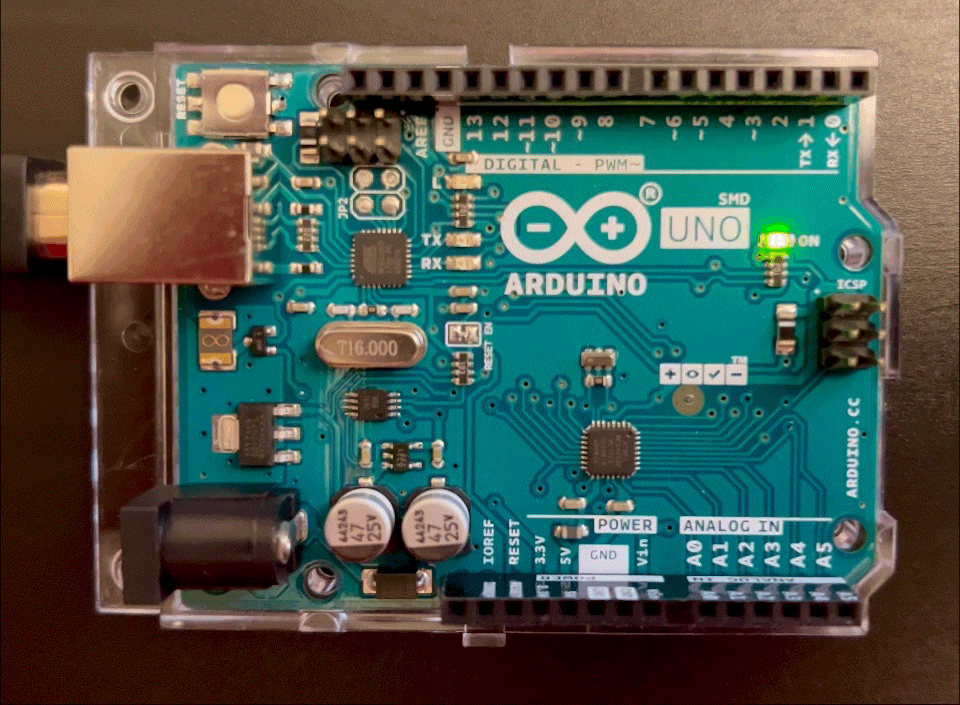
As soon as you plug in your Arduino, you'll notice a green LED may turn on, and a yellow LED may blink. This means the Arduino is on (and is currently being powered by your laptop!) If not, please try reattaching the USB cables and also trying out a different USB port on your computer. In the future, you can plug in your arduino to a usb wall adapter if you just need it to turn on (for demonstration purposes, or if your laptop isn't handy.)
Before we start programming the Arduino, we need to tell the Arduino IDE what type of microcontroller we are using and what port it is connected to on the computer. To do this:
- From the Arduino IDE menu bar, select Tools → Boards → Arduino Uno
- Next, we'll want to select the port on your computer that's connected to the Arduino. From the Arduino IDE menu bar, select Tools → Port → [ port name ]. The specific port name may vary, but usually you'll see the word 'Arduino' pop up beside the port in parenthesis. You will only see options if the computer detects that the microcontroller is connected.
Watch the video below for a demonstration of the steps above.
Explore the File Editor
The Arduino IDE always starts up with a File Editor, a screen to edit files, opened to an empty "sketch" template. "Sketch" files are what Arduino calls it's programs. The File Editor has a toolbar with six buttons which are typically used as follows:
New - creates a new sketch. When you start the IDE, it usually creates a new sketch.
Save - saves the sketch. If this is a new sketch, you will be prompted for a place to save the sketch and a filename. Sketch filenames end in ".ino". The file extension will be added by the IDE automatically. The IDE does not auto-save, so if you are working on a long program, be sure to hit the Save button periodically.
Please note that the .ino file needs to be in a folder that is named exactly the same as the .ino file. When you first save, it should automatically create the folder.
Open - if you have an existing sketch you want to work with, you can open it from here or from the Sketchbook, which is available via File → Sketchbook.
Verify - this checks your code for errors. If there are errors, the error messages will appear in the area at the bottom called the console. If there are no errors, the code will be compiled, meaning turned into a format that the microcontroller will understand.
Upload - this will compile your code (if not already compiled) and upload it to the connected microcontroller. Any errors in the process will appear in the console.
Serial Monitor - this opens up the Serial Monitor, which is an area that can be used for status information from the microcontroller while it is attached to your computer and running a program.
Understand the Sketch Template
The sketch template includes the two functions that must be included in every Arduino sketch. The setup function is run after each time the Arduino starts up or restarts. Once the setup function is completed, the loop function runs continuously, meaning that once it is completed, it starts to run again from its beginning.
There are different programming languages that code can be written in. Arduino sketches are written in the programming language C++. Each programming language has its own rules, called syntax, for how the lines of code must be written. We'll review a few of the basic principles here.
C++ is case-sensitive, so a name "greg" would be different from a name "Greg". Each line of C++ code ends in a semicolon. In addition to lines of code, you may put comments in code.
Comment lines are ignored by the compiler, so they aren't translated into machine language. Their purpose is to make the code more human-readable and understandable. There are two types of comment characters in C++. The two forward slash comment character used in the sketch template means that everything on the line after the two forward slashes is a comment. Notice how the IDE color-codes different parts of the code. Comments are in gray by default.
The second method of doing comments is by wrapping it in a slash and an asterisk (and closing with an asterisk and a slash.)
/* this is also an example of a comment
It can span multiple lines!
You just need to wrap everything like this */
Functions are lines of code that work together to do something and can be reused. For example, a function might implement an algorithm to figure out the fastest design from different sets of parameters. Functions may also send and receive data, such as telling a display what text to show and how. Each function has a name, like setup, and the code for the function is written between a set of open and close parenthesis.
Functions can return values that may be used by other bits of code. For example, a function may return a number representing the average value of a series of numbers, or more complicated data structures. In C++, the type of the returned value is the first part of the function definition, followed by the function's name. A type of void means that the function does not return a value to be used elsewhere in the program.
Whew! That was a whirlwind tour of coding. It's ok if you don't understand it all. Now let's do something!
Running an example program
Now that we've told the IDE what kind of microcontroller we are working with and how to communicate with it, let's try out a test program.
File → Examples → 01. Basics → Blink
Be careful not to type anything into the file, or you may inadvertently introduce an error. If the File Editor window is small, just grab a corner and drag to make it bigger.
Click "Verify". You should get a "Done compiling." status message in the status bar. Then click "Upload". You should get a "Done uploading." status message. If this is successful, you should then see the built-in LED near Pin 13 on the Arduino Uno blink one second on and one second off.
(Note: You can hit upload without hitting verify first - Upload will automatically compile and verify your code)
The video shows how to open the example program and upload it to the microcontroller.
The video below demonstrates what you should see on your microcontroller once the program is loaded.
If you have problems, please ask for help! Take a moment to look at the code uploaded, and see if it makes sense to you. If not, no worries. At this point, we do not expect you to understand any of the program. The goal right now is just to be able to run pre-written programs.
// This is an example of a comment. You can write whatever after two slashes
// Like this if you want to take notes (or see what past-you have written!)