|
|
Keurig B60 Brewer |
| Introduction Experience Benefits Problems Solutions |
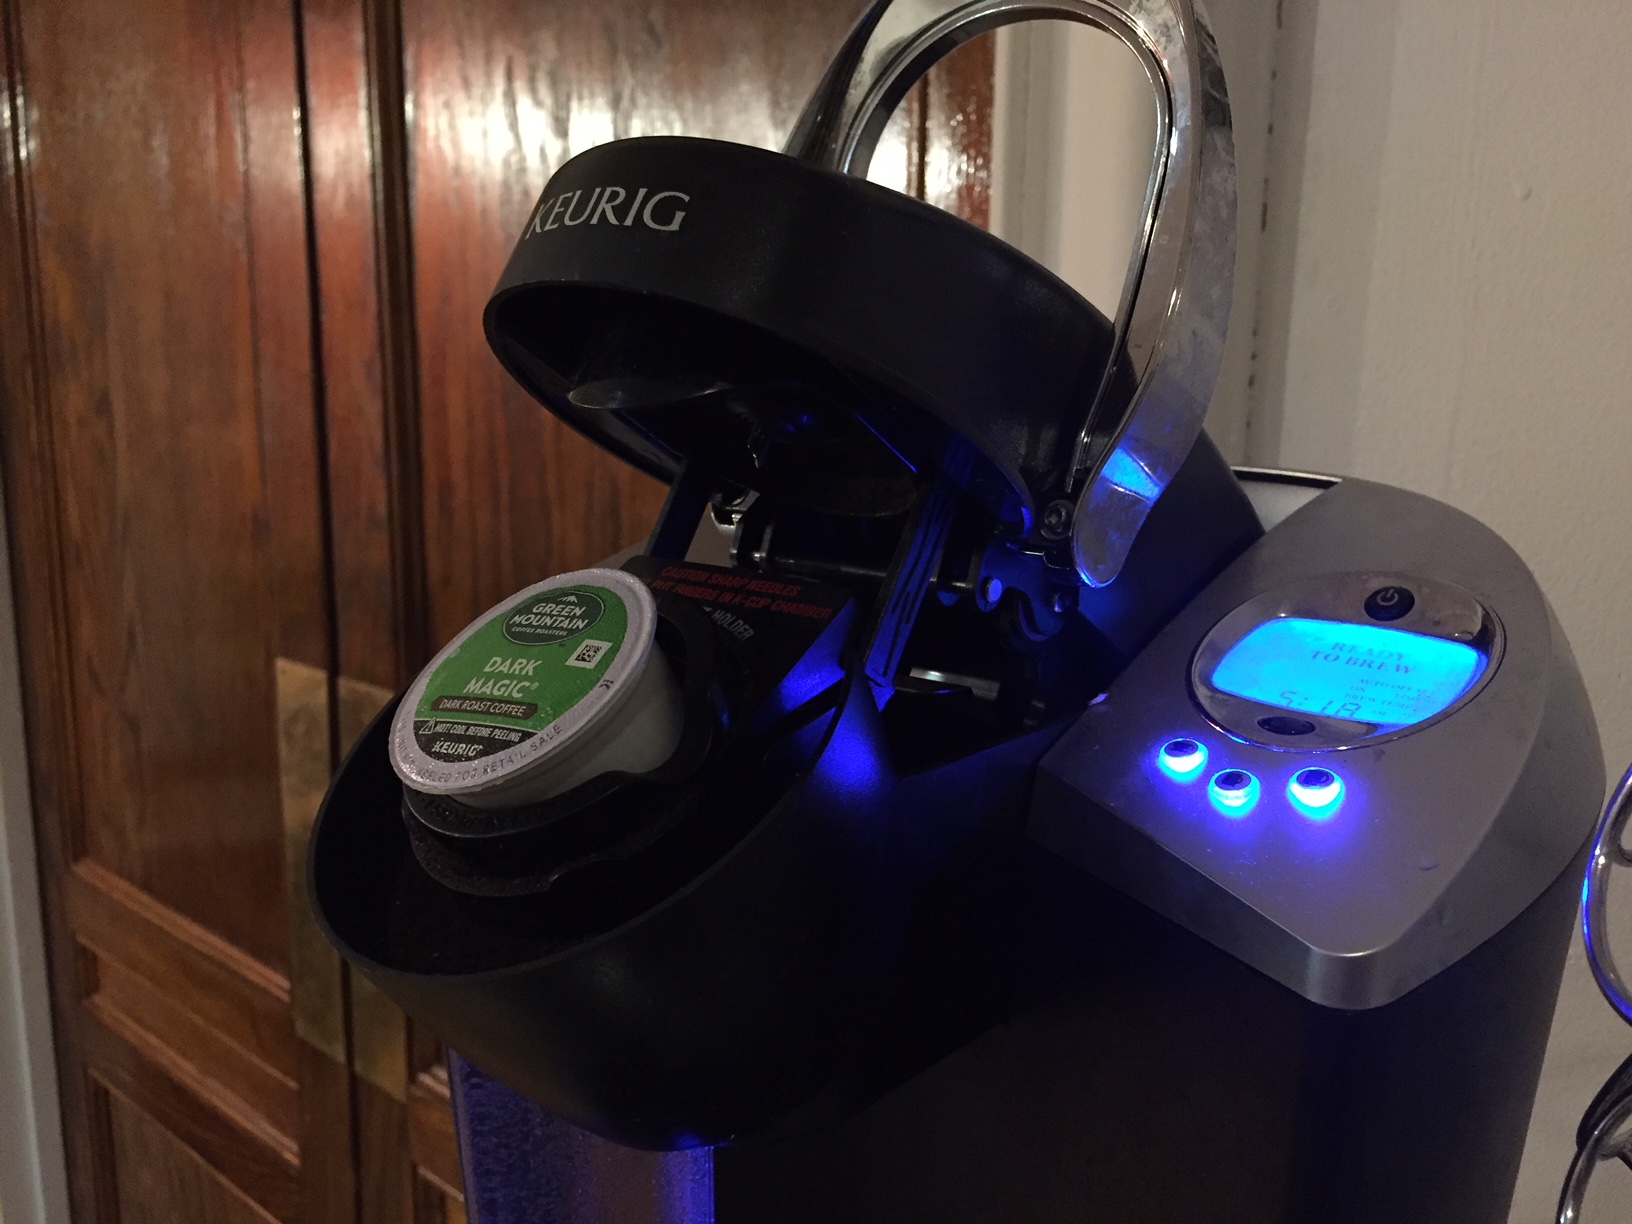
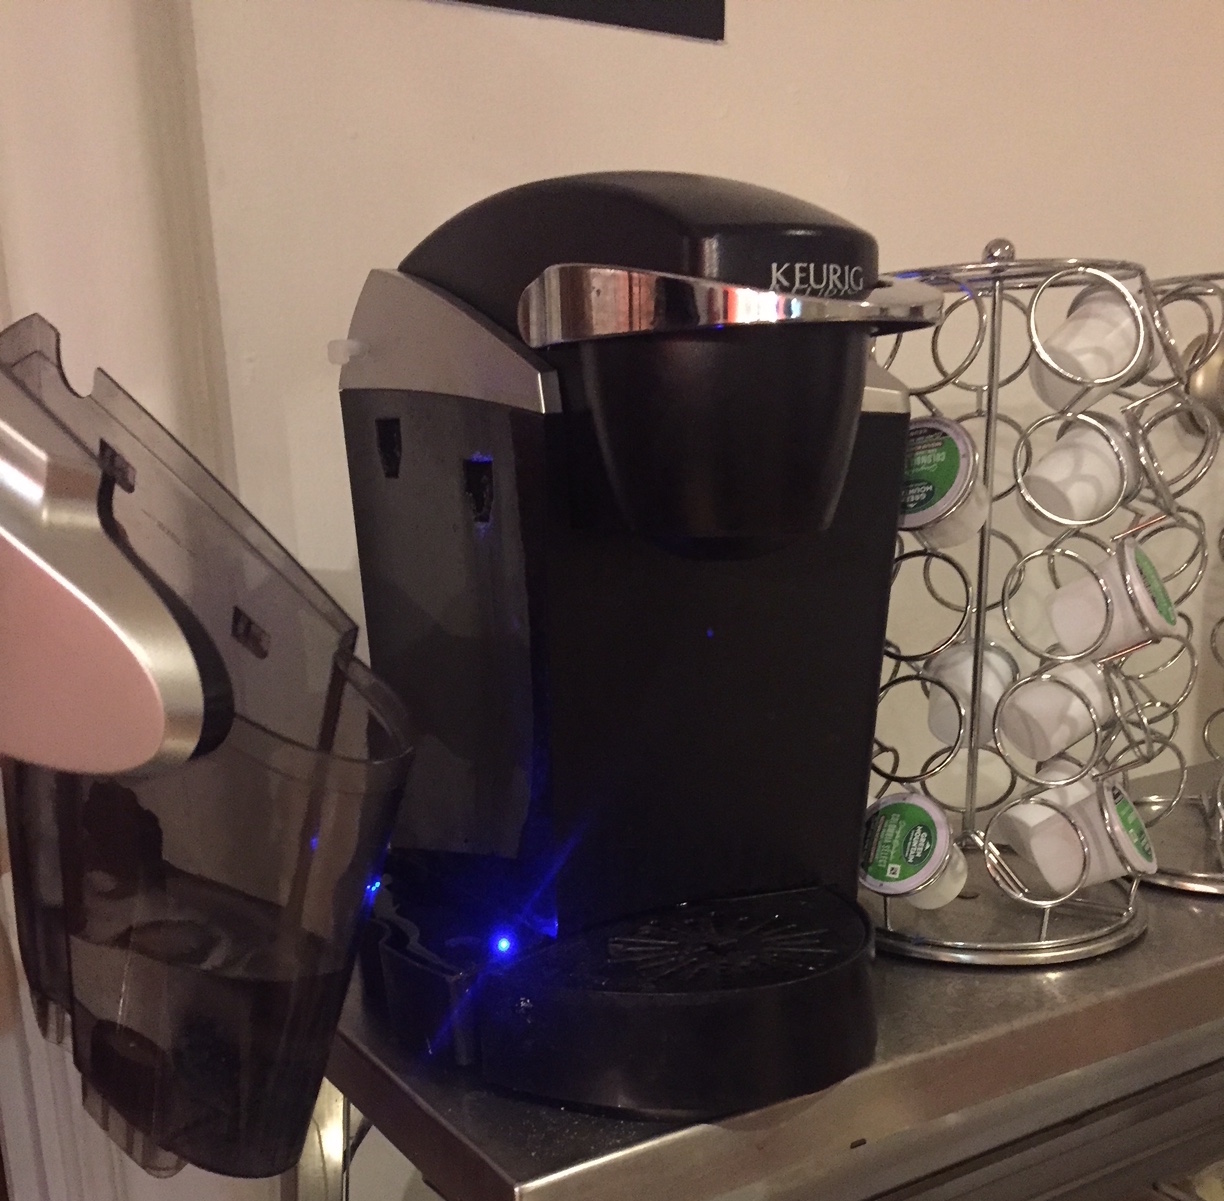
Loading and Brewing from a K-CupThe Keurig B60 has all controls at the top of the brewer. There are five buttons in the vicinity of the LED screen which for the most part have clear labels: Power, the three different cup sizes and a toggle for the menu options. This review will only consider the brewing functionality. The first step in using the B60 is ensuring that the device is connected to an electrical plug and that the water resrvoir is sufficiently full. Next, the user should turn on the device with the furthermost button next the LCD screen on the top left of the device. The machine will make some mechanical sounds as it turns on, and will display the message "Not Ready" message for about 4 minutes while it brings its internal components and a small water reservoir to temperature. At the end of this cycle, the machine will read: "Ready to Brew".
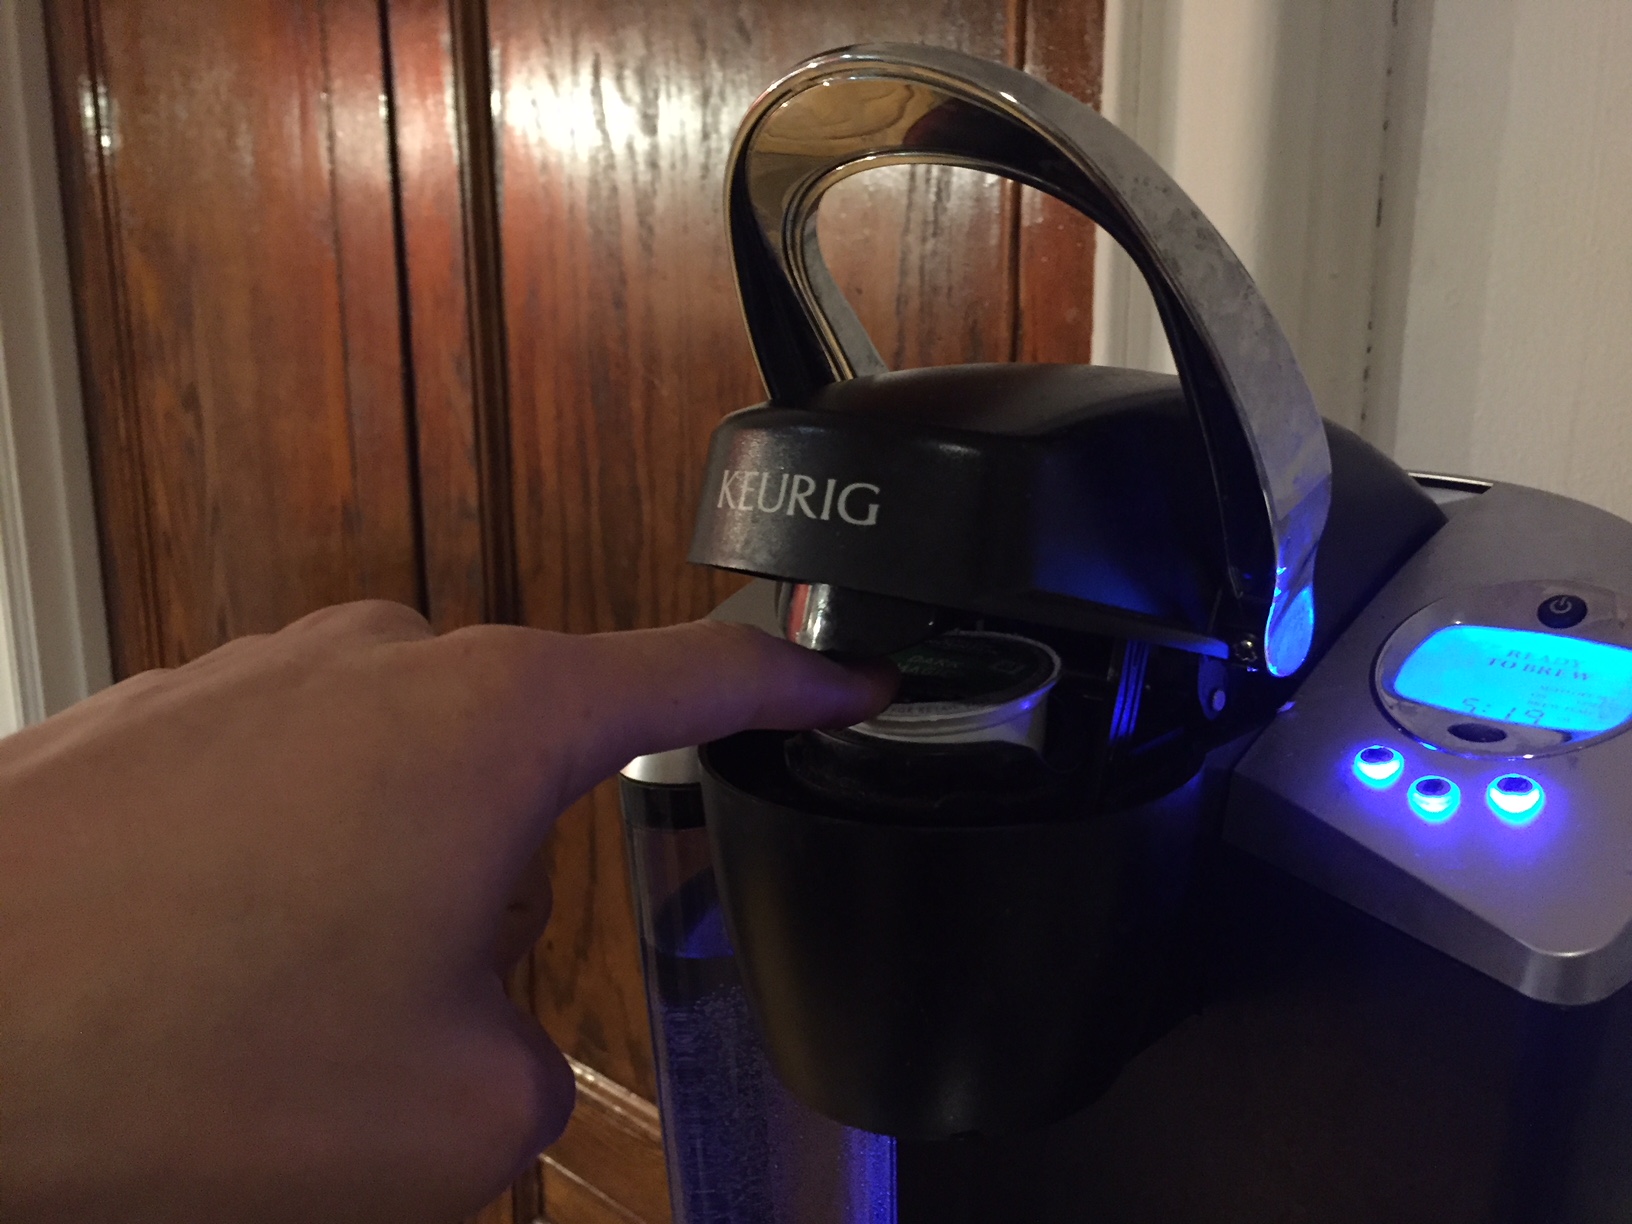
In the sequence of images above, the main procedure for brewing coffee or tea from the K-Cup, is shown. The head of the B60 opens using the silver handle, revealing a slot for the K-Cup to sit in. There is only one way of loading the K-cup and closing the head of the machine so it is self-explanatory. For a first time user, the fact that the K-Cup does not sit flush against any of the borders might be confusing. The user might attempt to push down on the cup which will close the head on the users fingers. The surface above has some topology, but nothing that strikes as particularly dangerous. Once the K-Cup is loaded and the head is back in place the user is prompted to select a cup size by some blinking blue buttons with three images of cups in increasing size from left to right. One the desired size is selected the machine will begin brewing, displaying the "Brewing" text on the screen. Unless the head is opened and closed, the Keurig B60 will not prompt the user to select a cup size nor will it start brewing, even if a cup size is pressed. I found the brewing cycle to take about 2 minutes after the machine has given the "Ready to Brew" message for the first cup and about a minute for any cup therafter. I did not attempt to open the B60 while brewing, although there is some online evidence of the undesireable consequences. Once the brewing process is complete, it is safe to open the Keurig and remove the K-Cup (it will be warm).
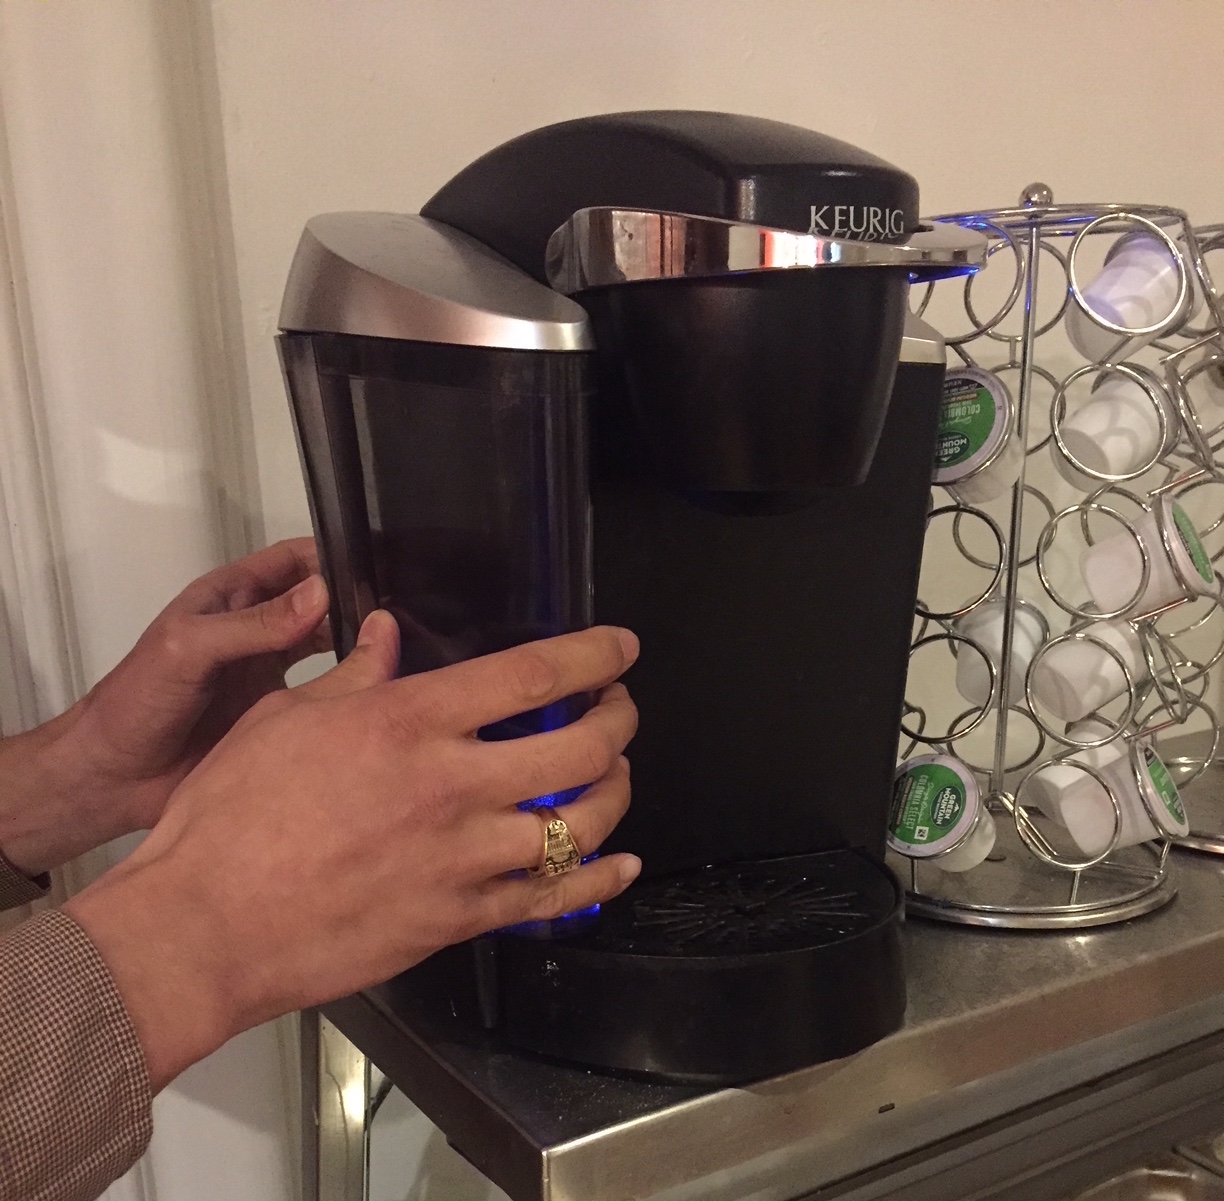
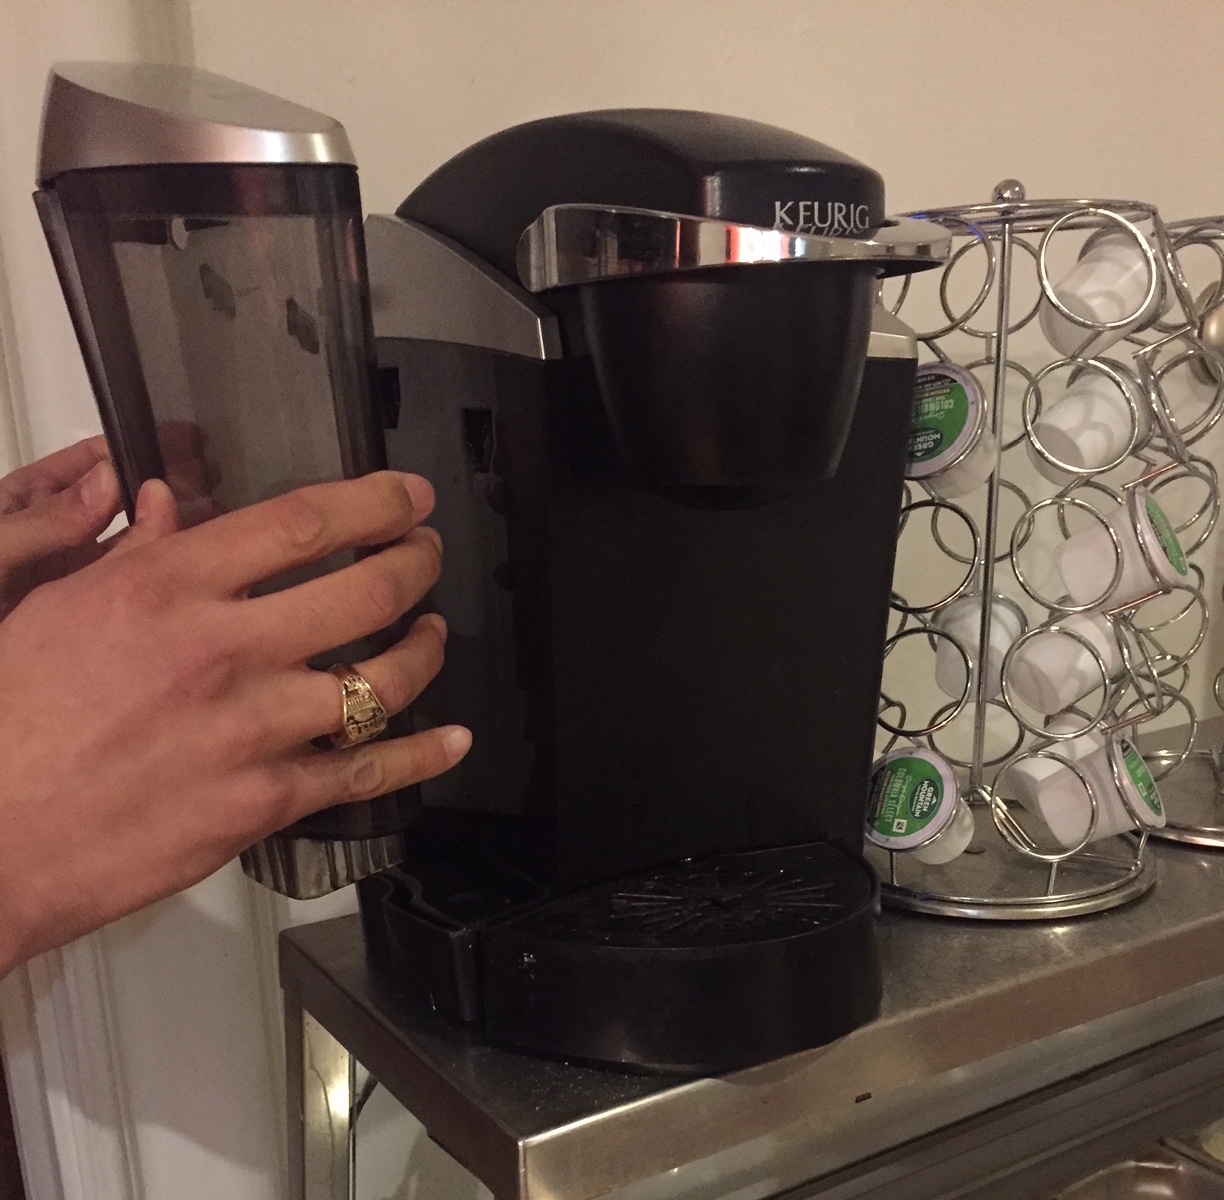
Adding WaterThe Keurig B60 draws water from a transparent water reservoir that sits on the left of the machine. It is able to hold 48 ounces of water, enough for 9 small cups, 6 medium cups or 5 large cups. The tank has a sensor that monitors the water level. If it is too low to brew an "Add Water" message is displayed on the screen. There are two options to fill the reservoir. The first is to bring water to the machine and pour it into the container after lifting the dust cover. The other is to lift the reservoir off the B60, remove the lid, fill with water and return to its original position on the device. This process was found to be convenient and simple to do.
Brewing Coffee for Travel MugThe video below shows (in painstaking detail) the brewing process of the Keurig B60 between the moment when the large cup button is pressed and when the last drop of coffee is dripped into the travel mug. Note that this 7.5 inch travel mug does not clear under the B60's head and must be held in place at an angle by the user. If the B60 were to be placed on a kitchen counter far from the ledge, it would not be possible to brew into a travel mug of this size.
|