Egyptian Sand Magic: Sketch Models
User Experience Based on Chladni Figures
Interactive Wall
Looks-like and Works-like sketch model
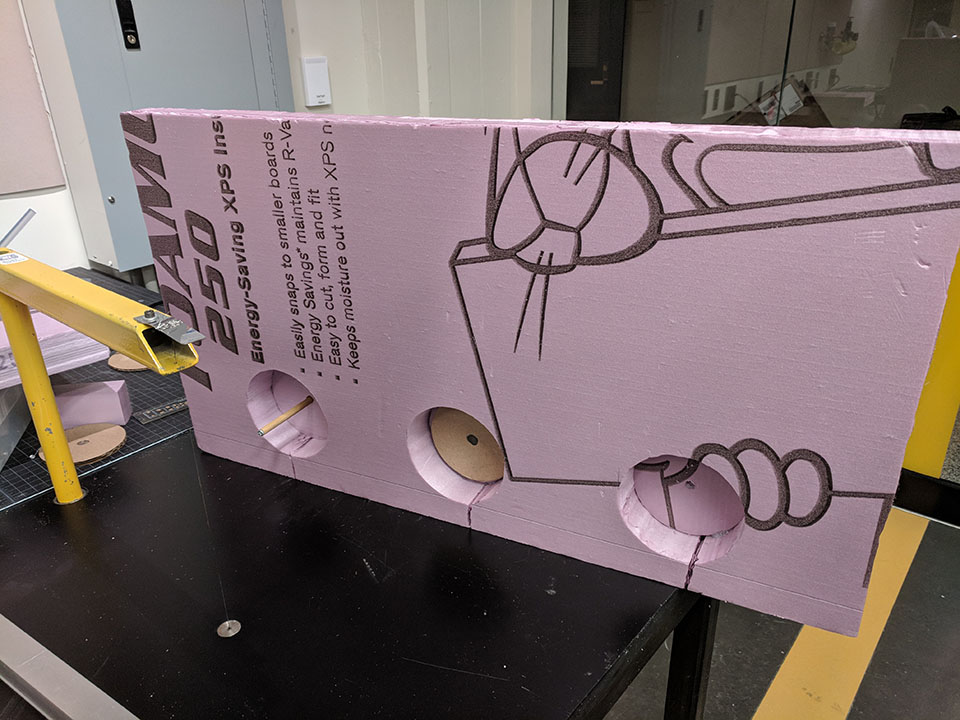
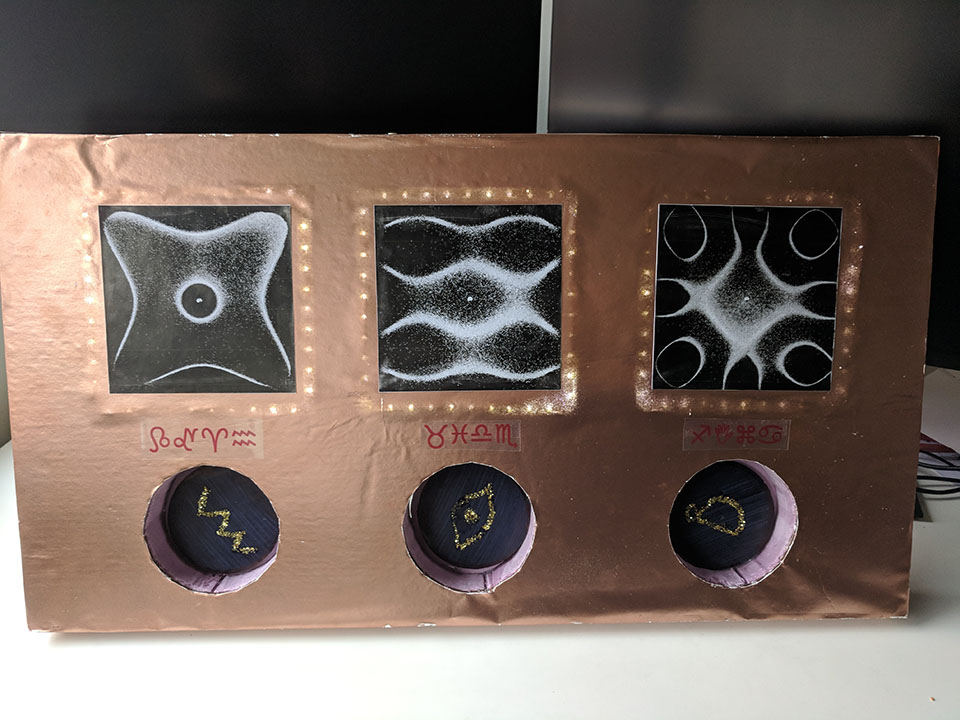
To build the interactive wall as envisioned in the storyboard, I started with a block of foam core from which I then cut a rectangle and three holes that would house the circular medallions. The three circles that were cut from the foam core were then moves about 3/4 away form the surface of the foam core and hot-glued into position after a hole was drilled through the center of each piece. The medallions needed to be initially embedded into the wall and then to protrude outward when the right set of actions are taken. Thus, I used motorized potentiometers to enable this linear motion.

I took cylindrical wooden rods and mounted them to the potentiometers by cutting a slot through the middle of the rods as shown. Then, using hot gluie, I mounted the motorized potentiometers onto the foam core, such that the wooden rods go through the holes.
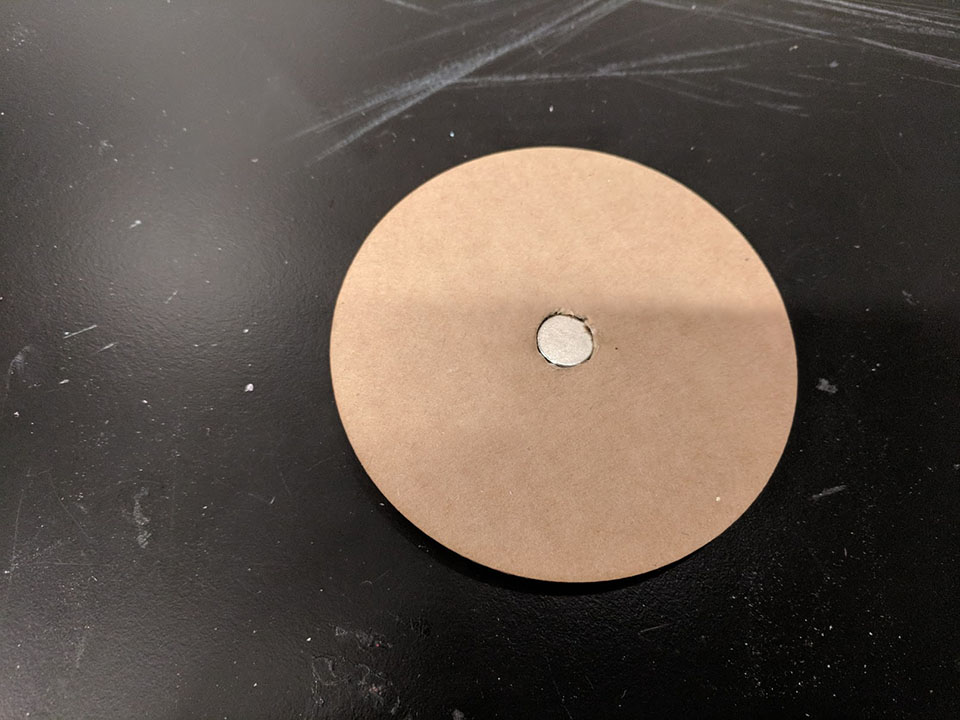
I then cut three circular disks out of cardbaord that would represent the medallions. They were to be attached to the wooden rods via magnets. A stee screw was drilled at the end of the rods, and small neodymium magnets were glued at the centers of the cardboard disks.
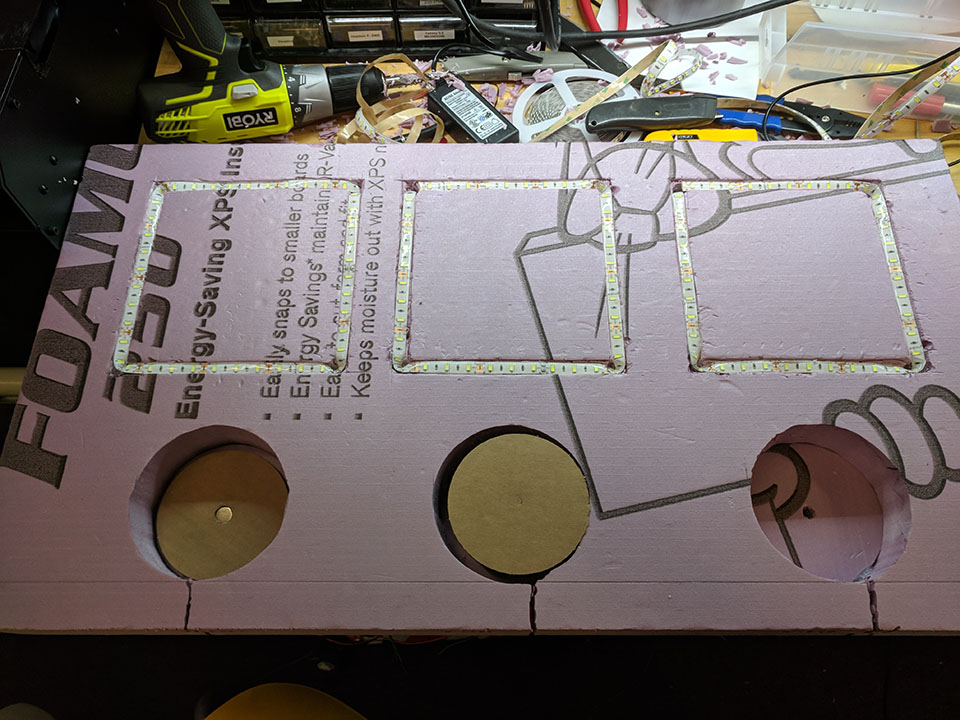
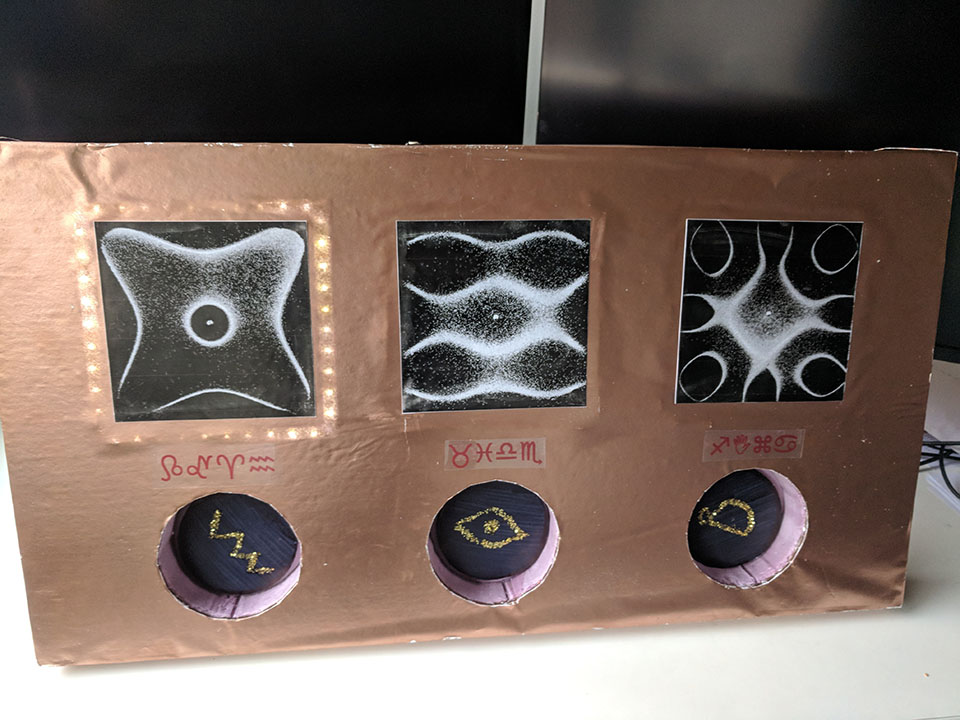
On the front side of the cardboard, I needed to have three pictures of different Chladni patterns, with programmable LEDs around each picture. The LEDs, however needed to be flush with the surface of the wall. Thefore, I first carved a challel where the LEDs were to be positioned and then hot gluied strips of LEDs inside those channels.
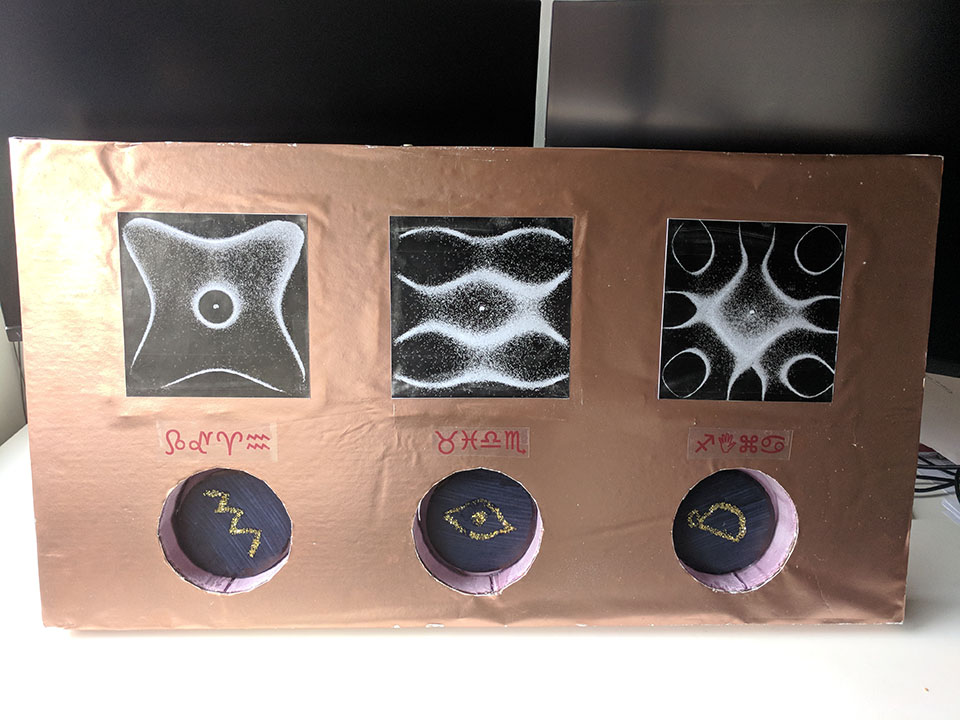
In terms of decoration, we were going for an Egyptian-themed style, therefore I spray painted a large sheet of paper in a bronze color and then grouid it to the foam core. Three Chaldni pattern pictures were then clued on top at their respective position. The medallions were also decorated with hieroglyphs. A for character hieroglyph name was given to each image, and the names were printed on a transparency and then taped underneath the images.
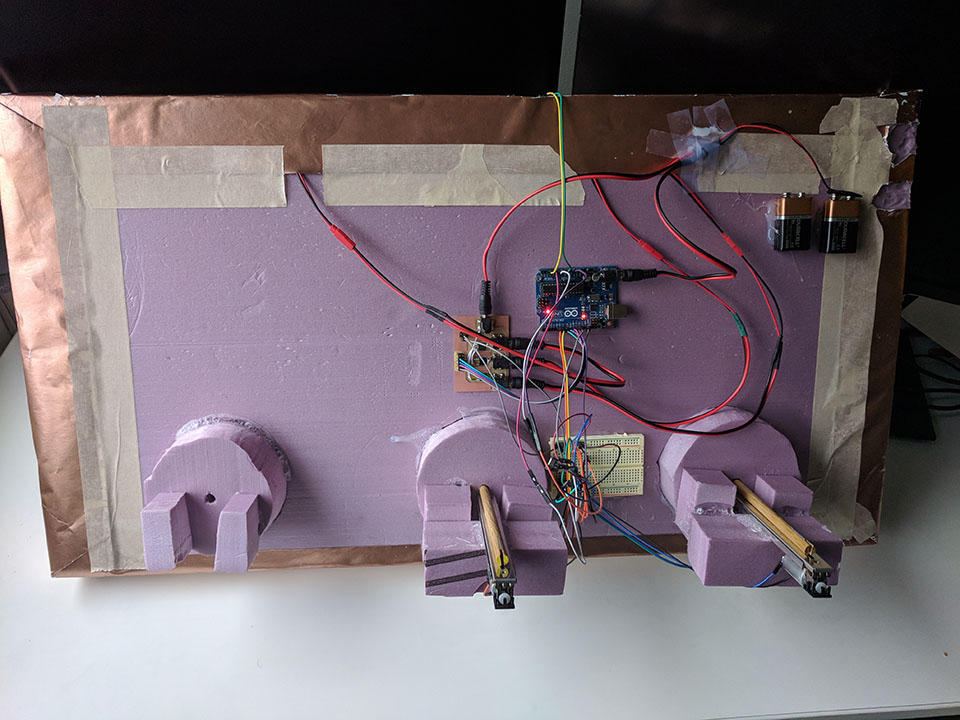
After completing all of the mechanical and visual aspects of the wall design, it was time to make it interactive. I used an ATmega328p microcontroller to provide the logic signals for the interactive experience, and N-channel mosfets to provide power control to the motors and the LEDs from the microcontroller. A 9-volt battery was used as the power source for microcontroller, LEDs, and motors. A second 9-volt battery was also installed as a backup power source for the when the first one is depletd. In the final interactive experiene, the wall will be communicating with the interactive table and the chladni plate. But in this sketch model design, the three components are independent from one another. Thus I used a single push button mounted on the top edge, and implemented a state machine to showcase and demonstrate what would happen if information were received from the interactive table. In addition to the button, the micrcontorller also receives input from the motoroized potentiometers. The potentiometer ranges from 0-ohmto 10-kohm. Thus, I made a voltage divider circuit by attaching a 10k resistor in series with the potentiometer, and by reading the voltage between the two resistors using the microcontroller's A/D converter, I could determine the exact position of each medallion.

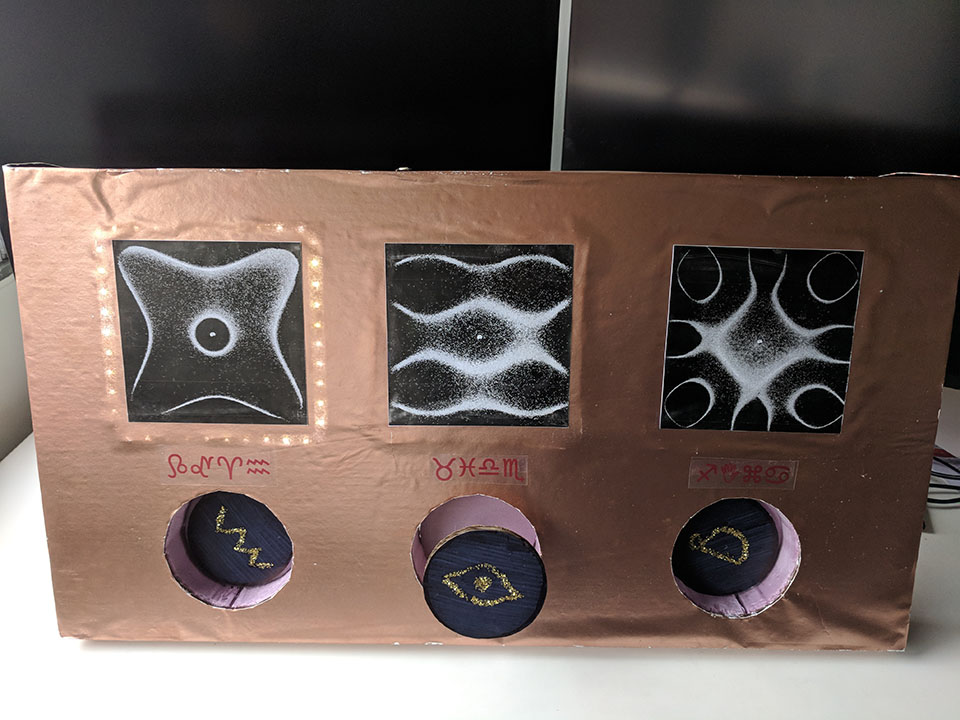
When the button is pressed and released, one of the medallions comes out of the wall.
The user then has to spin it clockwise and push it back inward, at which point the LEDs above it light up.
When the button is pressed again, another medallion comes out. Although the sequence in this case is from left to right, in the final implementation, the order in which medallions would be coming out of the wall will be random.
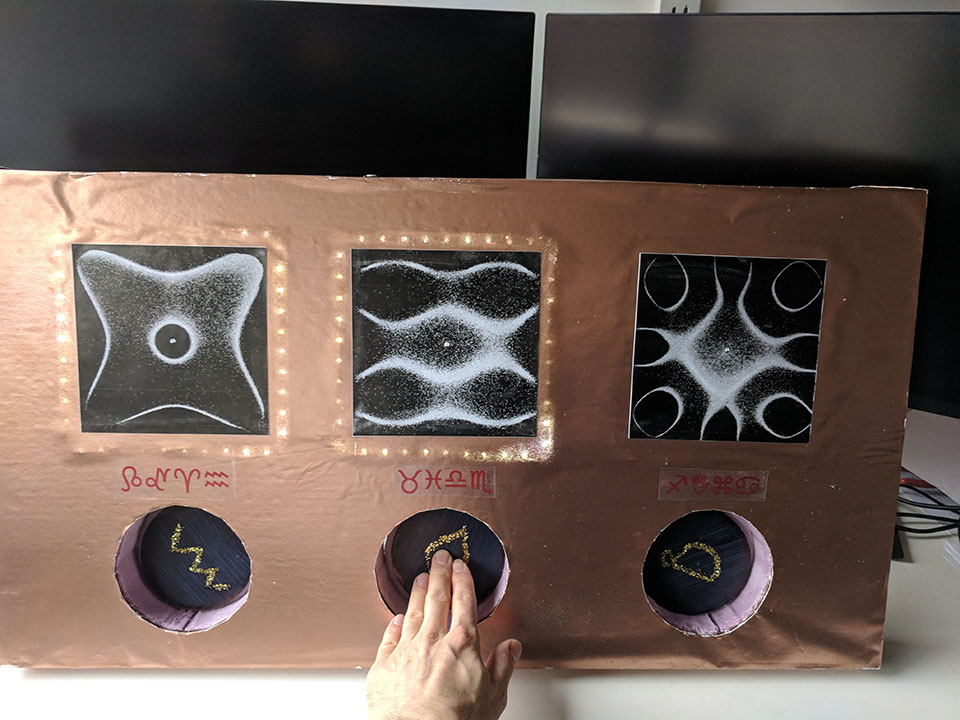
The player again has to push it inward to unlock the second image, as incidated by the LEDs lighting up.
When the final image is unlockd the user has completed the game.
In the original storyboard for this gag, the players were supposed to take the medallions and use them as tokens to start up a different gag in the same room, by inserting them into that other gag. However, a potention problem with that approach would have been that the players can walk out with the medallions and leave the game unplayable. Moreover, players would also have moved only 1 or 2 of the medallions to another gag and leaving the game half finished, which would have also made the game unplayable for the next group. The main question that was adressed with this skethc model is how to prevent those scenarios from happening. That is when the solution was conceived to simply have the users turn the medallions by some number od degrees and then push them back inward. In the current implementation, the medallions are simply held by magnets and therefore they are still removable. But in the final implementation, they would be permanently attached. Moreover, there would then be a linear encoder to track the exact number of degrees by which a medallion is rotated. For the different medallions, users may have to rotate them by different amounts. And there may be LEDs on the medallions to indicate when the correct number of degreess has been reached.
Interactive Table Facade
Looks-like sketch model
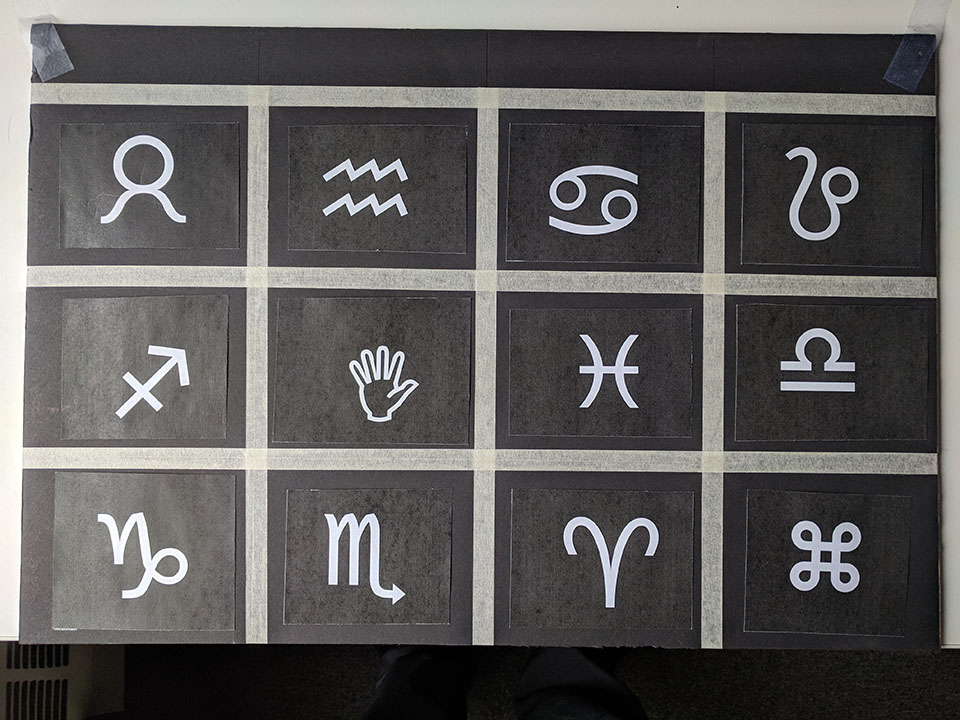
The facade of the table consists of a large number of bricks with a hieroglyph inscribed in each brick. Each bricks is meant to be pushable into the table, so that the players can spell the name of each pictures from the wall by pushing simultaneously on the bricks whose hieroglyphs corresponding to the picture's name. The original idea for implementing this was to create bricks out of foam core and then mount a spring, a solenoid, and an LED on each brick - so that if the user pushes the correct bricks the solenoid activates and the bricks stayes pushed, but if a wrong bricks us pressed, it springs back to its original position. After evaluating the complexity, and the cost that such a design would involve, I realized a comparable user experience could be achieved for a much lower cost and complexity if one uses tiles instead of bricks. In that case, if a tile corresponding to the name of the active picture is pressed, an LED at the center of the tile lights up, and if a wrong tile is pressed, the LEDs behind it does not light up. All tiles corresponding to the name of the active picture need to be pushed simultaneously (within a 3 second window from each other) for the user to solve this part of the game. I made a sketch model that shows what a tile-based facade would look like.
Enclosed Interactive Chladni Plate
Works-like and Looks-like sketch model
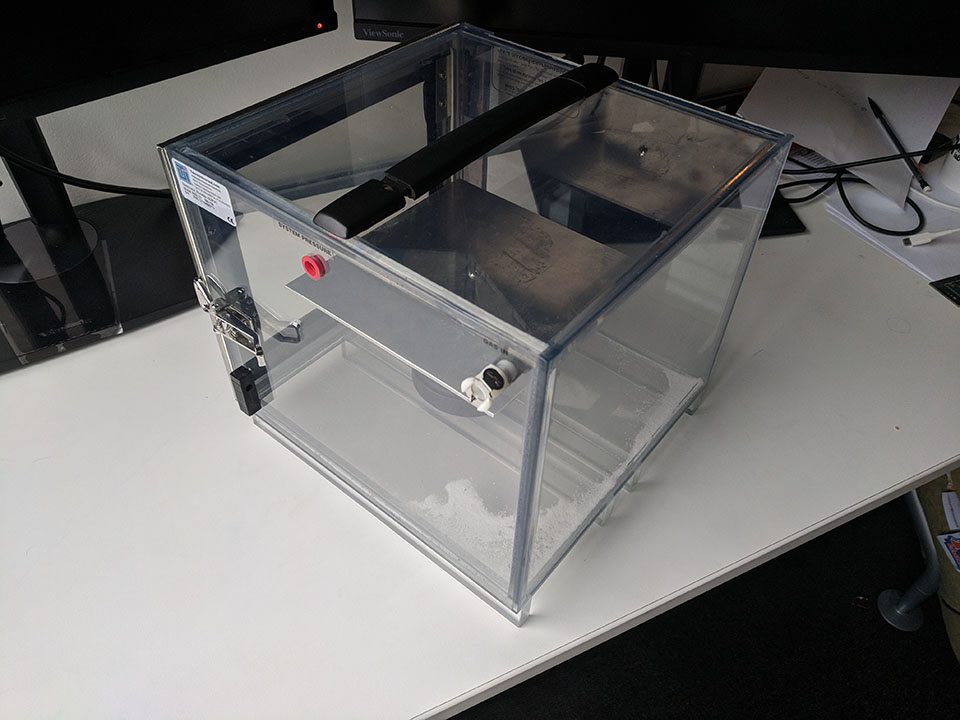
The most intriguing component of the complete user experience is the Chladni plate enclosed inside a transparent box. When a user touches the box, the chladni pattern on the plate changes. For the first pattern to appear, only one user needs to touch the box. For the seond pattern to appear 2 users need to touch the box, and for the third pattern to appear, the users have to first spin the box by a full revolution and then touch it. The touch sensitivity and the spinning sensing were not implemented in this initial prototype, but all other chatacteristics of the design have been developed.
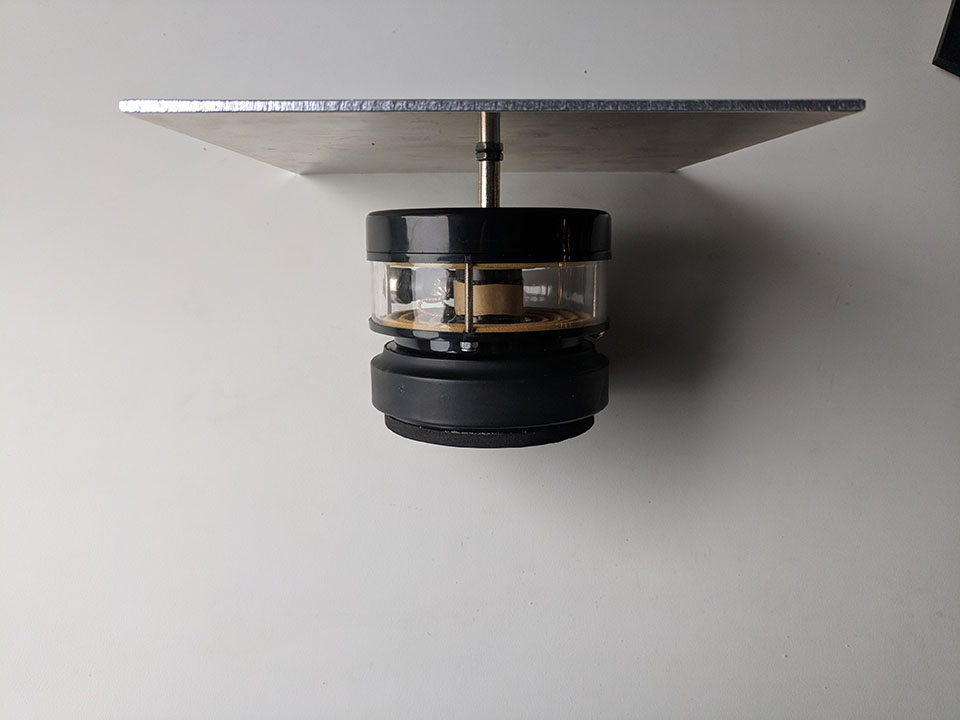
I bought a mechanical wave driver, and then I cut an 8in x 8in pice of alluminum through the center of which I drilled a hole. I mounted the alluminum on top of the driver with a machine screw and two washers.
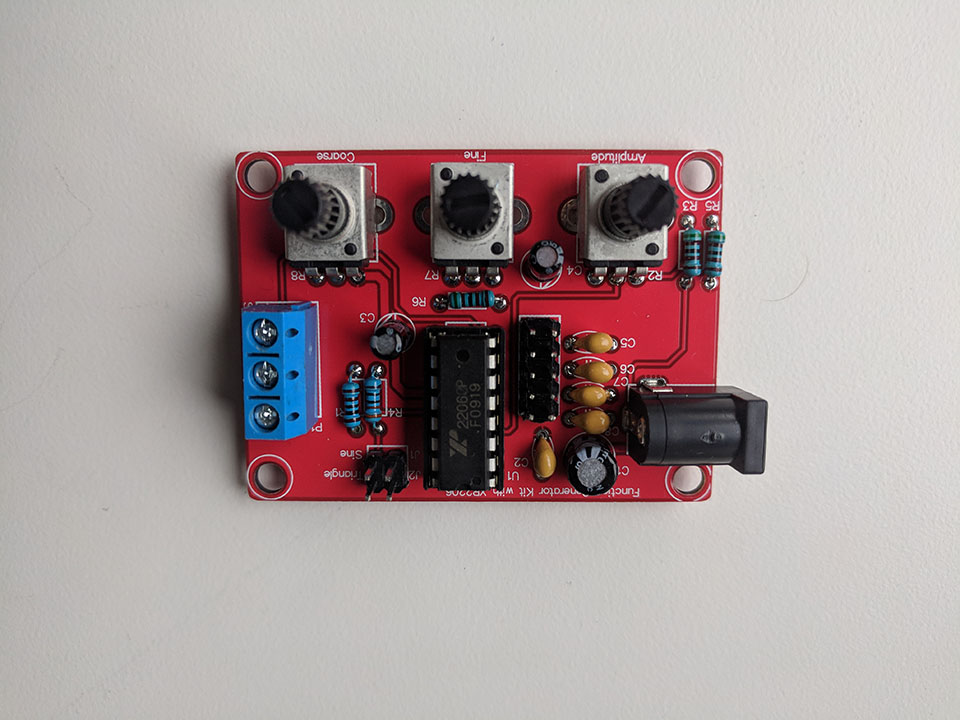
I then developed the electronics necessary to drive the machanical wave drive at different frequencies. I bought a function generator DIY kit which I assembled.
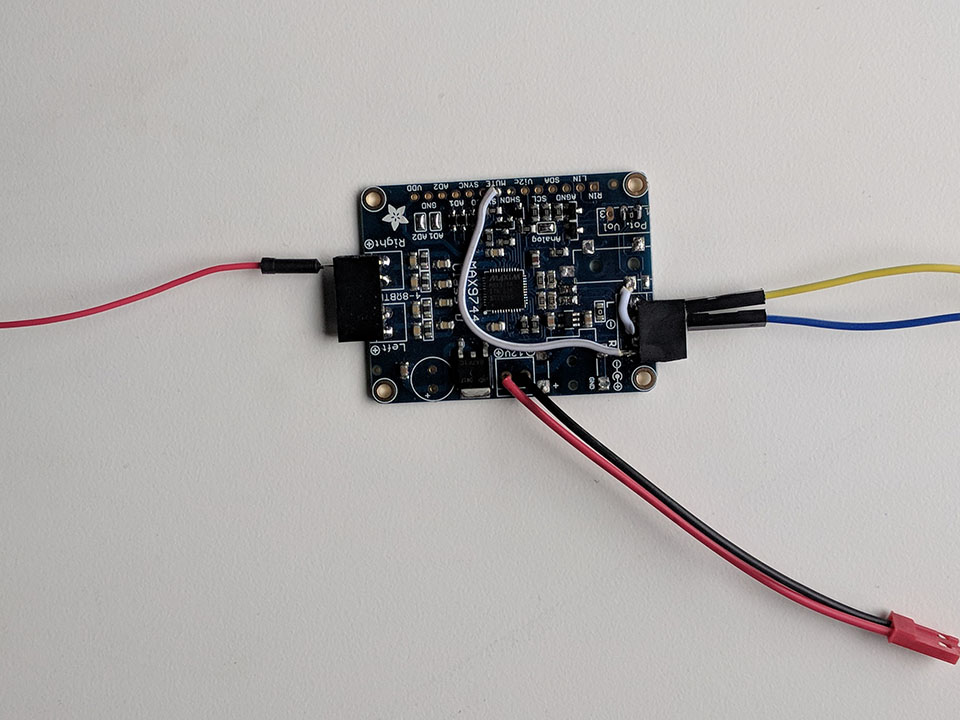
And then connected that to a 20W class D amplifier board.
A key question I need to adress with the chladni plate is how to prevent users from removing the sand from the plate, and how to keep the sand from spilling on the table. That is when the idea of placing the chladni plate inside a box was conceived. But that provides only part of the anser. To keep the sand on top of the plate at all times, the most suitable approach is to have the edges of the alluminum plate raised, so that sand does not fall off. Additionally, the alluminum plate can be fully sealed by gluing to its edges a transparent acrylic cover. Another question I need to adress was the audible sound sound produced at resonant frequencies. Placing the chladni plate in a sound-proof transparent box is a way to solve this problem.