Hatshepsut Returns: Infinity Mirror
Julia Wong
Design
Ambience of a Forgotten Tomb
 |
Passageway to the Underworld
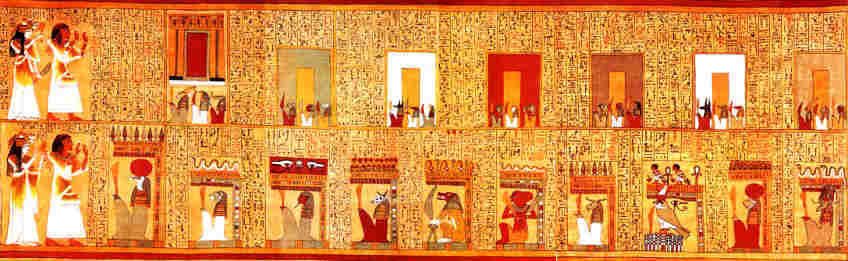
In our storyboard, pharaoh Hatshepsut's restless spirit calls out to the explorers who have entered her tomb because she needs help completing the gods' challenge before she can journey forth to the afterlife and achieve divinity. Upon completing the challenge in the room, the explorers see an epic finale--the sarcophagus creaking open slowly to reveal Hatshepsut journeying forth through Osiris's gates and portals to the afterlife. My model depicts Hatshepsut's mystical journey using an infinity mirror and the silhouette of her figure.
Build
Size and Scale
|  |
 |
Materials and Process
|  |
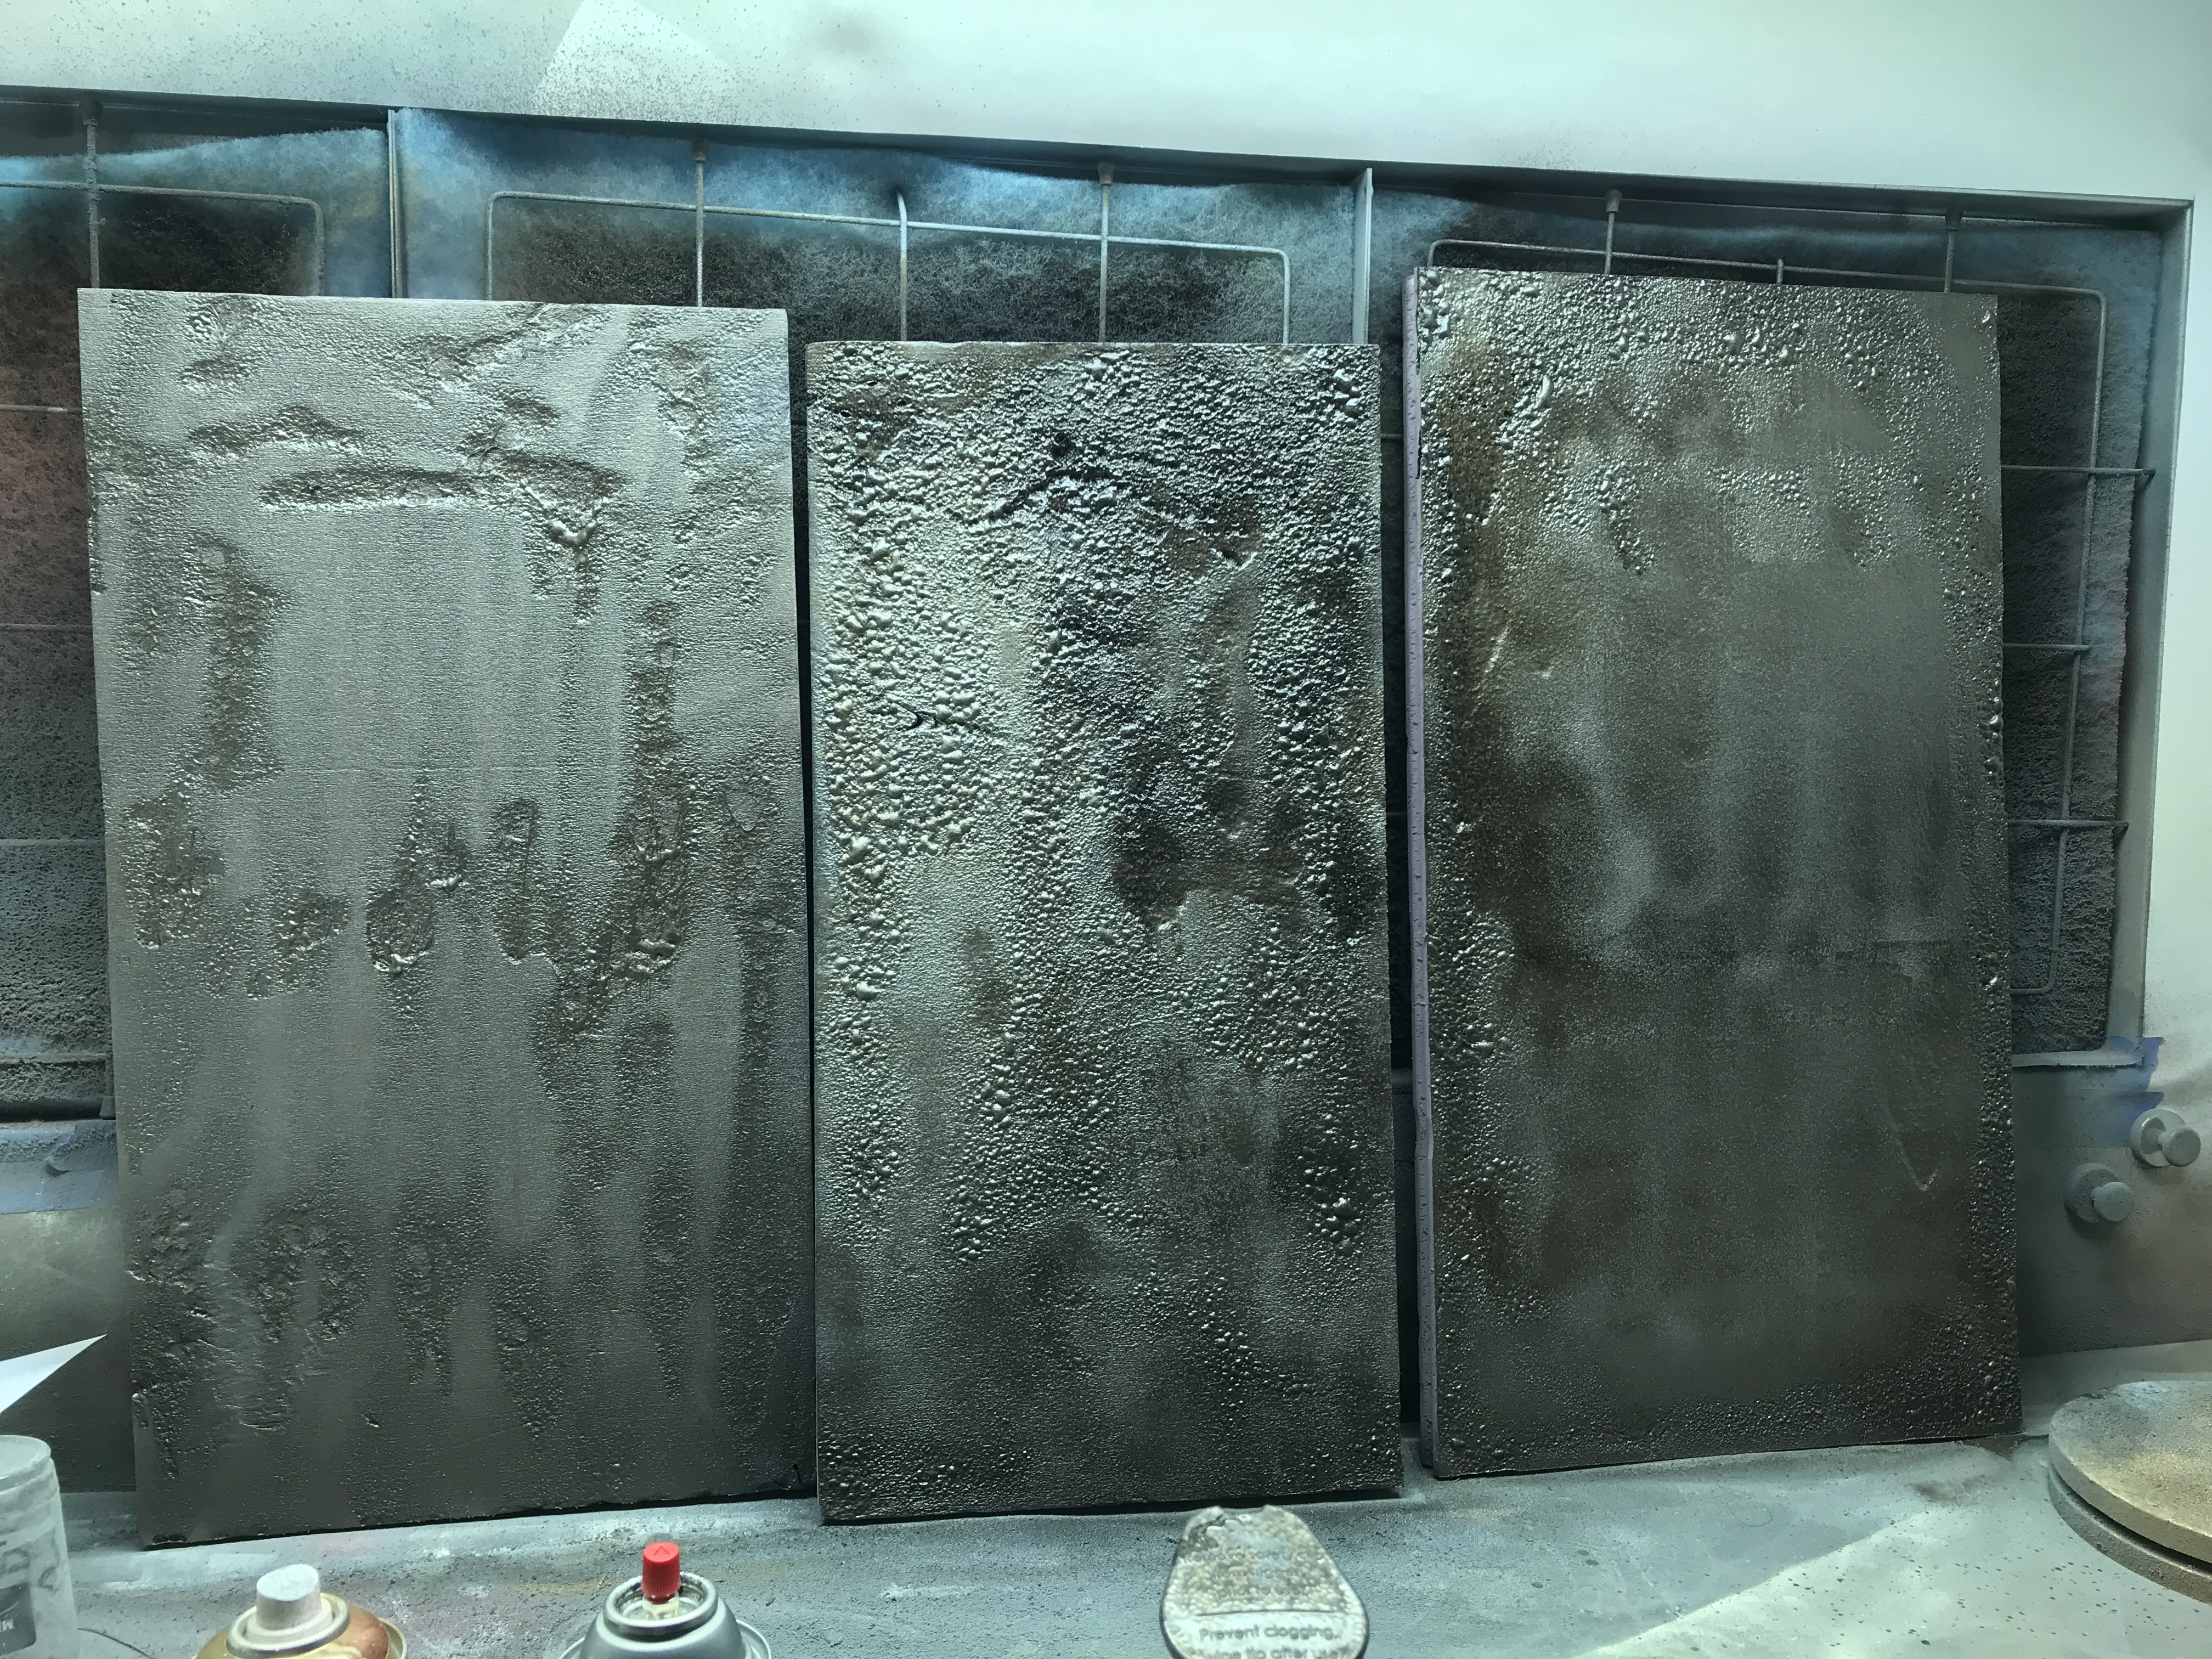 |
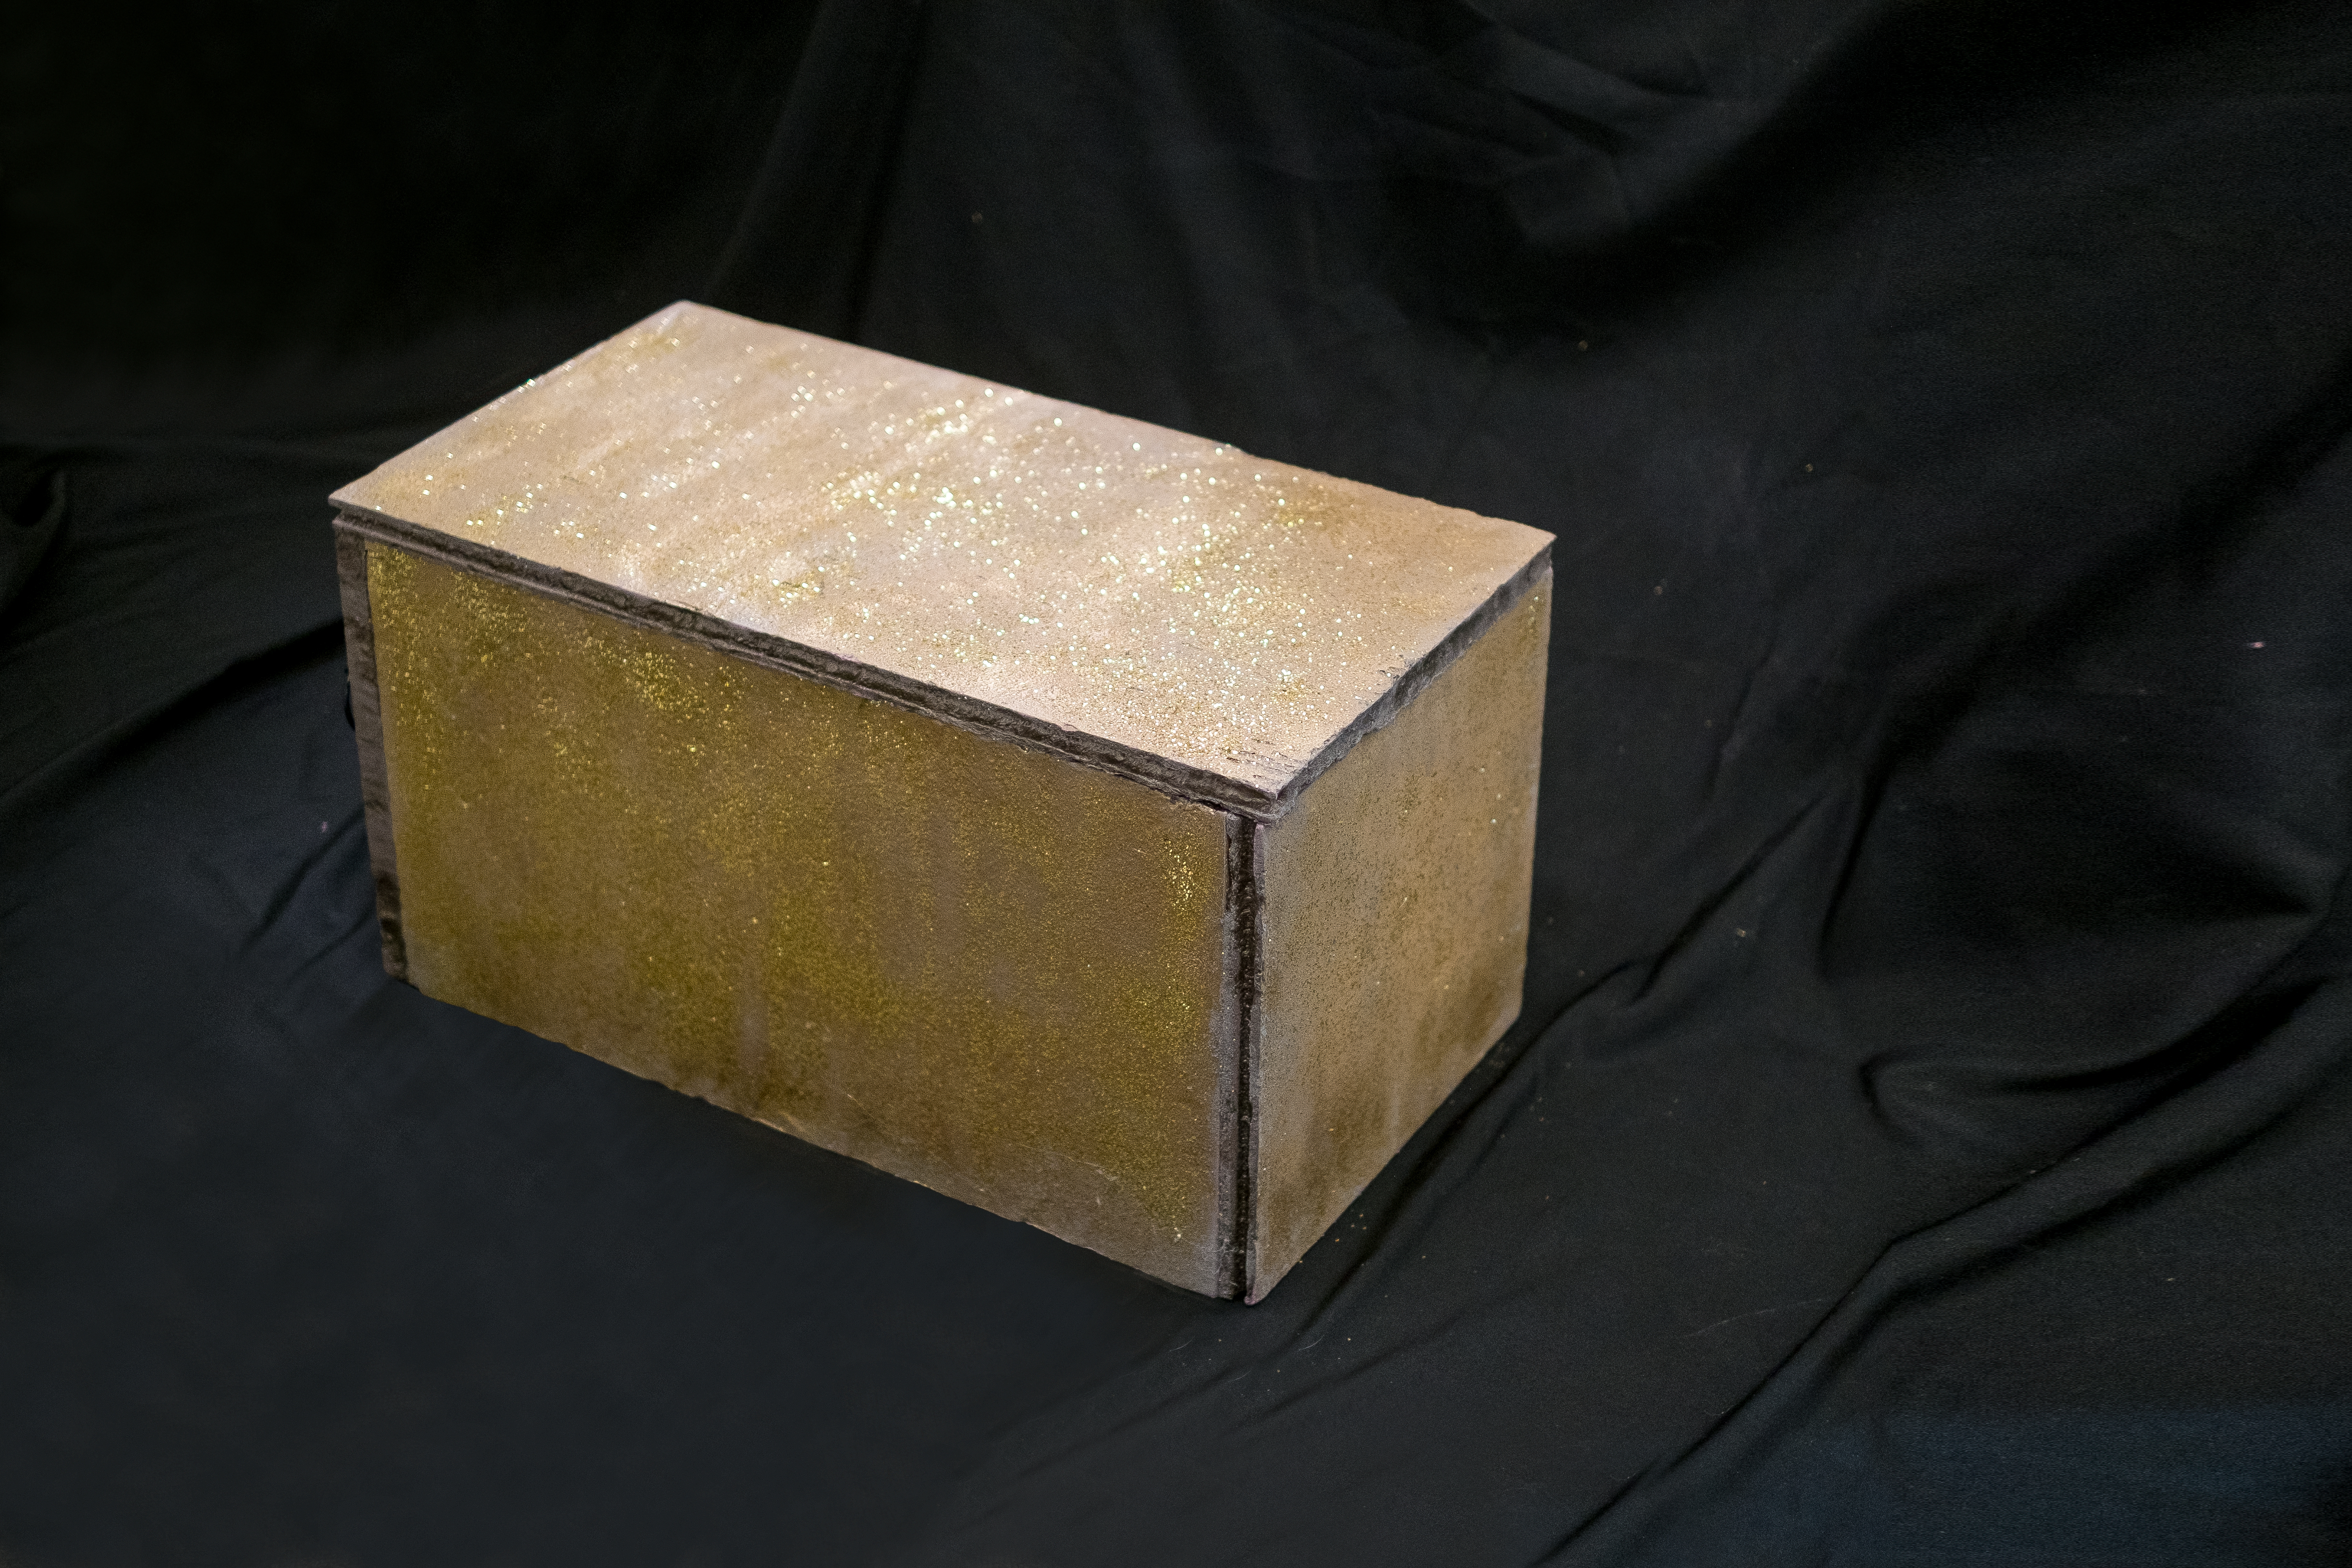
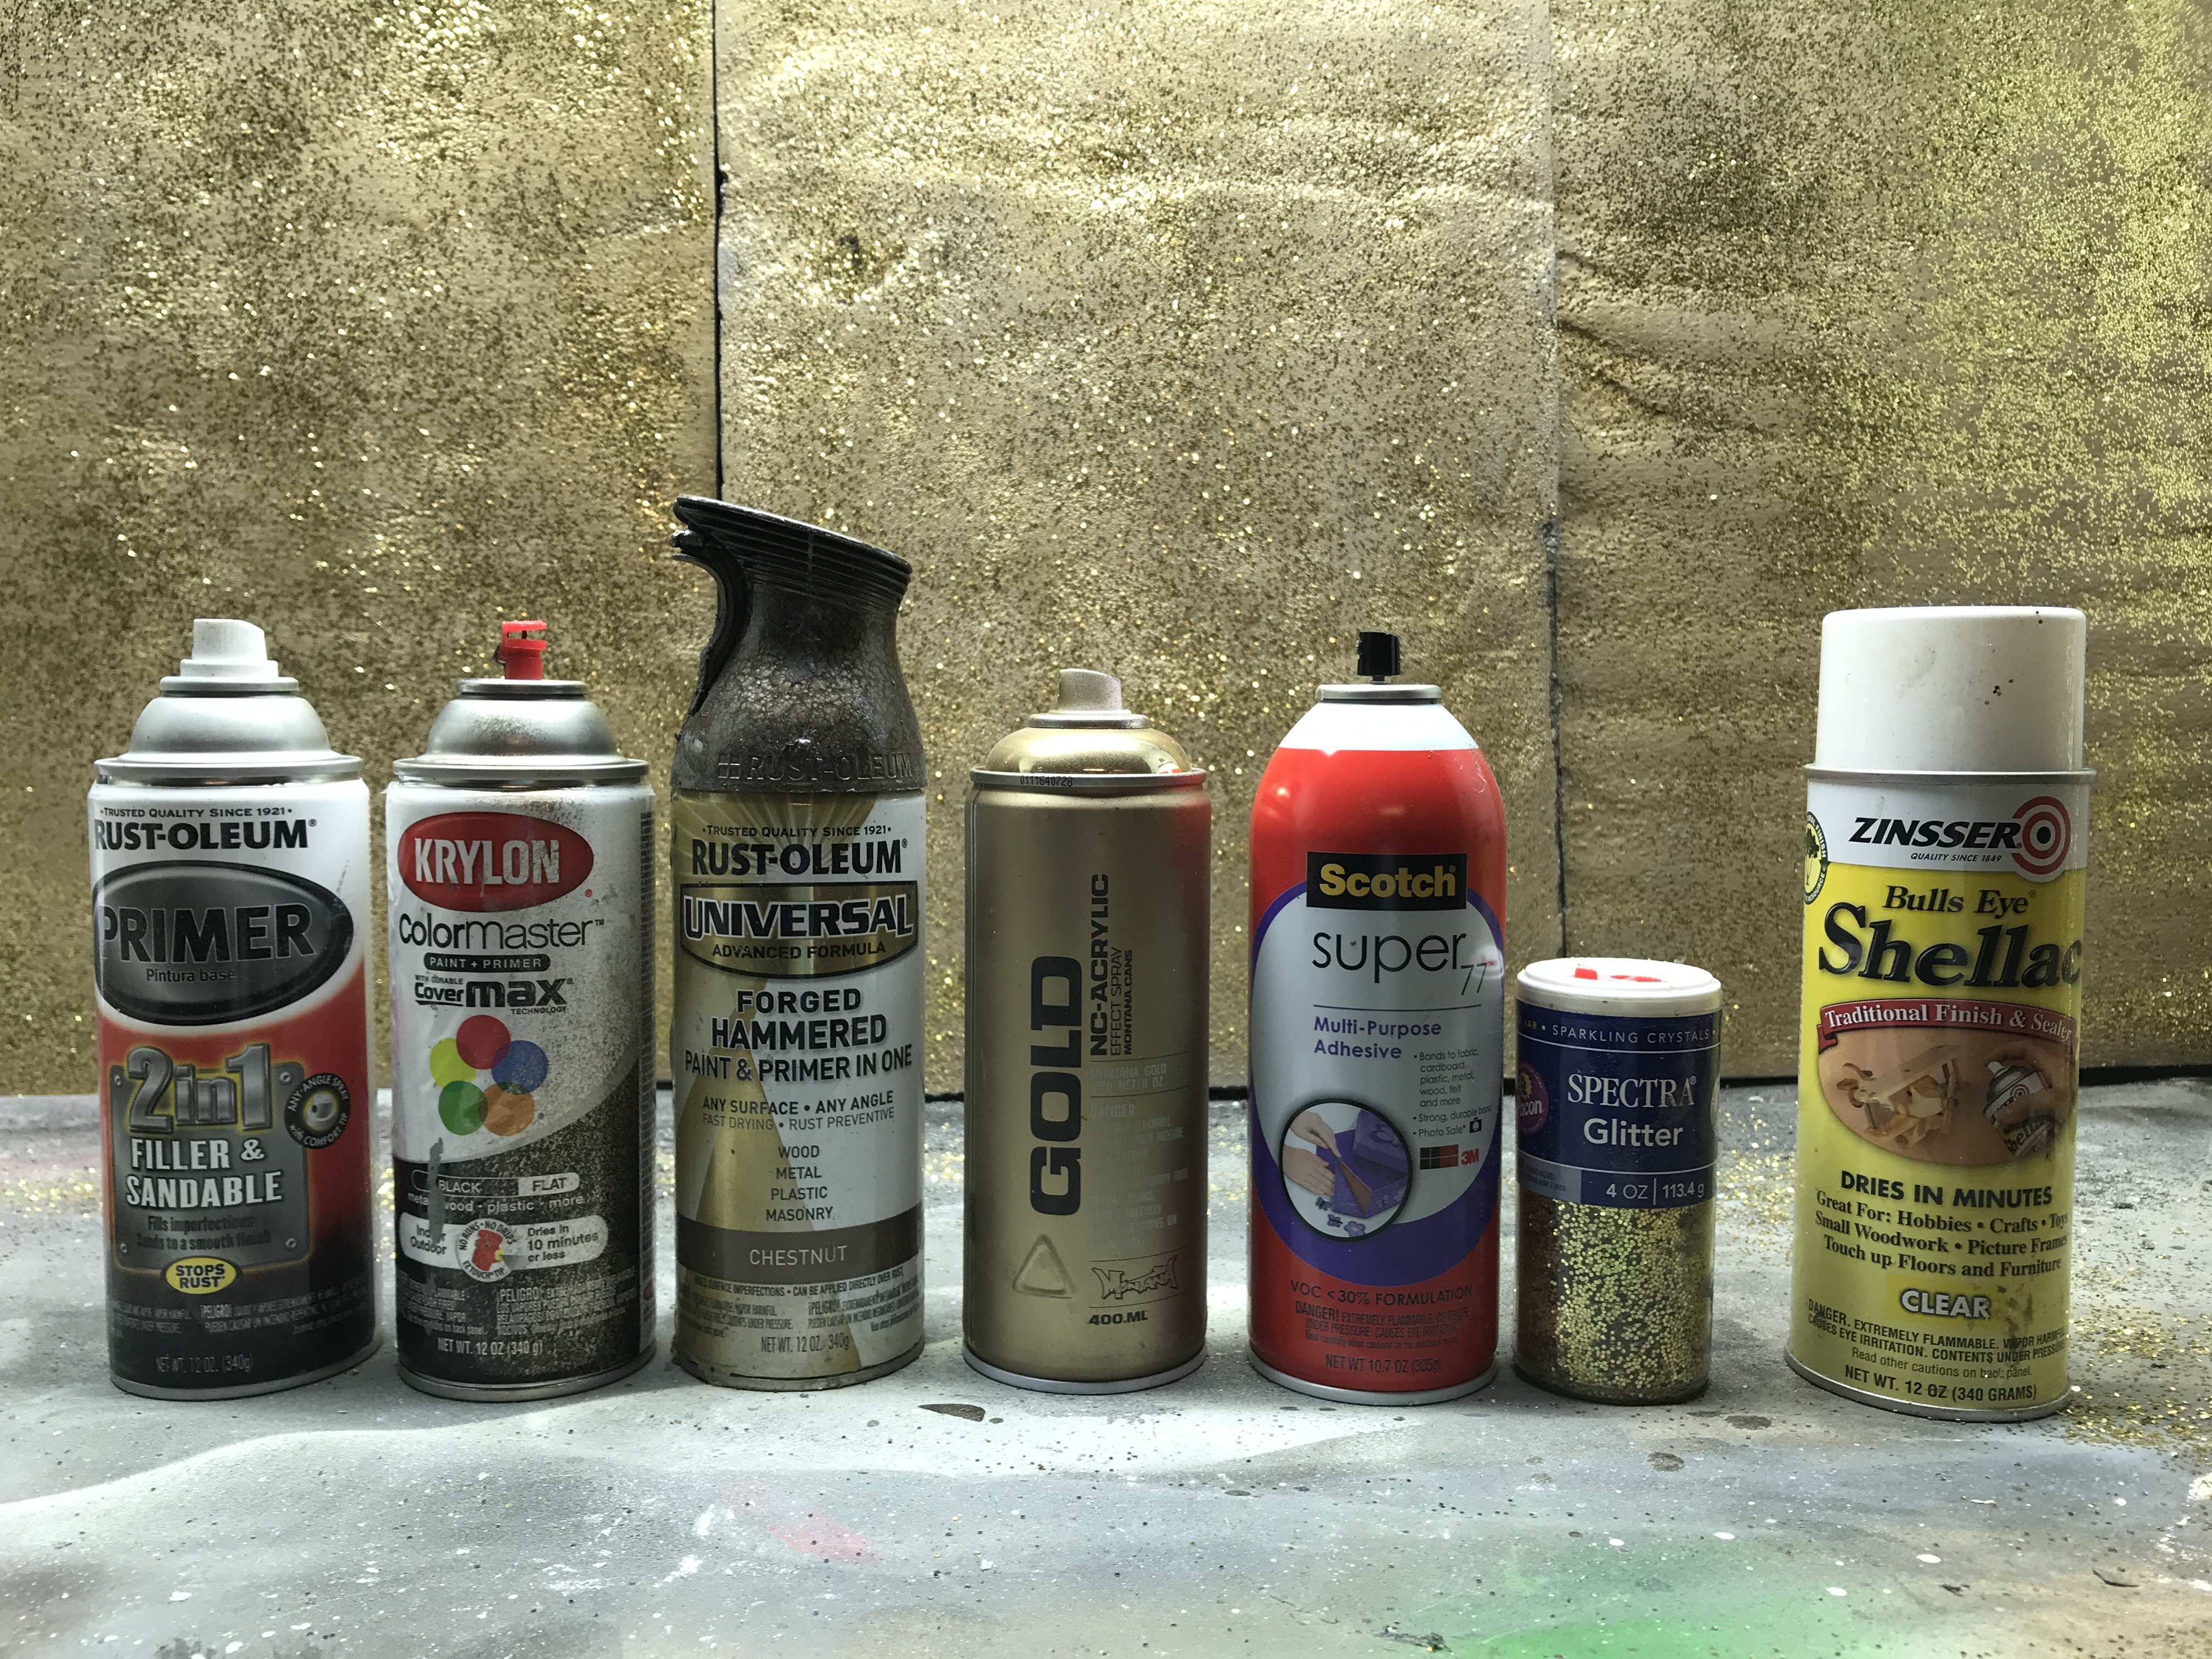
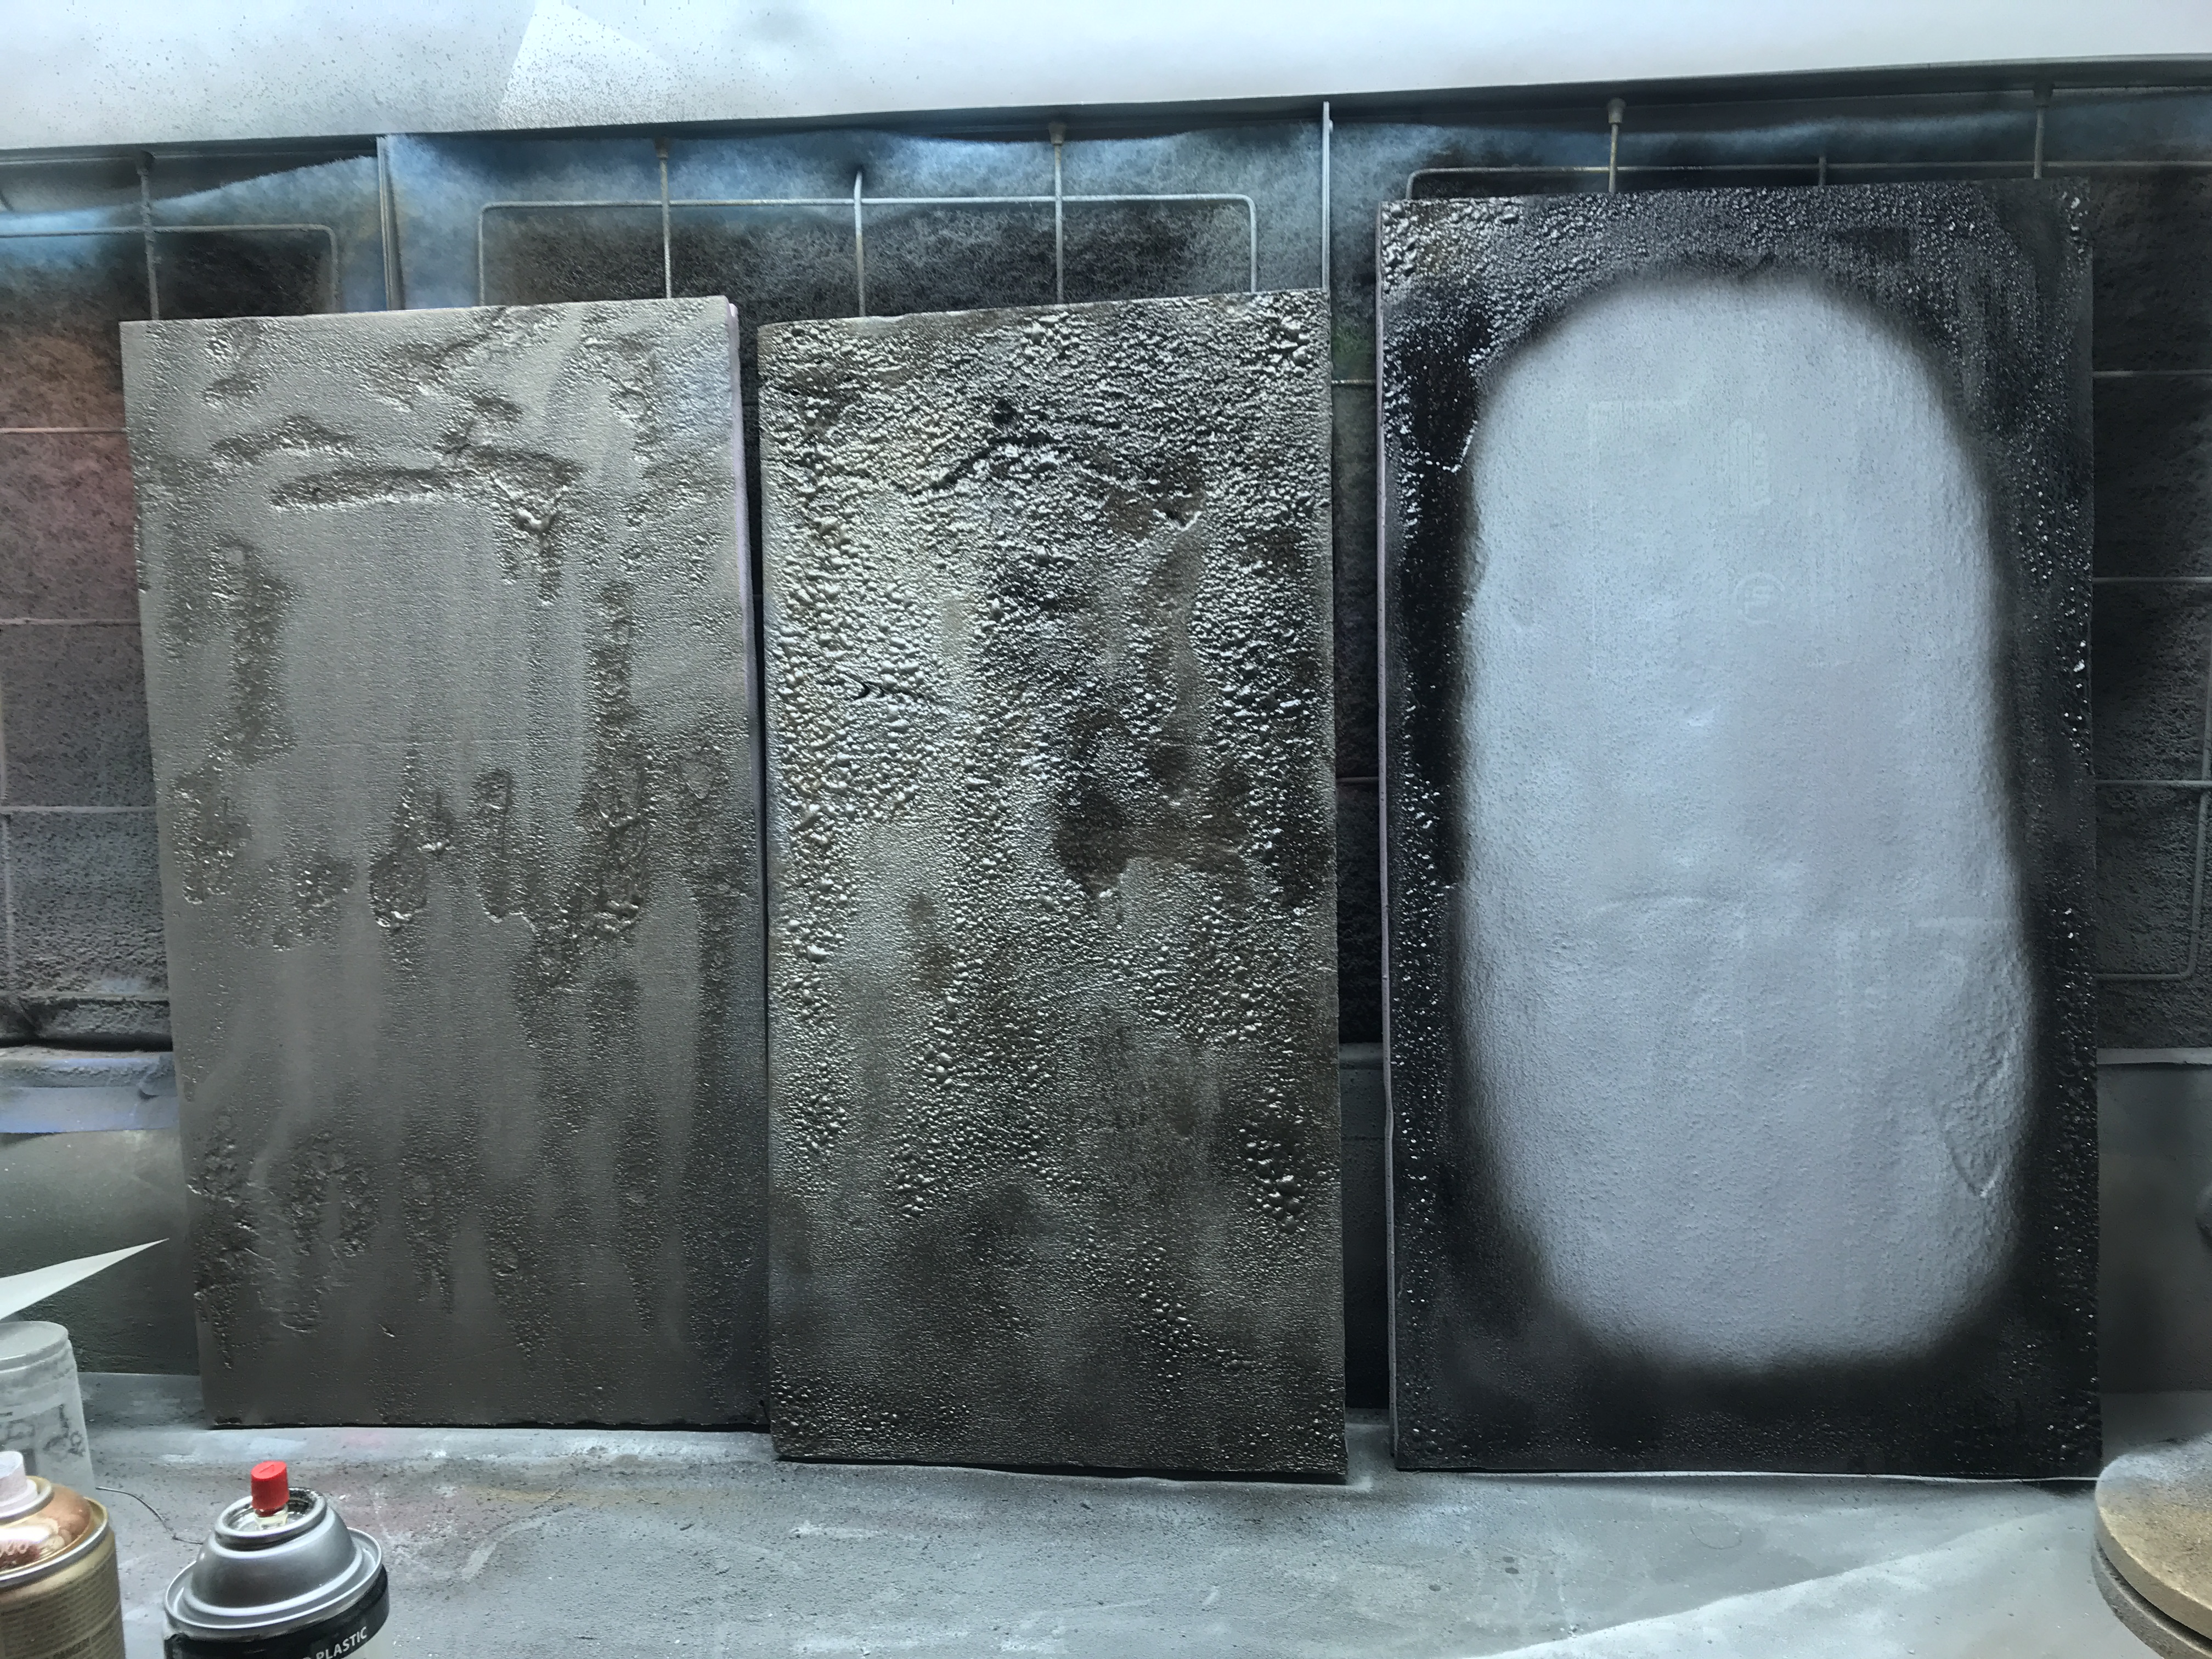
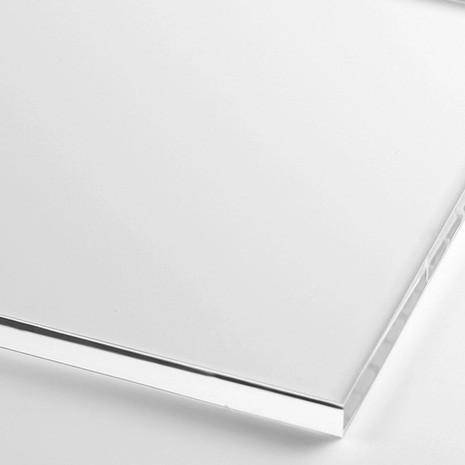
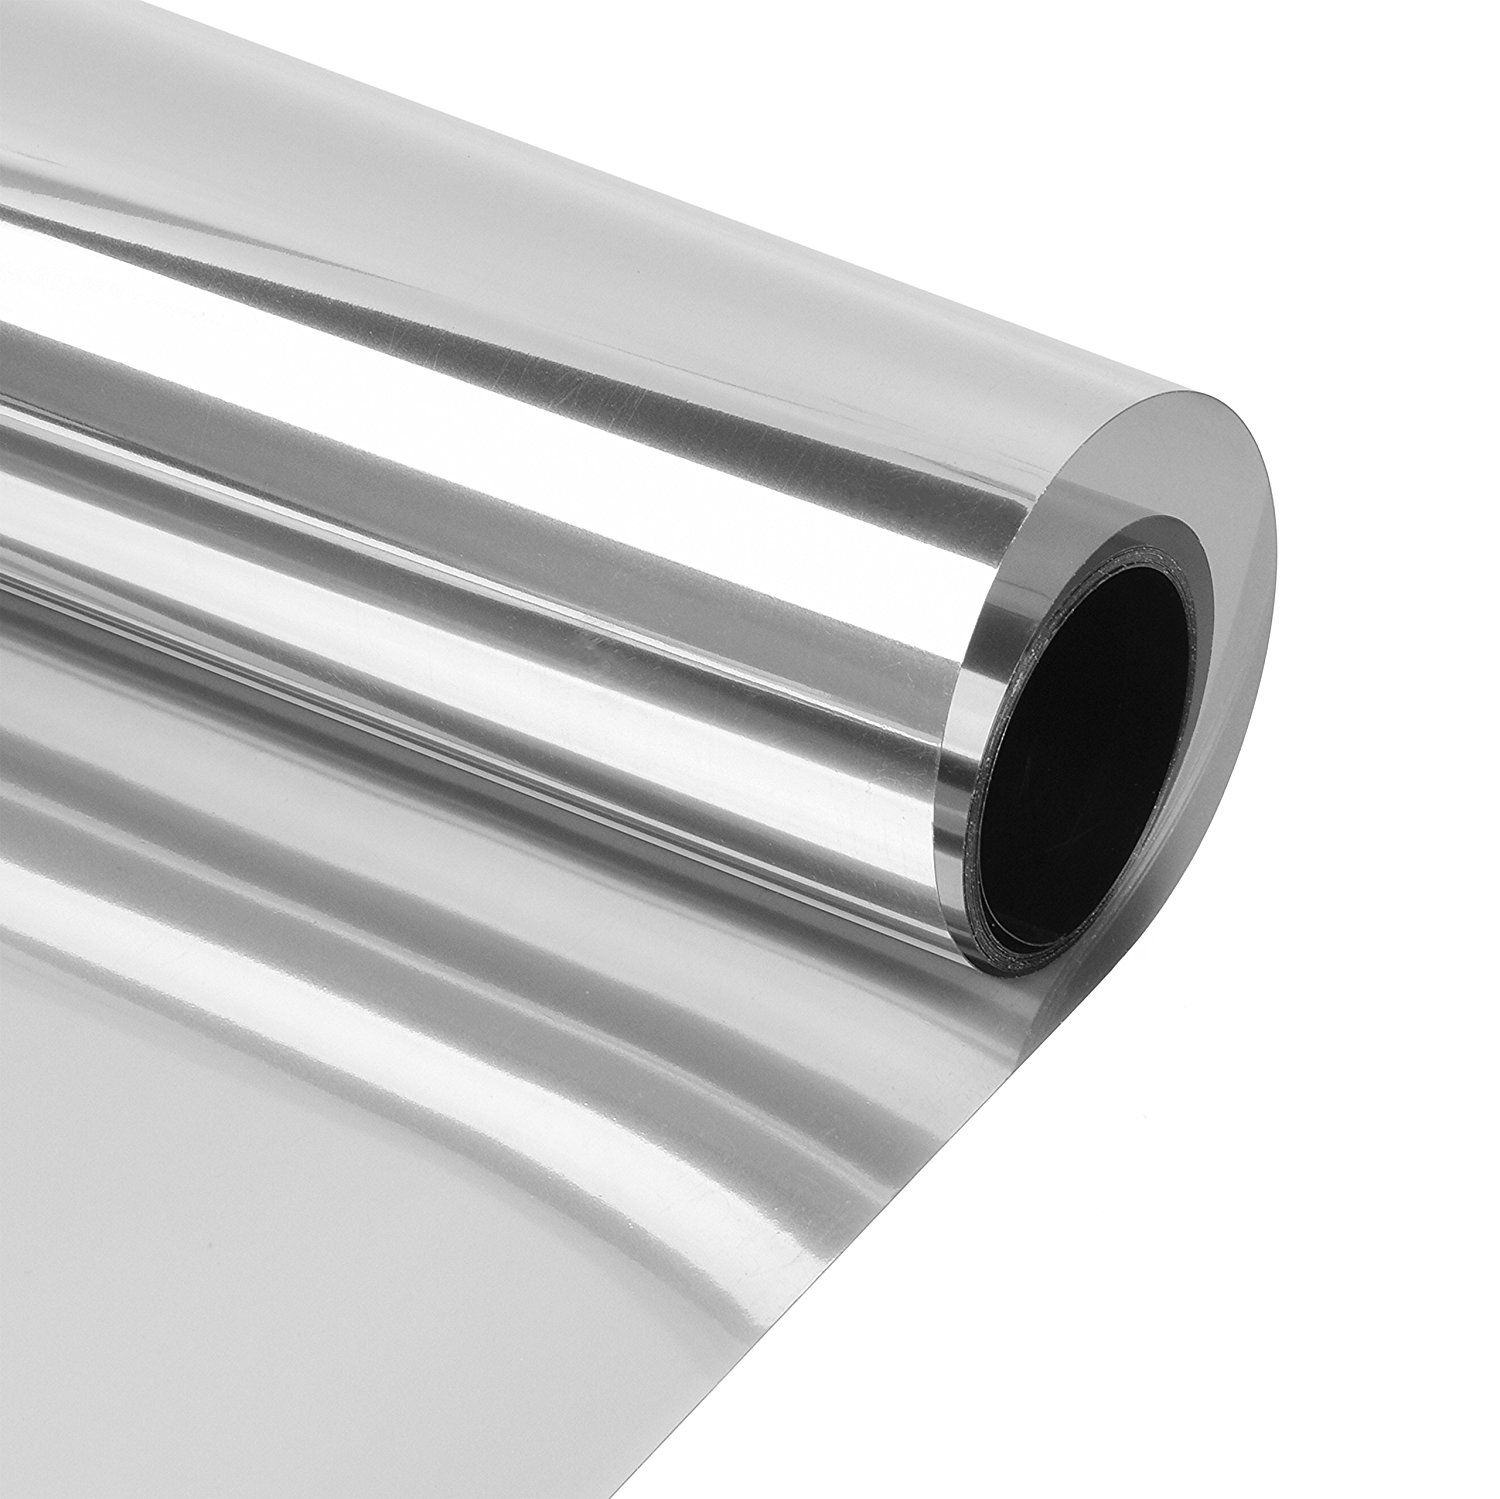
Coffin Construction: Securing the four sides to the base was a challenge. First, I tried using hot glue. Because the glue gun was not hot enough, the hot glue merely rested on top of the foam and became brittle upon solidifying. Then, I tried Gorilla Glue, which not only took too long to dry, but was also messy. Super glue in both liquid and gel forms simply ate away at the foam. Finally, I successfully glued the base and four sides together using rubber cement. The rubber cement dried overnight and resulted in a sturdy box. To create the base of the infinity mirror, I positioned two 12'' by 12'' bathroom mirrors at the bottom of the sarcophagus. Although the weighted mirrors stayed in place due to friction with the foam, I secured them using hot glue along the periphery of the mirrors to make sure that the mirrors would not fall out and injure anyone when the coffin is shaken. To create the top of the infinity mirror, I laser cut a 12'' x 24'' sheet of clear acrylic and adhered reflective mirror film on one side of the acrylic. I needed to scrape the reflective mirror film repeatedly with the edge of a credit card to remove the bubbles, while taking care not to scratch the film. The acrylic was held up opposite the mirror using four black straws positioned at the four corners of the box.

|  |
 |
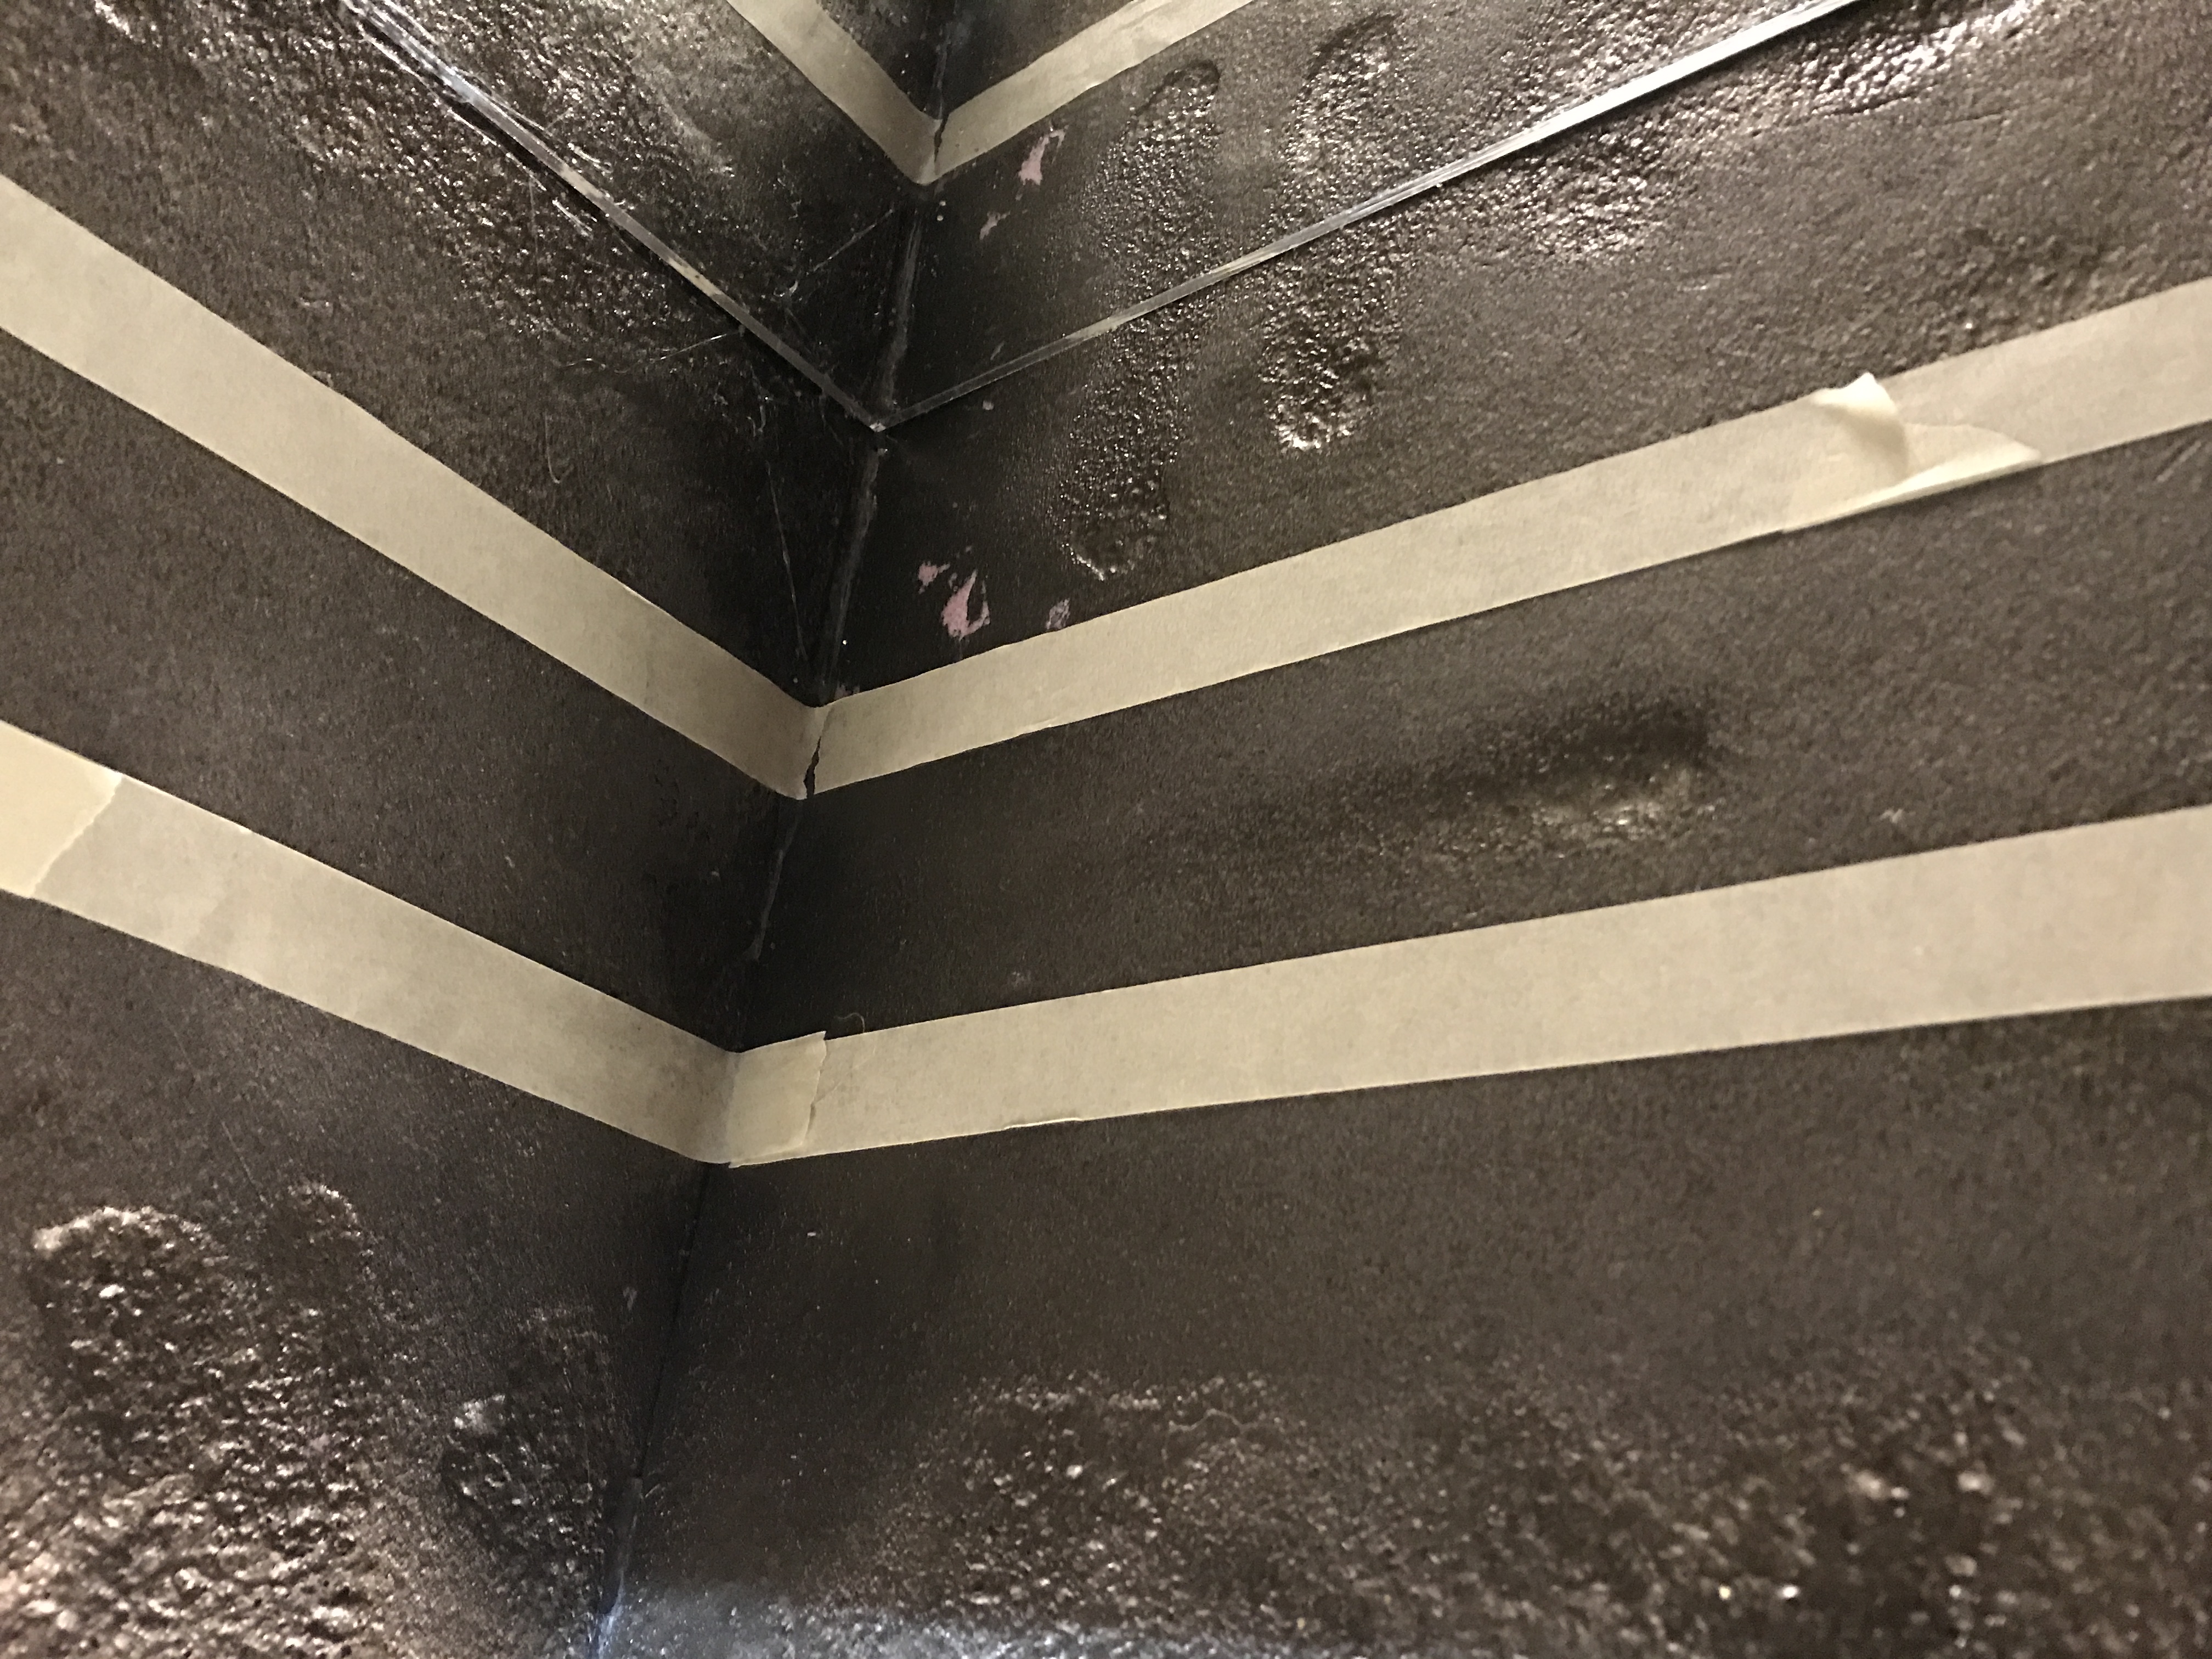 |
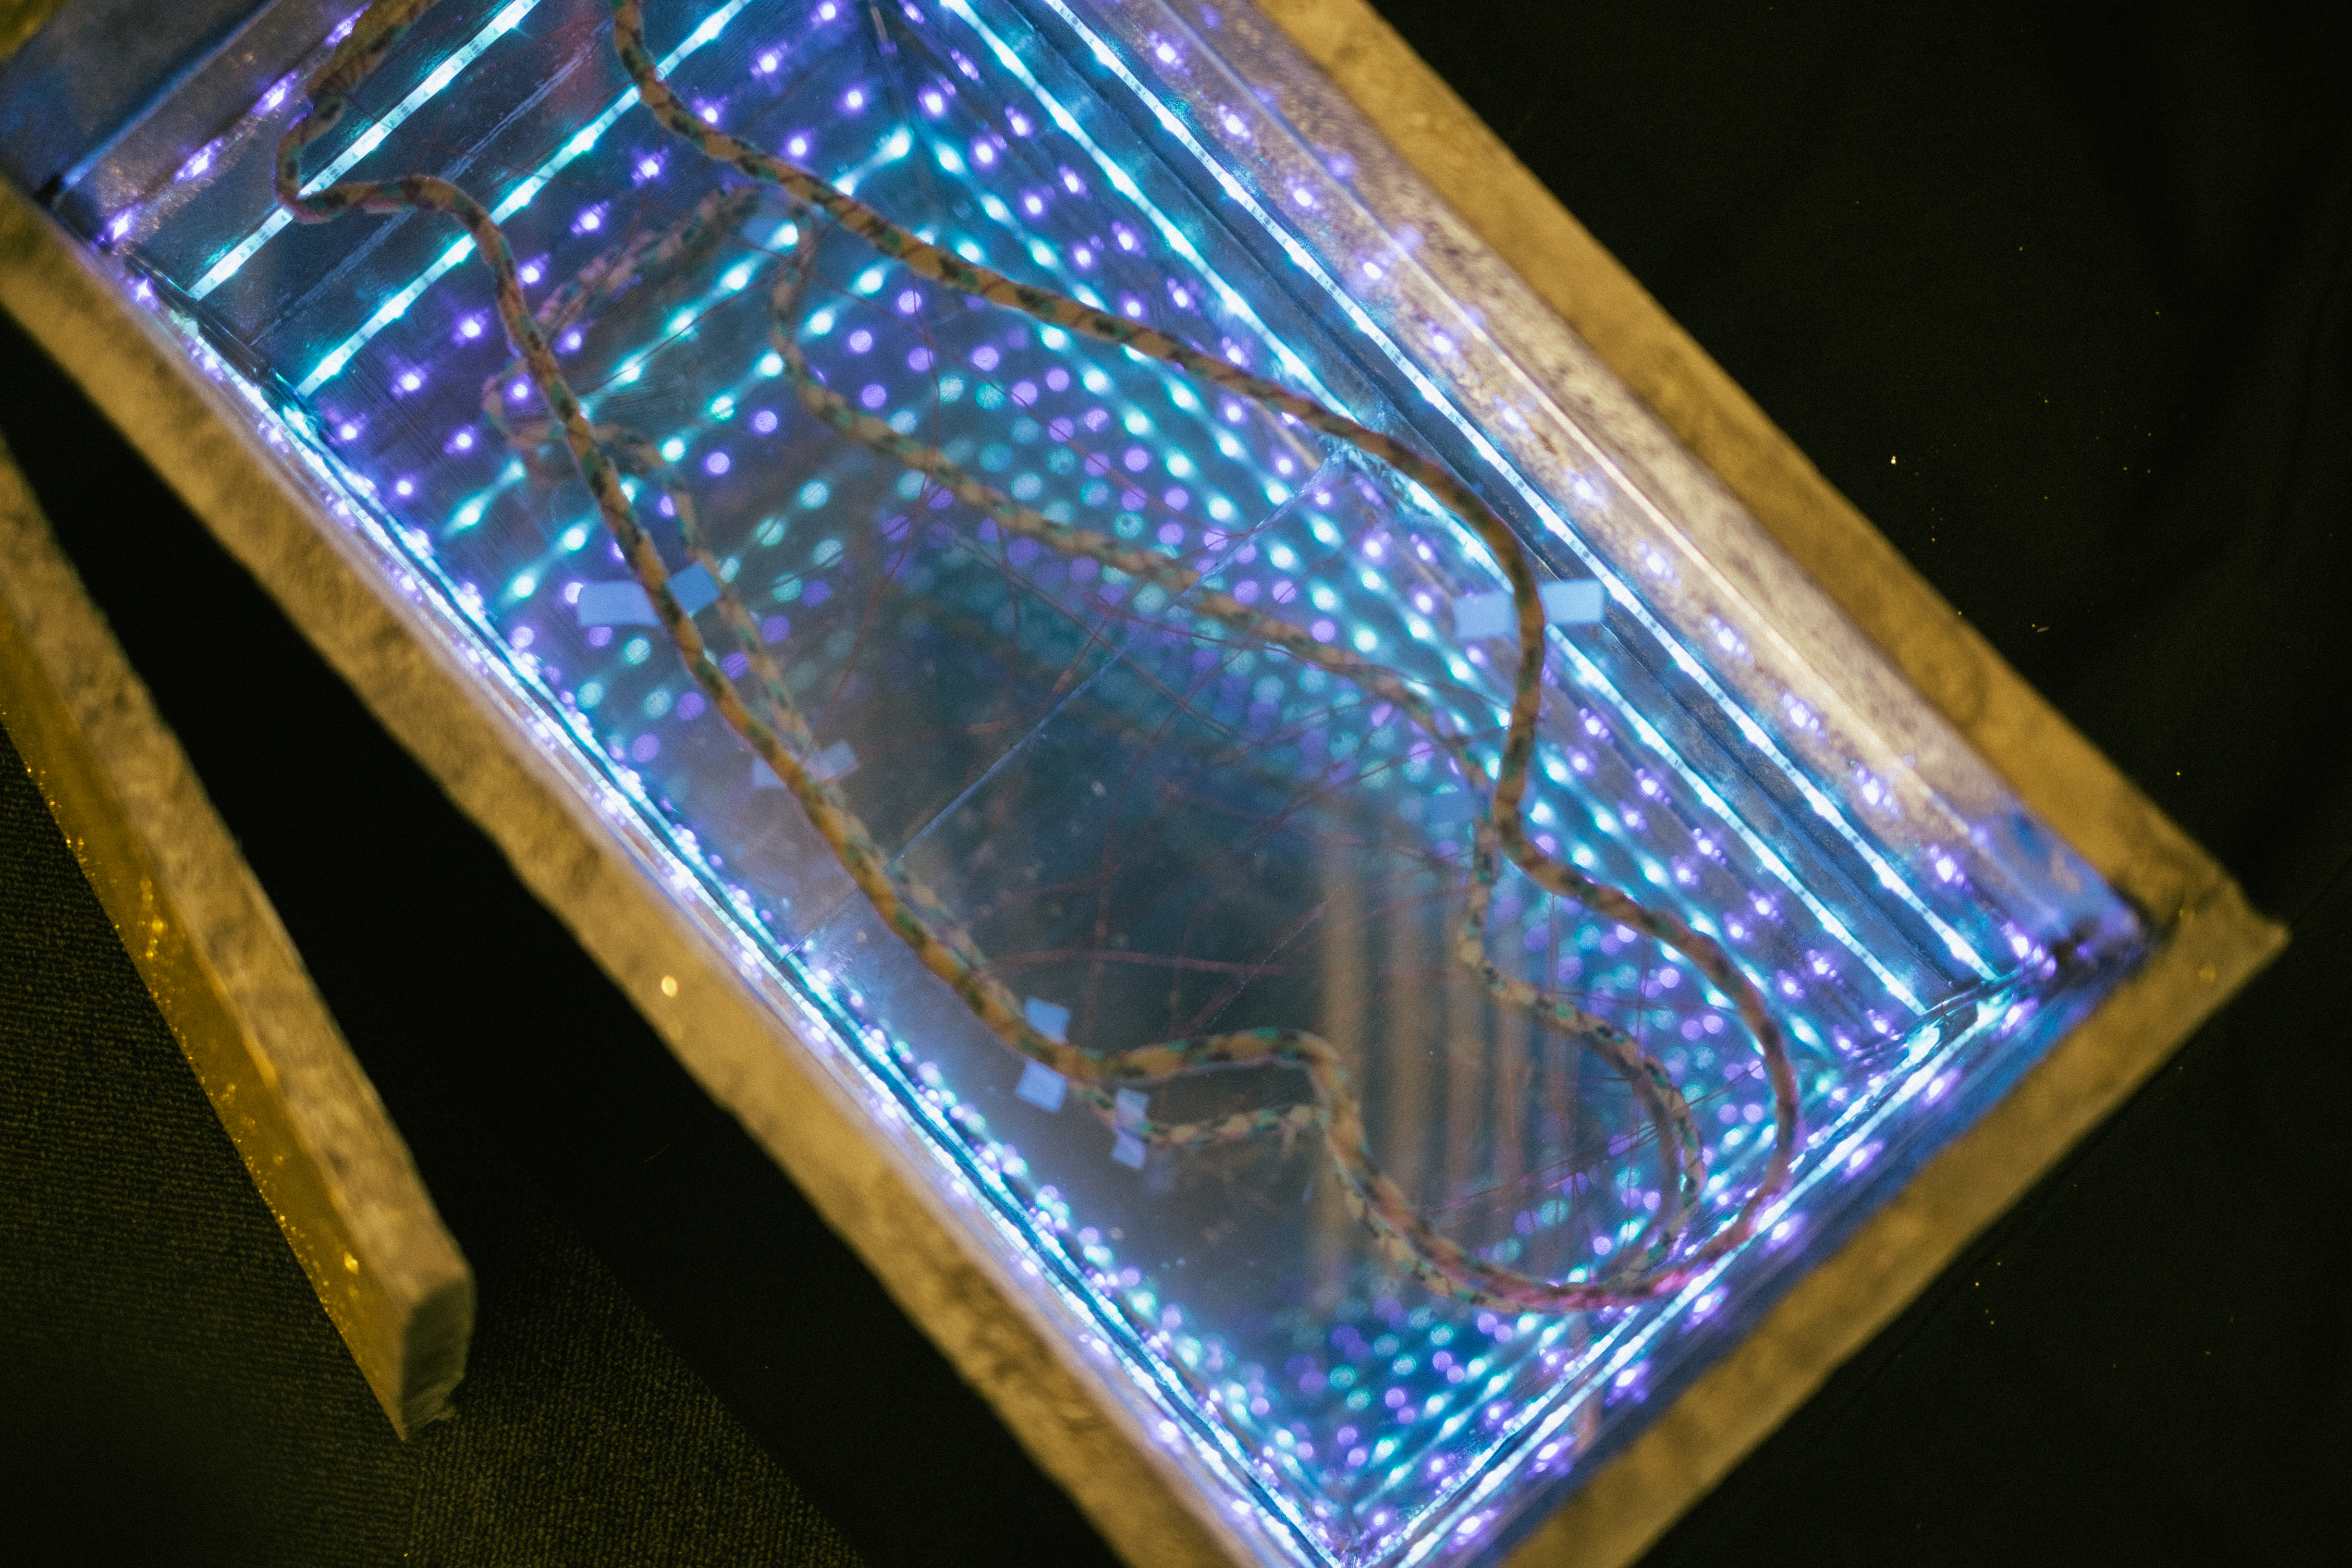
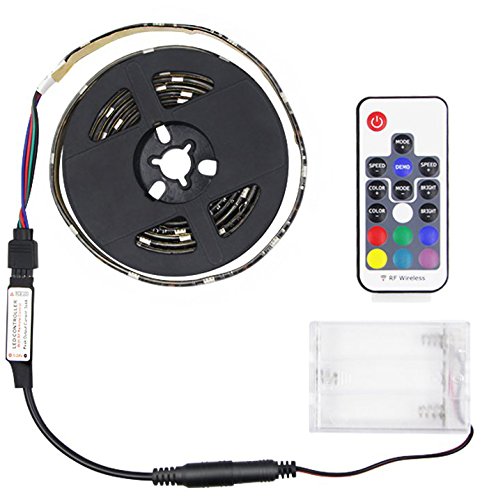
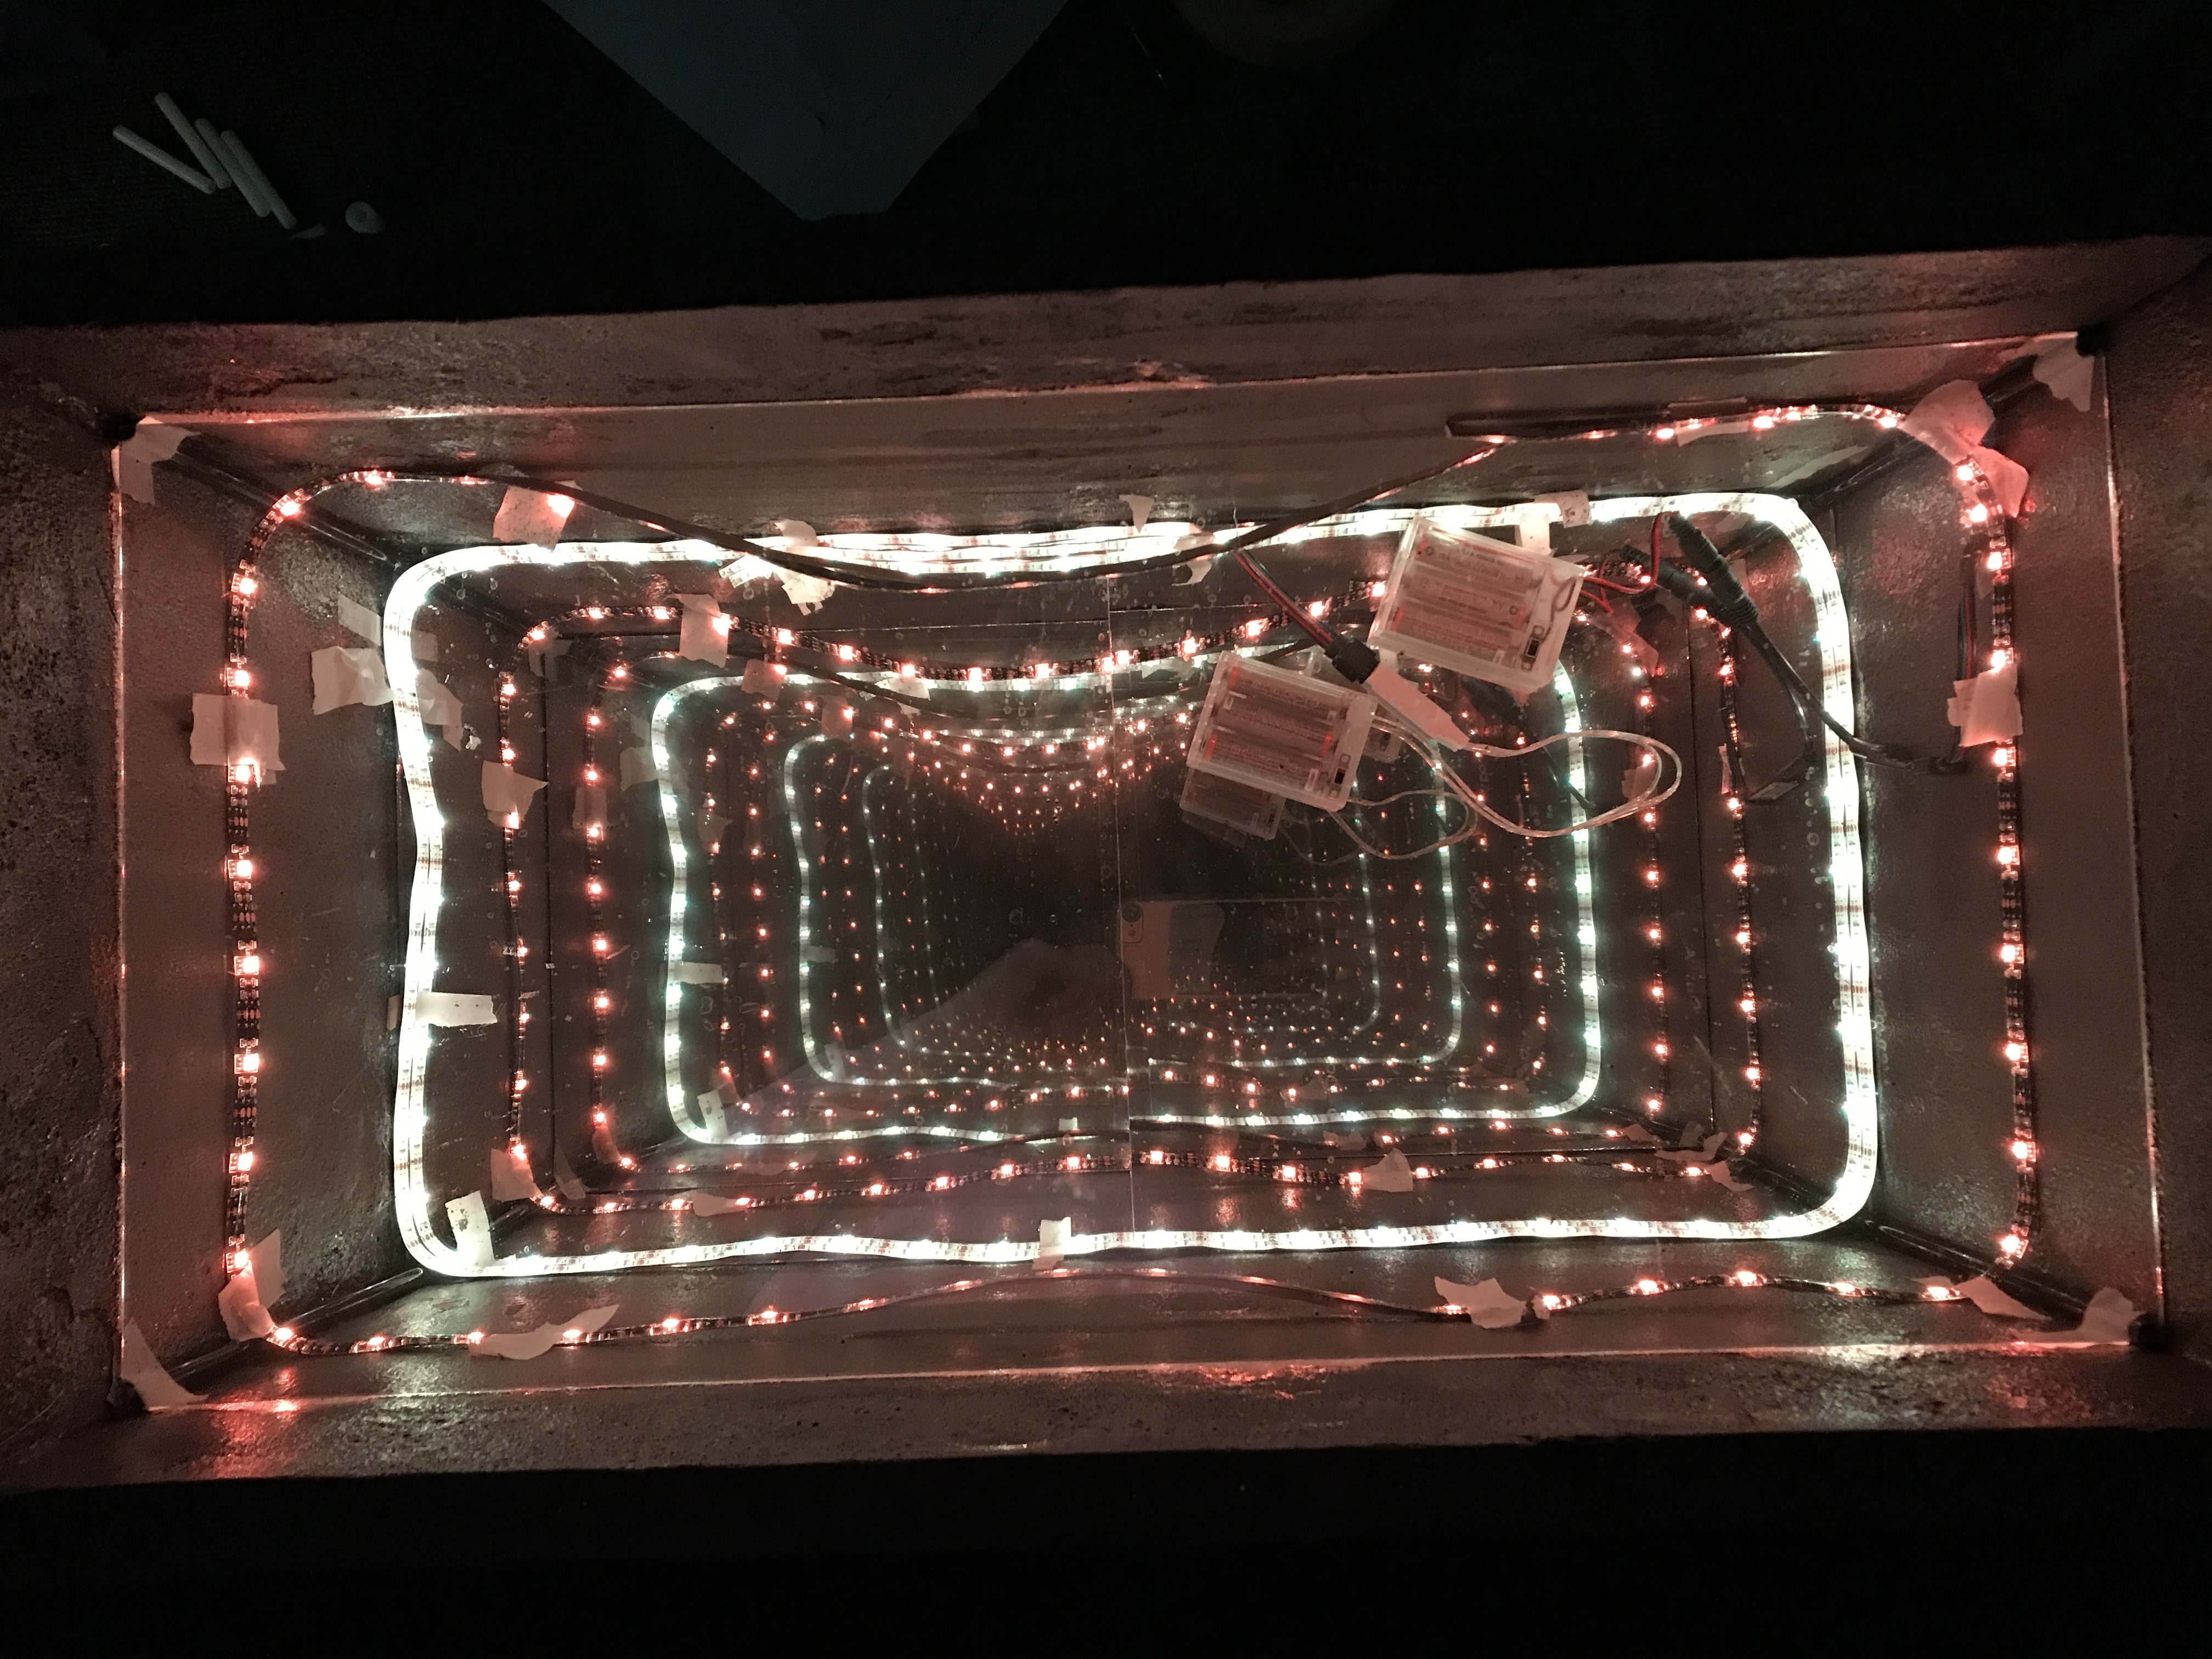
Electronics: The continuous portal effect is created using two strips of RGB LED lights positioned between the mirror and the acrylic. Each LED strip is powered by three AA batteries. Using batteries as opposed to a USB or wall charger enables greater mobility, making it easier to transport and demo the prototype. Furthermore, AA batteries can power LED lights for a significant period of time and are easily obtainable and replaceable. While AA batteries work well for prototyping, the final, stationary model would be best powered using a USB or wall charger. After determining the best height for the LED lights and acrylic (the findings are detailed in the Test section below), I marked the position using masking tape, aligned the LED lights with the tape, removed the tape, and hot glued the LED lights to the interior of the box. I drilled two holes at the bottom of the coffin, pulled the ends of the LED lights through the holes, and hot glued the battery cases to the bottom of the coffin so that the power supply would not be visible when the sarcophagus is propped up during demos.
|  |
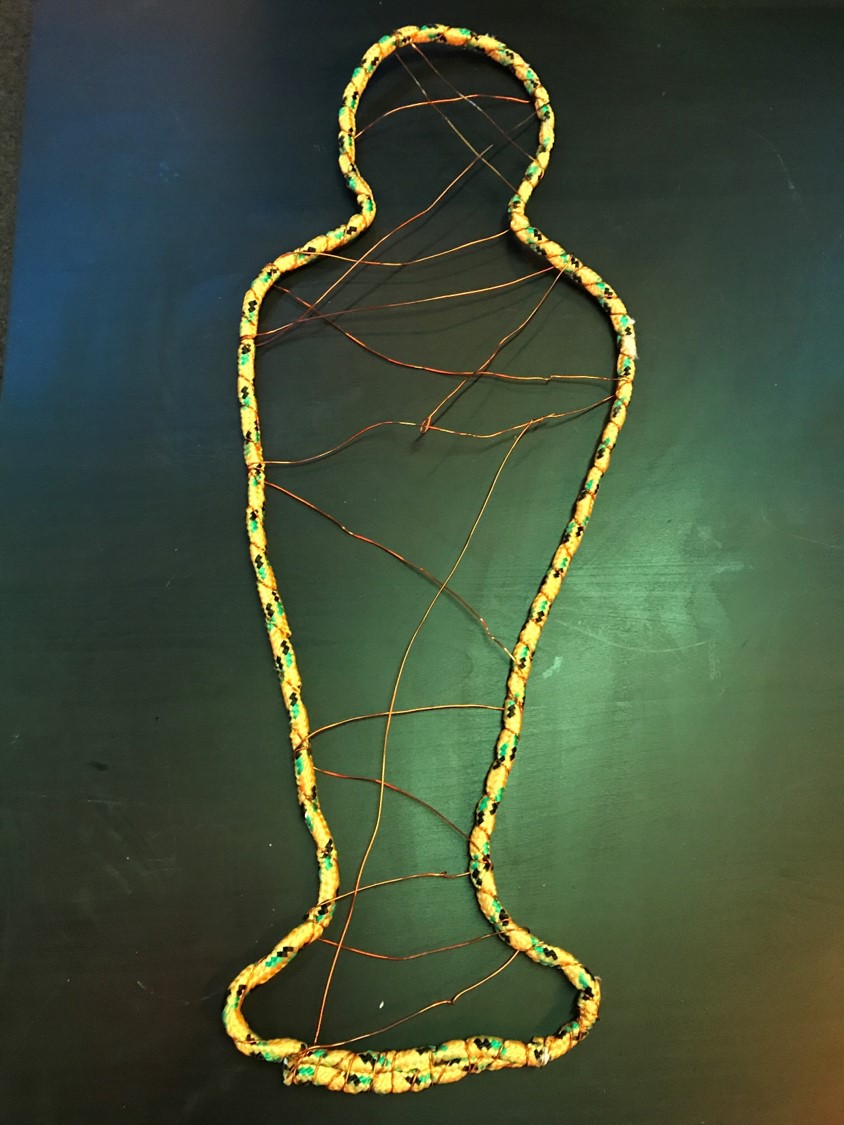 |
Hatshepsut's Figure: Finally, I created the illusion of Hatshepsut's body using a 3/8'' polypropylene diamond braid rope and thin copper wire. Because the yellow, red, and black rope does not retain shape well by itself, I needed to add copper wire. First, I tried shaping the copper wire and wrapping the rope around it. This did not work well because the wire was too thin and would deform when I wound the rope around it tightly. Then, I tried wrapping the length of rope with copper wire. This worked a lot better as it added the necessary rigidity to the rope. I then molded the wire-reinforced rope into the shape of a mummy and draped the extra wire across the inside of the frame to look like mummy bandages.
Test
Infinite Infinity
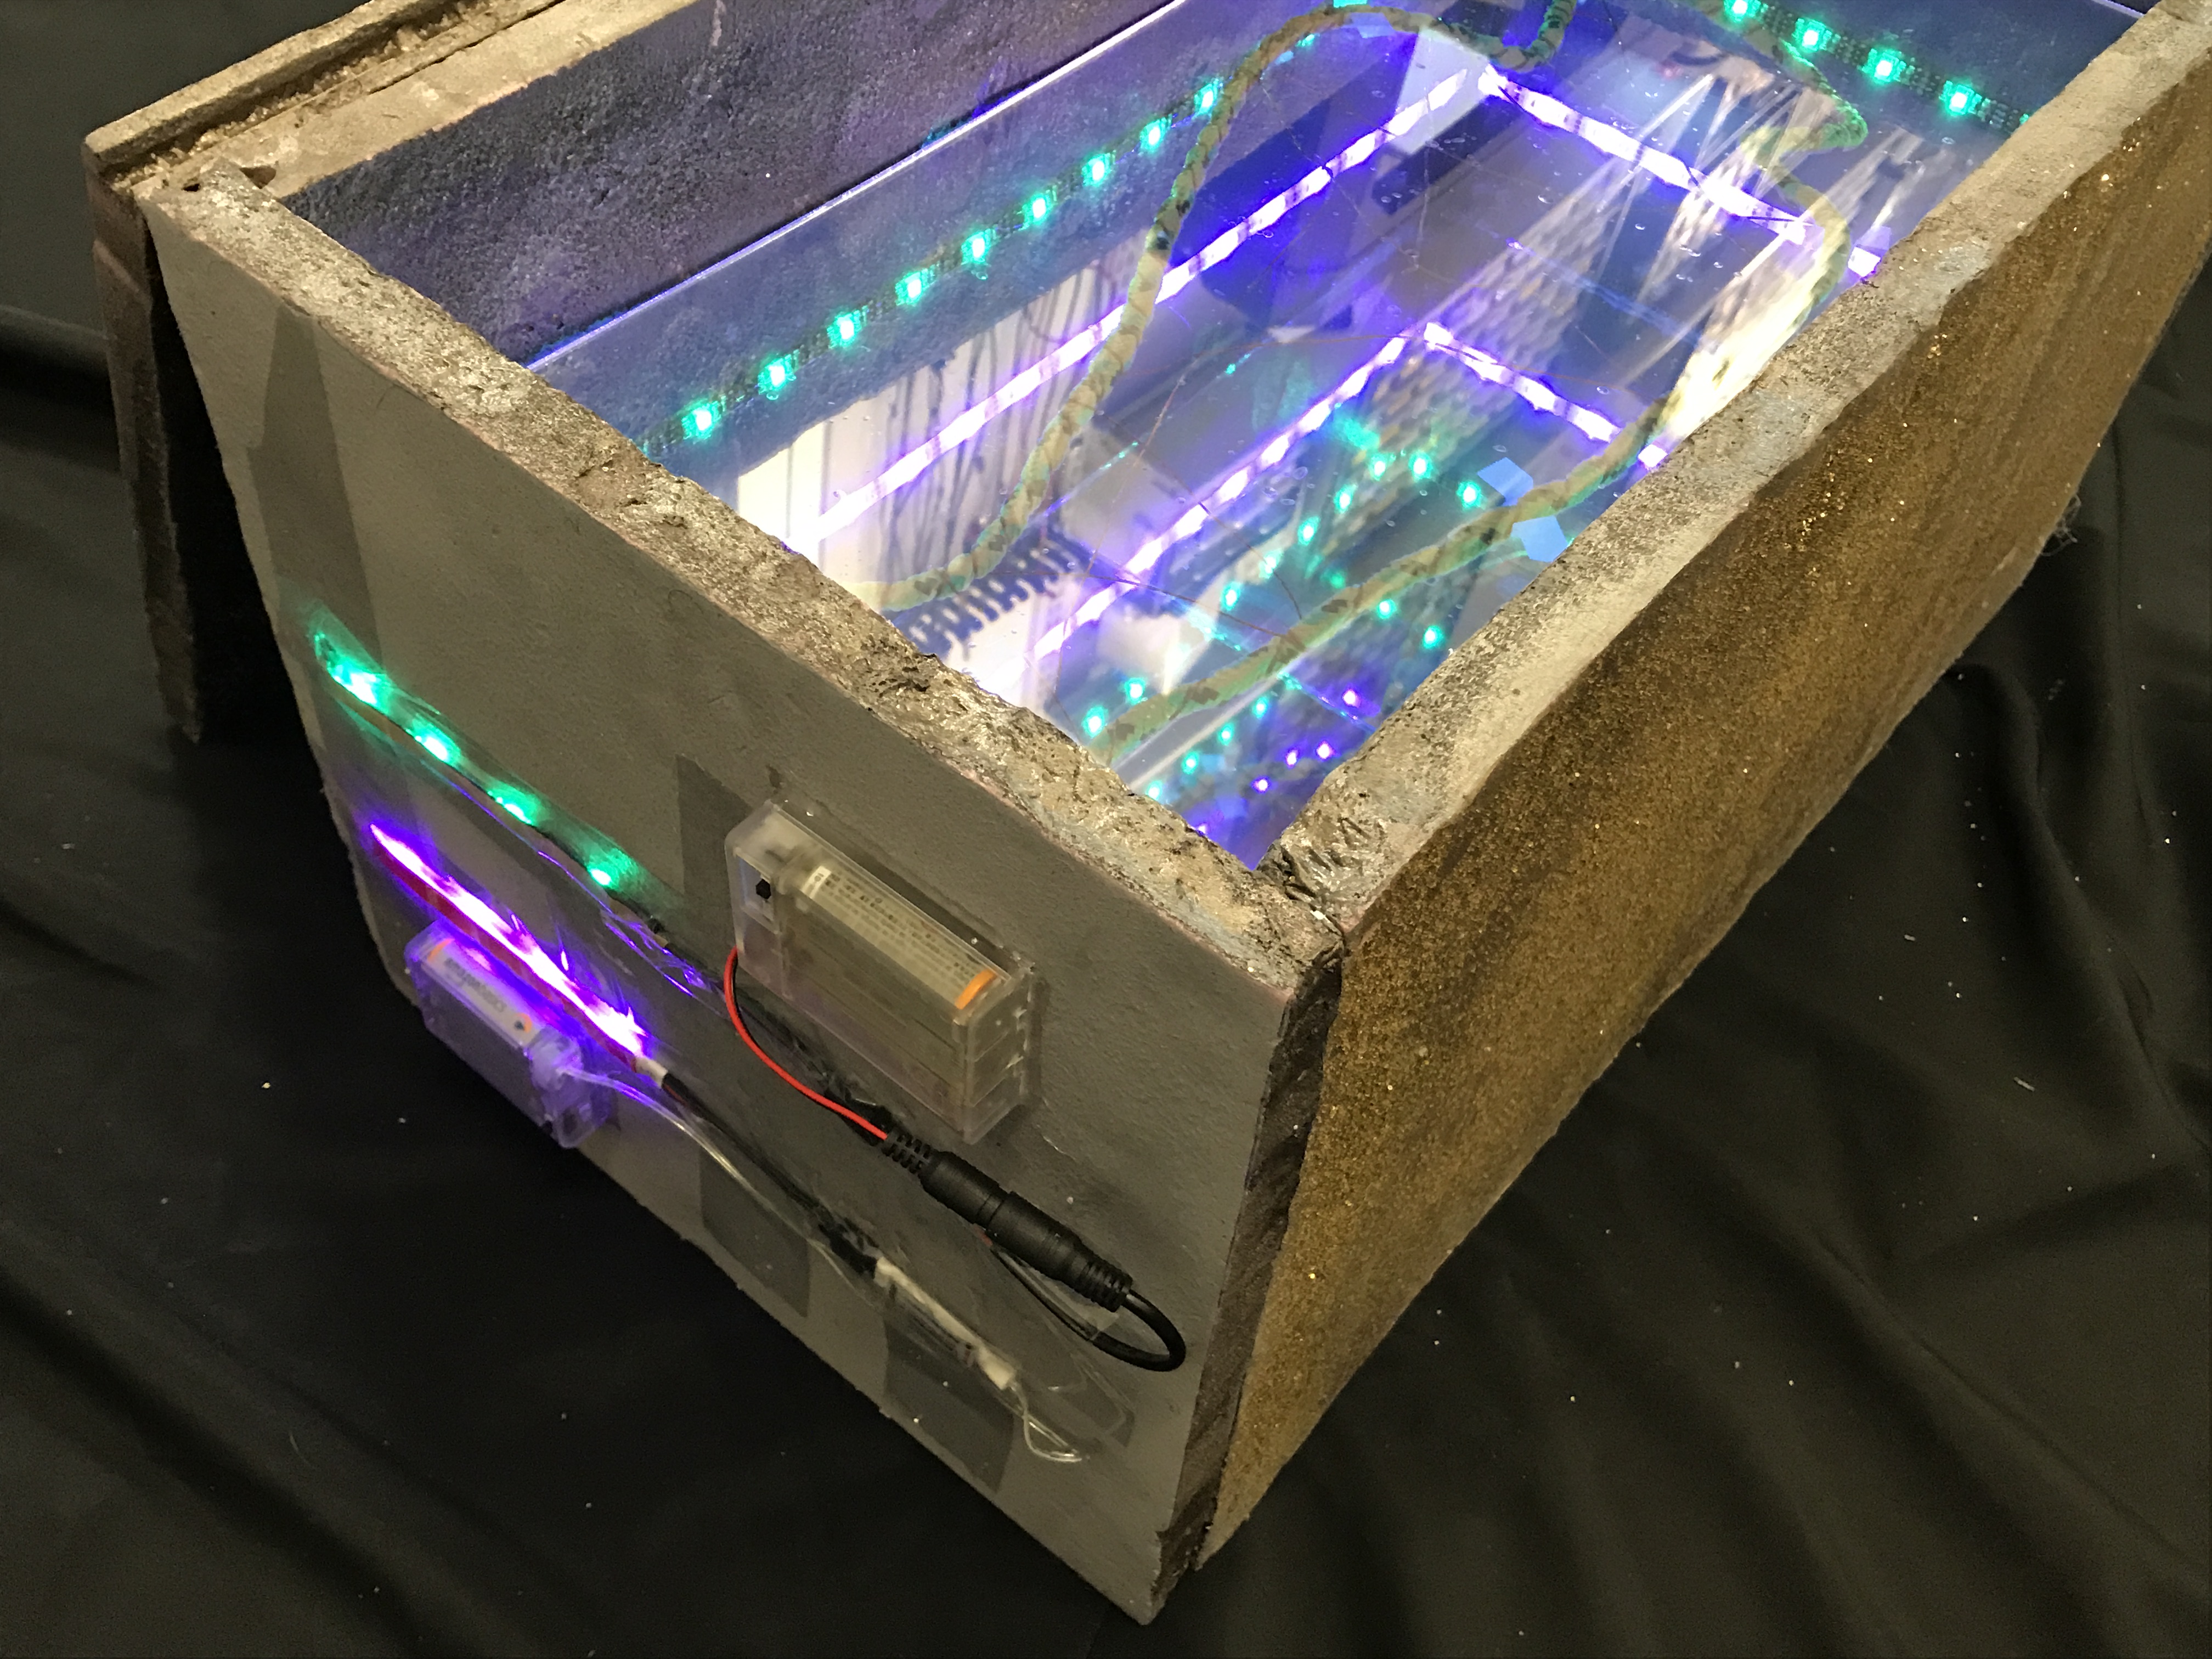
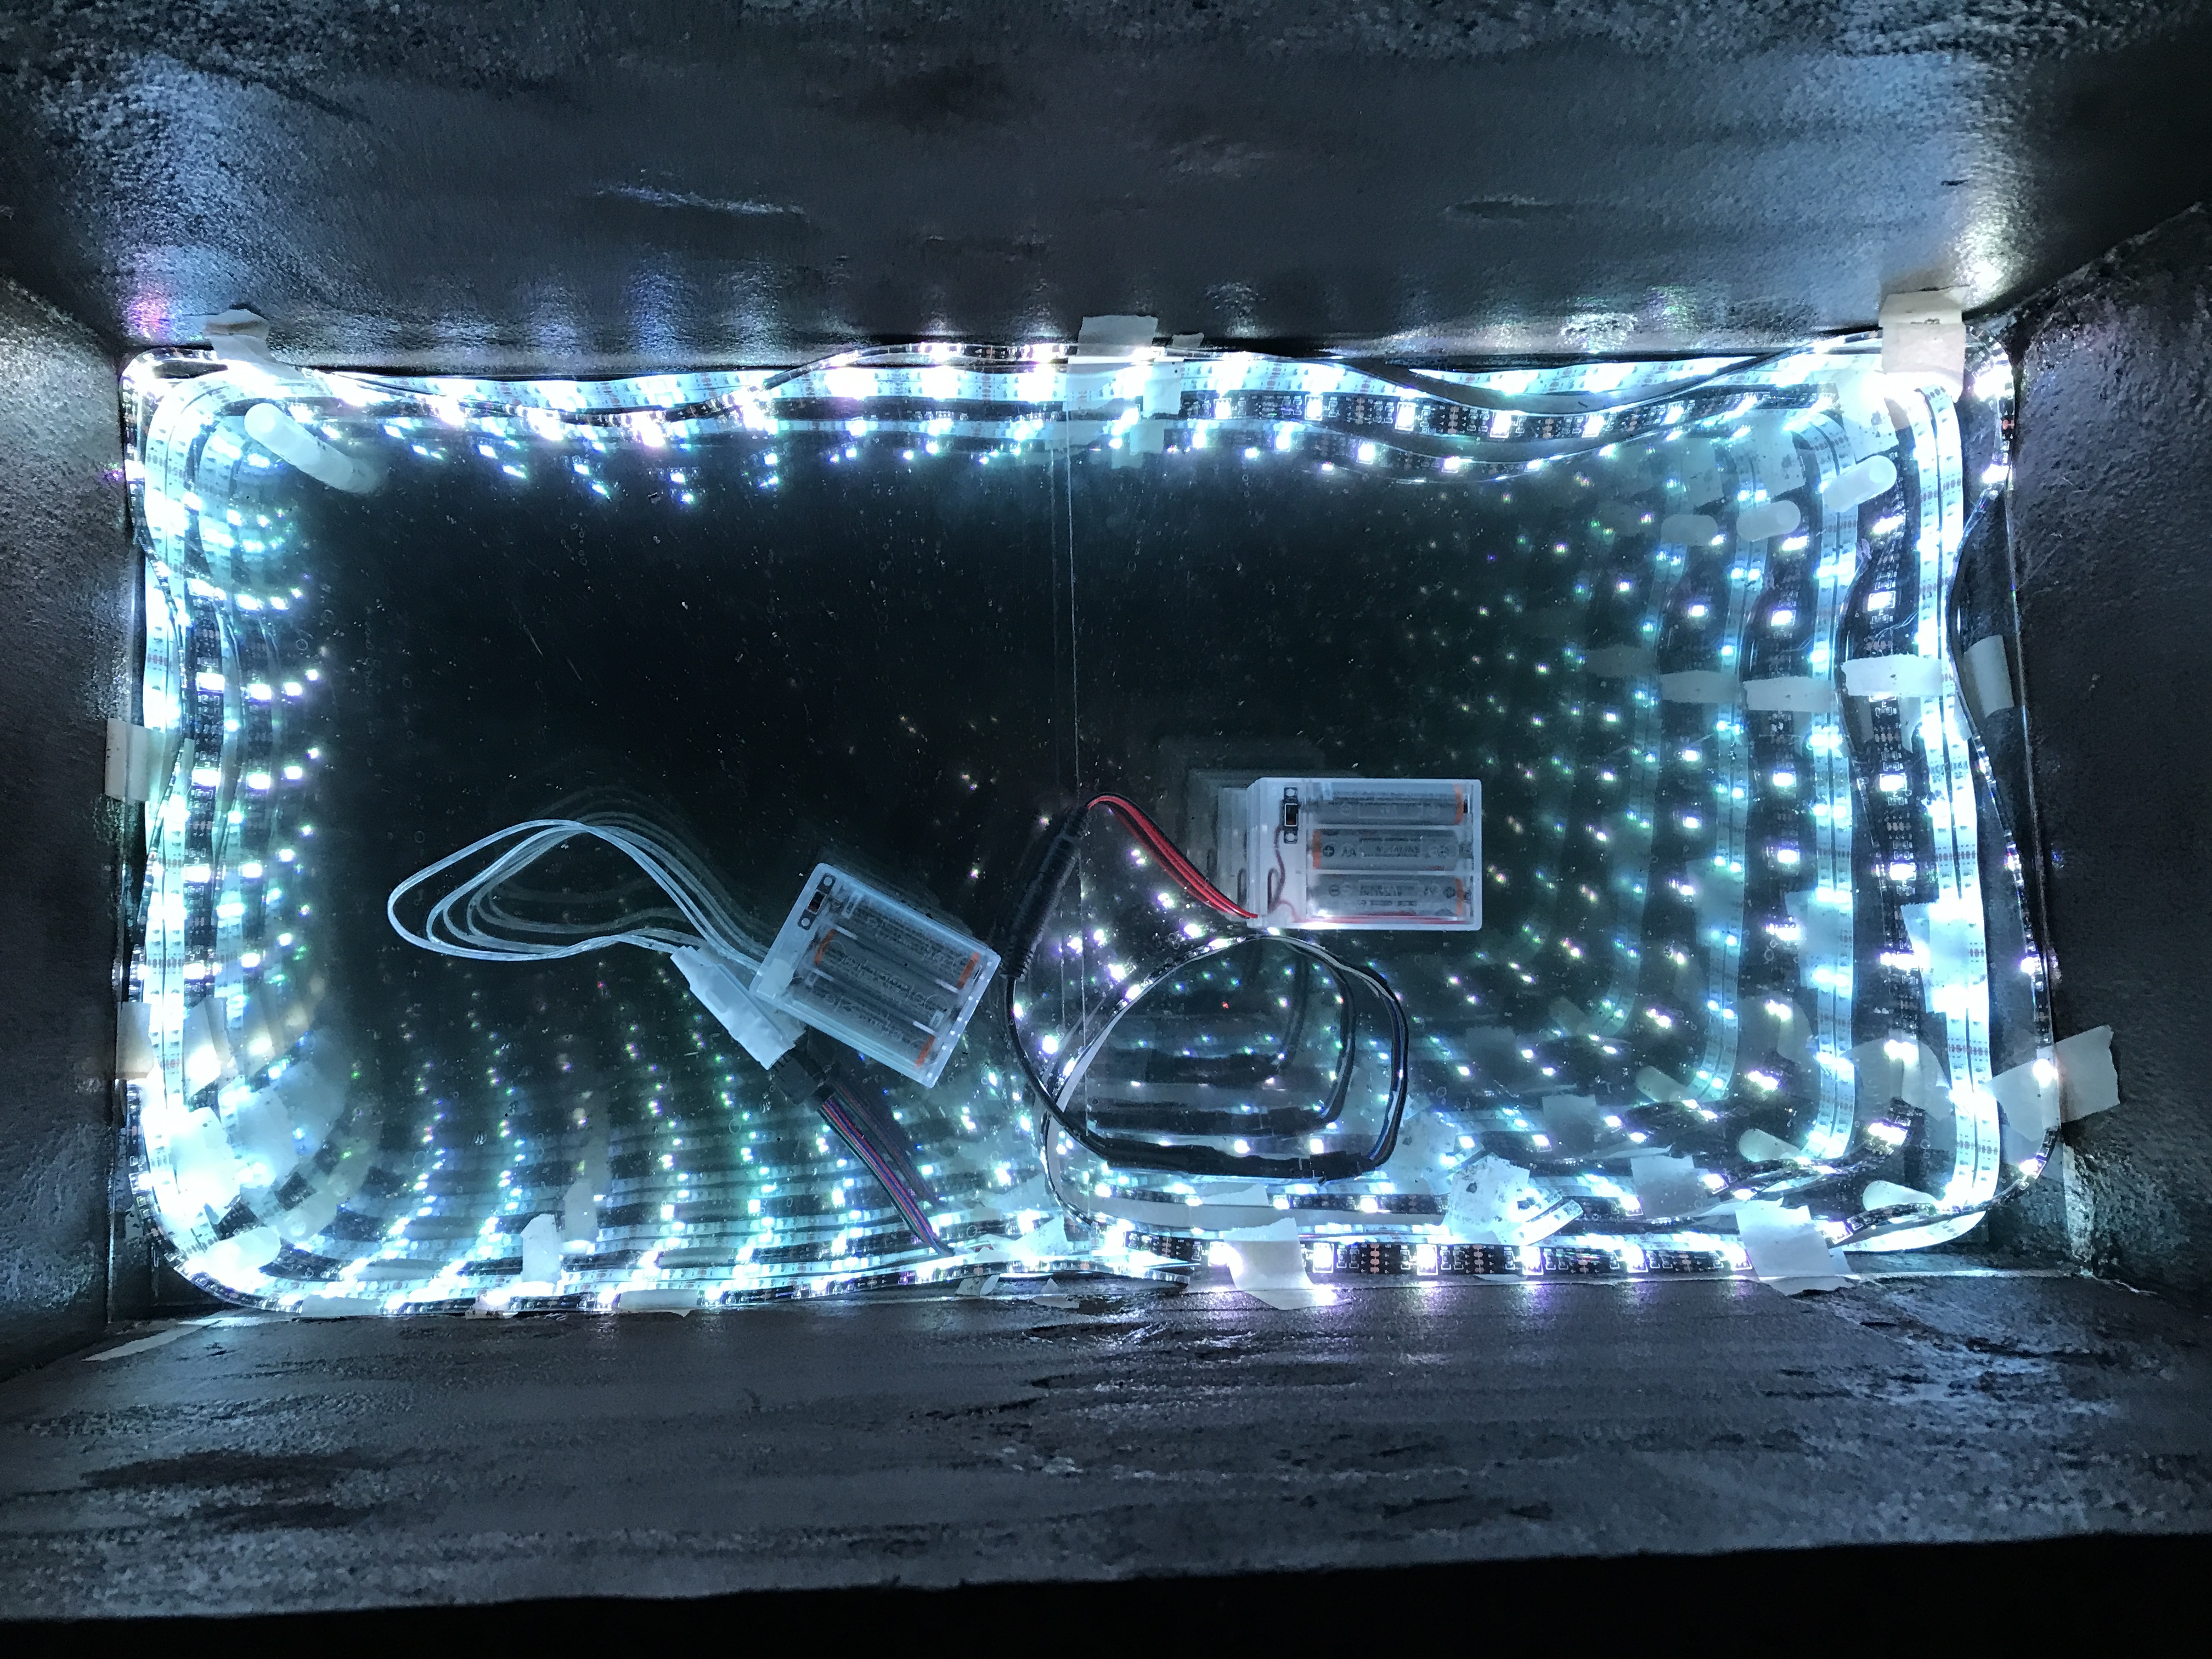
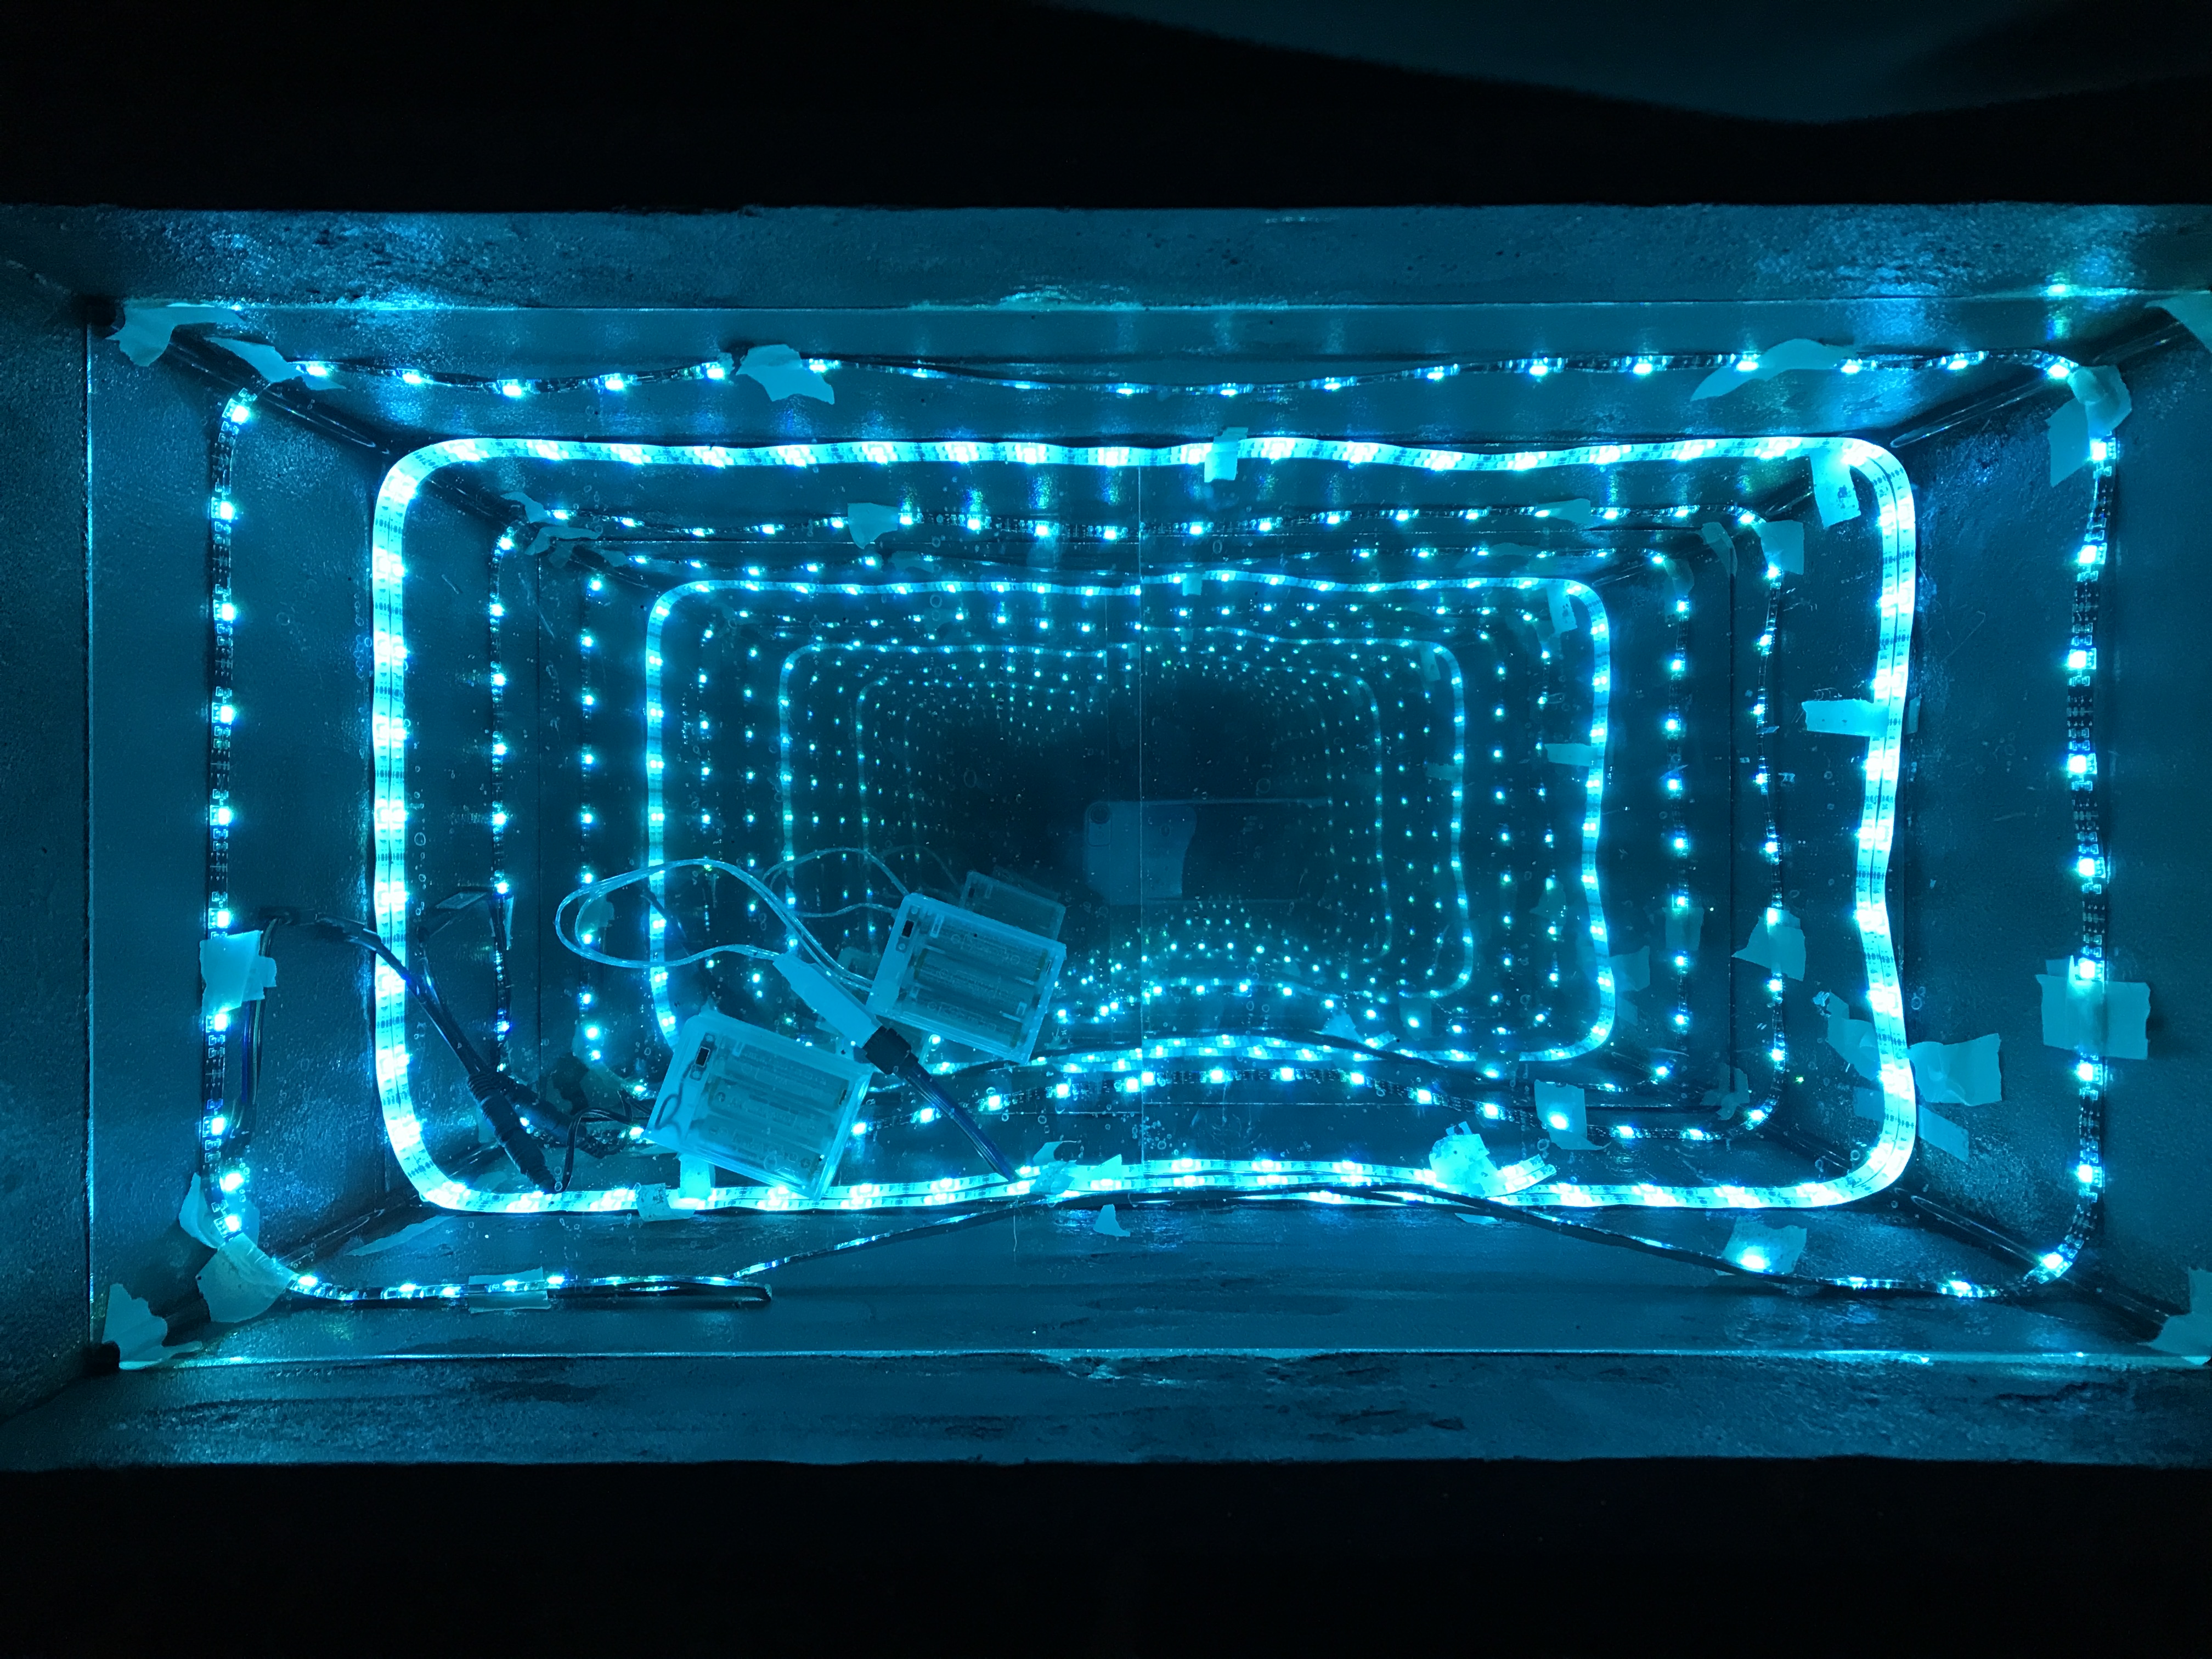
1) The wider the gap between the acrylic and the mirrors, the more rings of lights--portals to the afterlife--are created.
2) Placing the LEDs directly against the bottom of the box creates a double-layered light effect.
3) Adding an additional LED strip reduces the gap between the reflected rings of lights and doubles the number of rings of lights.
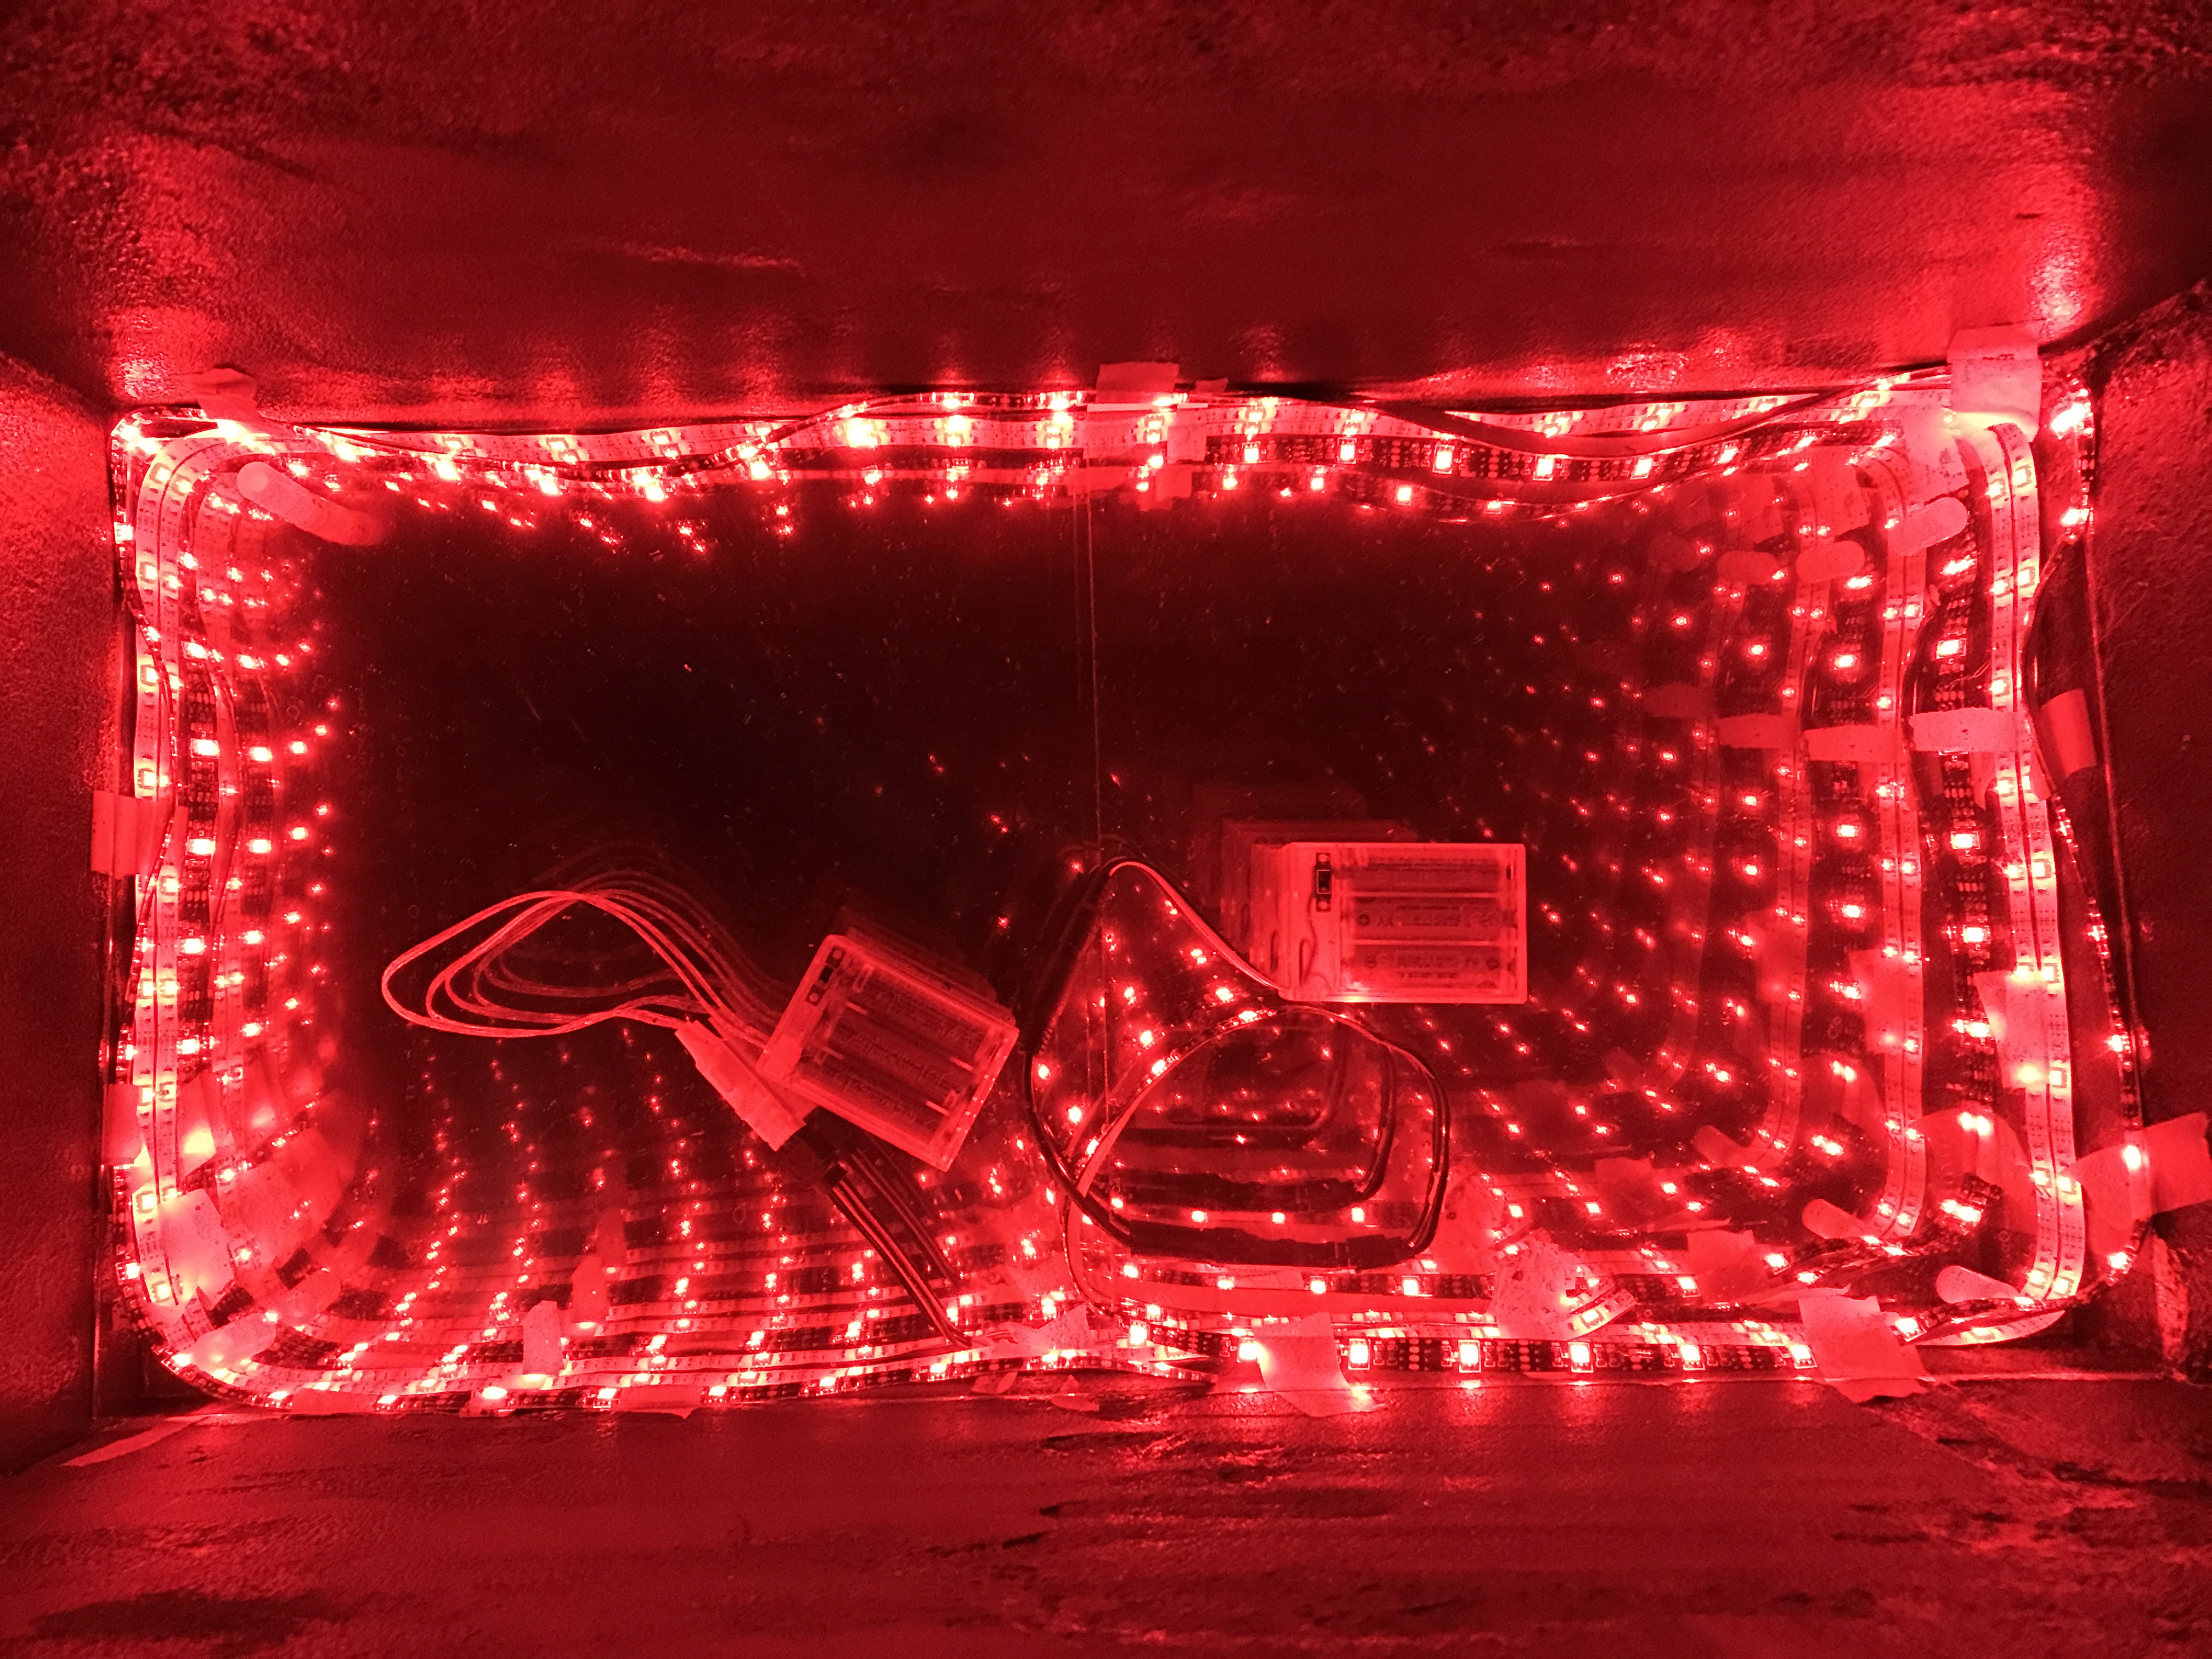
4) White LEDs display the most clearly against the dark, chestnut-colored sarcophagus walls. Cool colors such as aqua, blue, and green show up nicely too. Warm colors such as yellow, red, and orange provide a less striking contrast against the wall.
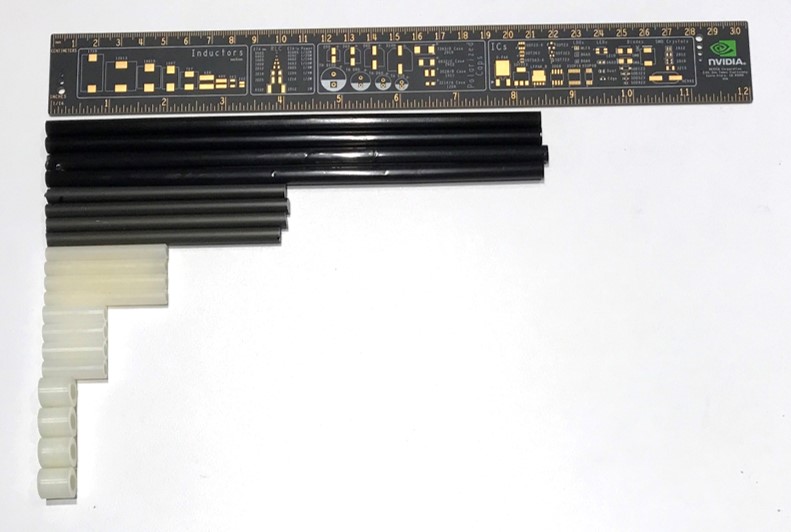
| Based on these discoveries, I scavenged for long supports to hold up the acrylic layer. Among plastic poles, metal poles, chopsticks, and straws, the 9-inch black straws worked the best to hold up the acrylic. The two LED strips were positioned equidistant from the mirror and acrylic. |
|  |
 |
 |
I also engaged different users to evaluate the best color combinations and animations. Based on user feedback, using a single color for both LED strips was "too static" and did not convey movement through the passageway. Some users liked when one LED was in yellow and the other LED was in orange because "the gold tones match the look of an Egyptian tomb." The question, "How does one create movement through lights?" remained. I experimented with animating the lights in different ways. Users disliked the blinking effect where the LED strips flash different colors every half second because it resembled Christmas lights. One user even stated, "This reminds me of Las Vegas!" When I demo-ed the lights gradually shifting in RGB values, users gave two thumbs up. The shifting lights not only conveyed a sense of movement, but also captured the mesmerizing and mystic nature of the afterlife and the portals in the House of Osiris. This proved to be the best and most surprising grand finale for the players of the game, and it is also the ultimate sendoff for great pharaoh Hatshepsut on her path to the afterlife.