 XD02
- Change Sponsor Research Customer Master Records
  XD02
- Change Sponsor Research Customer Master Records
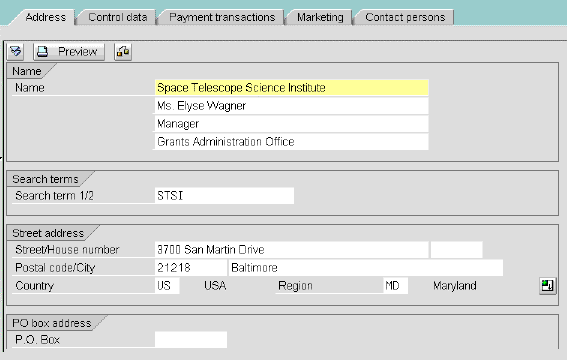
 Use these steps to change Sponsor Billing customer master records. These instructions assume you will be making changes pertaining to Address or Sales (special handling switch).
Click here to XD02 - Maintain accounting notes, as part of a customer record.
![]() Role
ZSBM => Accounts Receivable=> Master Records=> Sponsor Research
Customers => XD02 - Change:
Role
ZSBM => Accounts Receivable=> Master Records=> Sponsor Research
Customers => XD02 - Change:
At the Command Line, enter: /nXD02
To complete the initial screen, you need to identify the customer and select data type(s), as described below.

Acct group From To Size Type of record SPOL 8000000000 8099999999 10 Letter of credit sponsors SPON 8100000000 8999999999 10 New sponsors (since 9/97) SPOX 9930000000 9949999999 10 Existing (pre-SAP) sponsors
Sales organization (Enter "1000" for Sponsored Billing)
Distribution channel (Enter "10" for MIT Distribution Channel)
Division (Enter "10" for MIT Division)

To switch to another data area, click on a button, for example
![]()
 (F11) to SAVE.
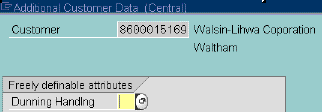
There are some customers whose bills and dunning letters should go to the department before sending them to the customer. For instance, any Brazilian customer needs this special handling because all correspondence must be stamped by the Brazilian Consulate prior to being sent to the customer.
To set the special handling switch, follow the instructions below.

![]()
 (F11) to SAVE.
Copyright © 2002, Massachusetts Institute of Technology. All rights reserved.