This page presents my work for the class 4.11A - Introduction to Architecture and Environmental Design Intensive. 4.11A taught me a methodology for creative design in which semi-arbitrary rules are chosen beforehand as part of an inspiration, and the constraints help arrive at unique designs that would otherwise not be reached.
Body to Plane to Space:
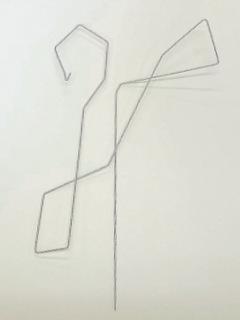
The first project was to use the human body as inspiration to work in a one-dimensional plane and then gradually project off of the plane into 3D space.
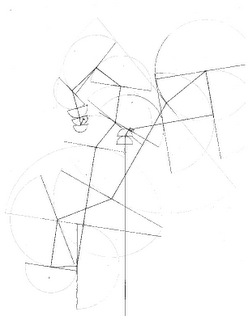
The next step was shadow casting. The wire was held at different positions and a light was used to cast three shadows of different orientations and thicknesses on paper. The shadows were roughly sketched and then reproduced neatly as shown below.
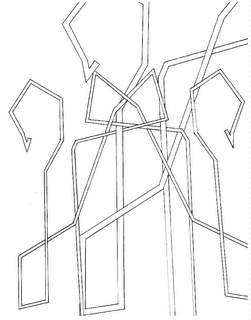
The final step was to bring the creation off of the plane, but I needed to develop a strong logic. My drawing had three circular objects at the top that to me resembled three juggling balls. There was lots of vertical motion with some wild crisscrossing. This to me most resembled the juggling trick called The Boston. The Boston has the balls move vertically as in simple columns but the hands do all the work alternating underneath.
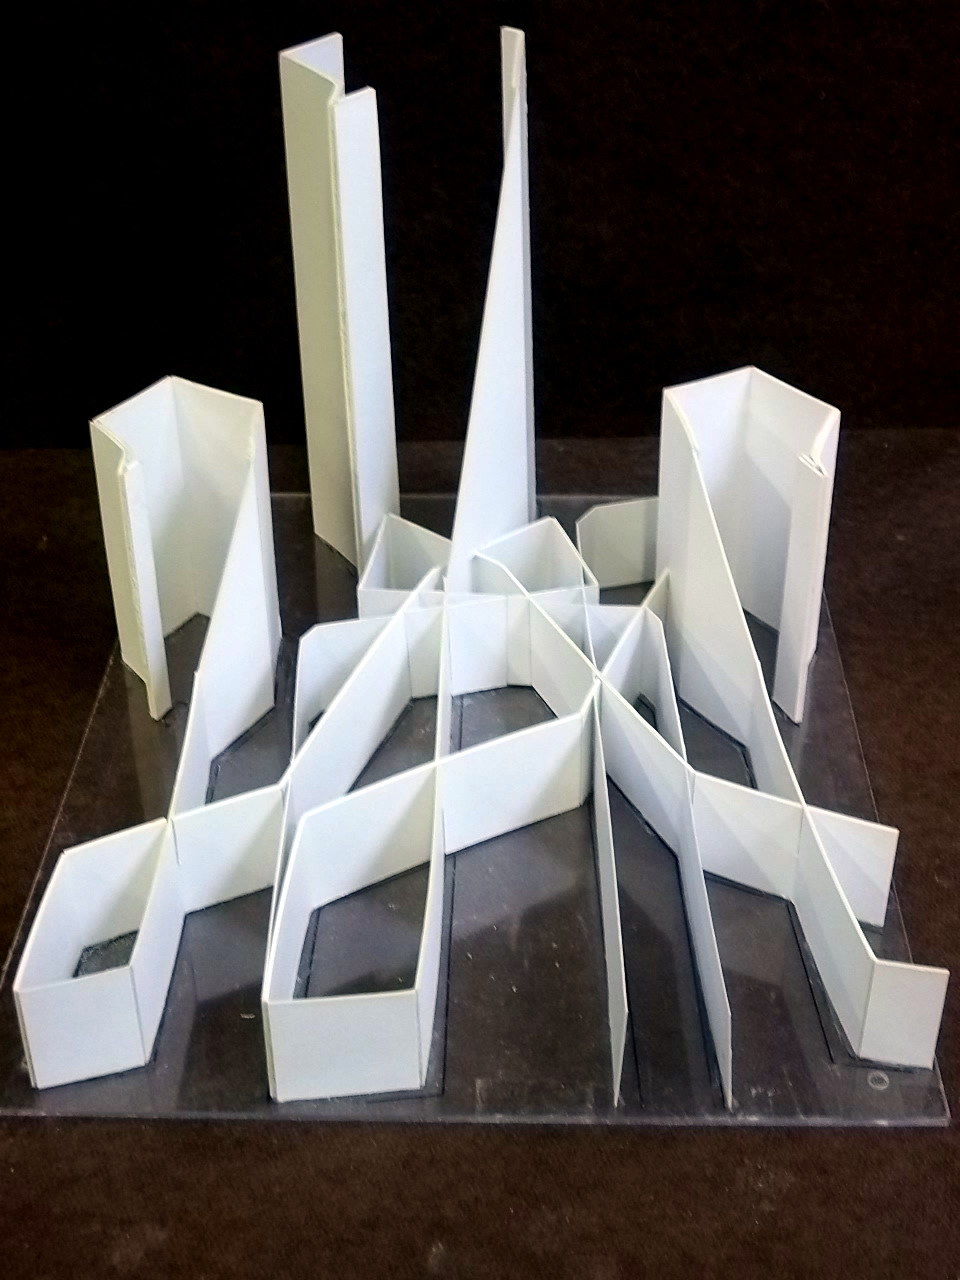
In juggling, all the balls and hands should be in the same plane, so I decided to make the base at all the same height and then have the balls extend up significantly at top. The highest ball goes off the top of page just like how juggling often has balls thrown above the view of the juggler. The thicknesses of the cardstock were chosen to have a strong degree of symmetry which is important in architecture. The final model was impressive and I was first to present during the review.
Cubes
The second project was to use actions to motivate the creation of cubes. I knew it was very important to determine a strong logic and so I started by choosing an interesting theme, which was backwards.
The Scootering Backward Cube
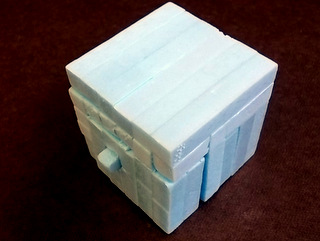
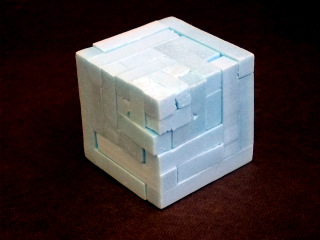
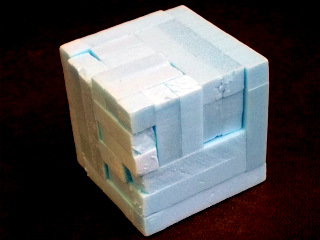
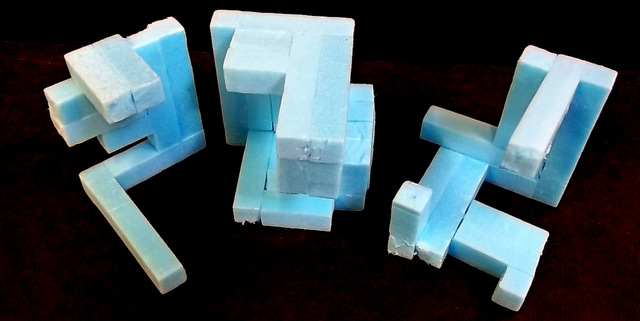
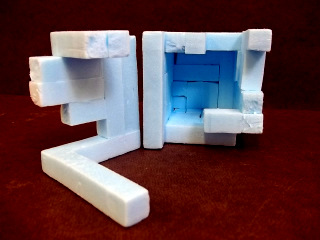
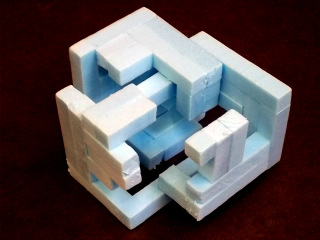
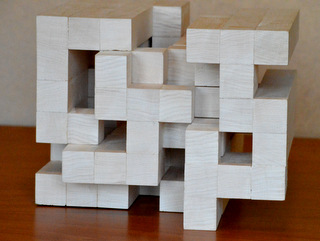
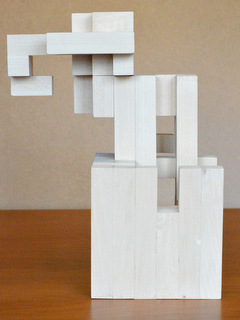
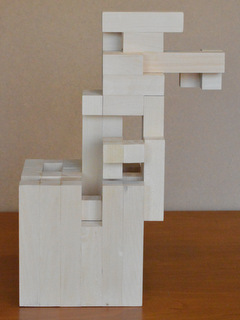
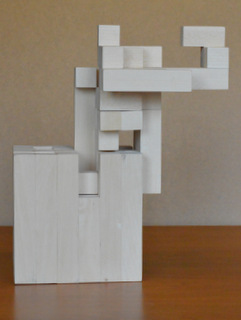
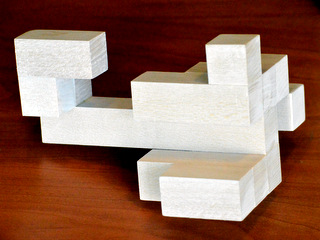
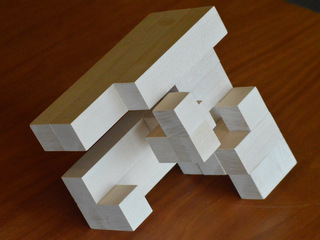
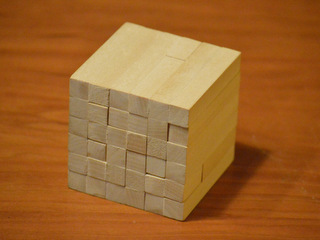
I wanted all the pieces to all move in a horizontal plane. I decided I could make the cube more horizontal by aligning all the pieces horizontally in the same direction. Additionally, in the video I had moved backwards and forwards, so removing the pieces requires moving one of the pieces first one way and then back. While creating this cube we were also instructed to have some interesting intermediate state. I chose a simple configuration that at first glance looks simple, but that lets the onlooker peer in and start to see how complicated and difficult this cube actually is to take apart and resemble. I will talk a little more about the many amazing aspects to this cube in a short bit! (This model was originally made in foam, but was selected to remake in basswood).
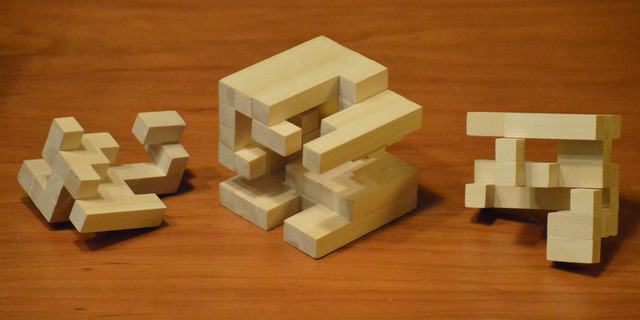
Scaling the Scootering Backwards Cube
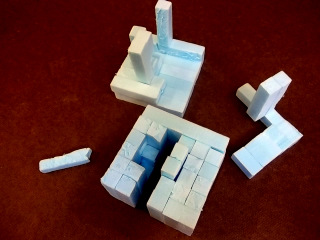
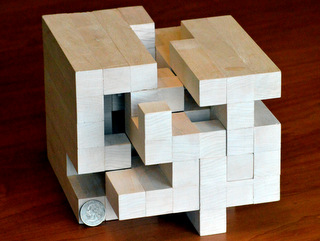
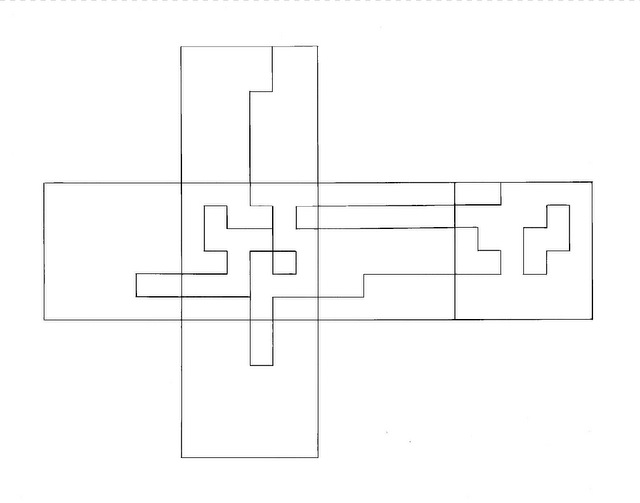
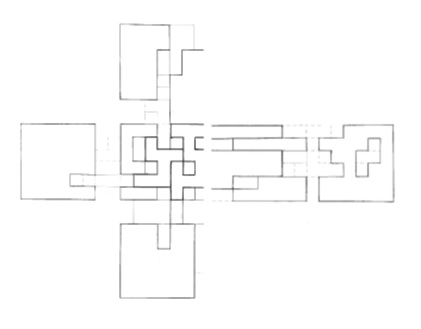
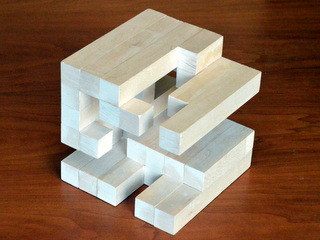
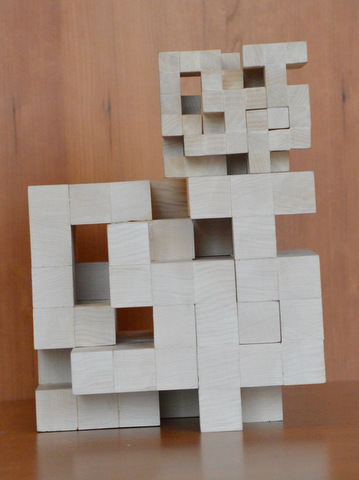
The scootering backwards was selected by the staff as most interesting cube. Its greatest feature was that this cube was extremely challenging to assemble. I had designed it with the intention of making it look as simple on the outside as possible, and making it as difficult as possible to put together. It takes 8 distinct movements to separate the three parts. (Okay it's a little right brained; I admit!)
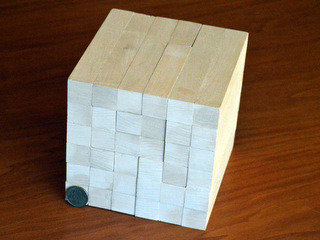
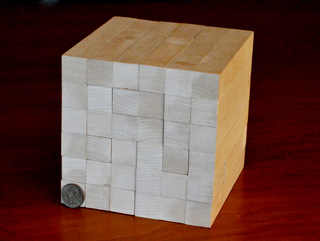
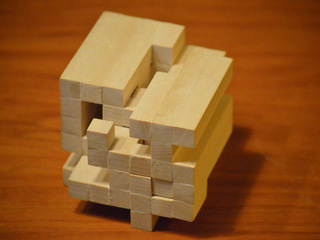
This scootering backwards cube was scaled (first in foam and then in bass wood) to be 6" by 6". Much of the cutting was done by hand. The craftmanship was important and it required much patience as to get the inside members to move and slide required slight thousands of an inch differences from careful sanding.
This scaled cube is interesting in the sound that it makes. The original design has a unique beautiful clicking sound that actually sounds like well-travelled scootering bearings. The larger cube has the same sound one octave lower, cooresponding to the class' theme on working across different scales.
For the scaled cube I made sure that the the grains of the wood on the front all run horizontally as one does in scootering. In fact, there is one place that allows for vertical motion - tantamount to falling - for which the cube parts get stuck.