


2.00b Toy Product Design
Let's Play - Toobers!
PCB Assembly 5Connect it Together
Connect the Shield to the Arduino!
We'll be using three of the parts from the breadboarding circuit: the Arduino, the DFPlayer, and the speaker. Go ahead and disconnect those now. You can leave everything else on your board, in case you'd like to use it in a future project or 2.00b prototype.
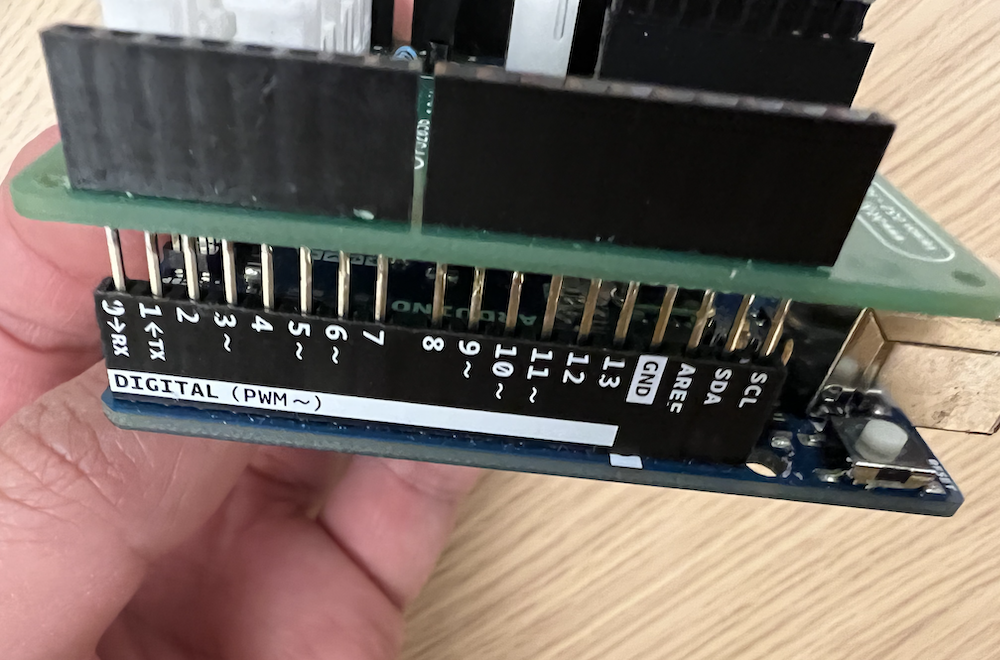
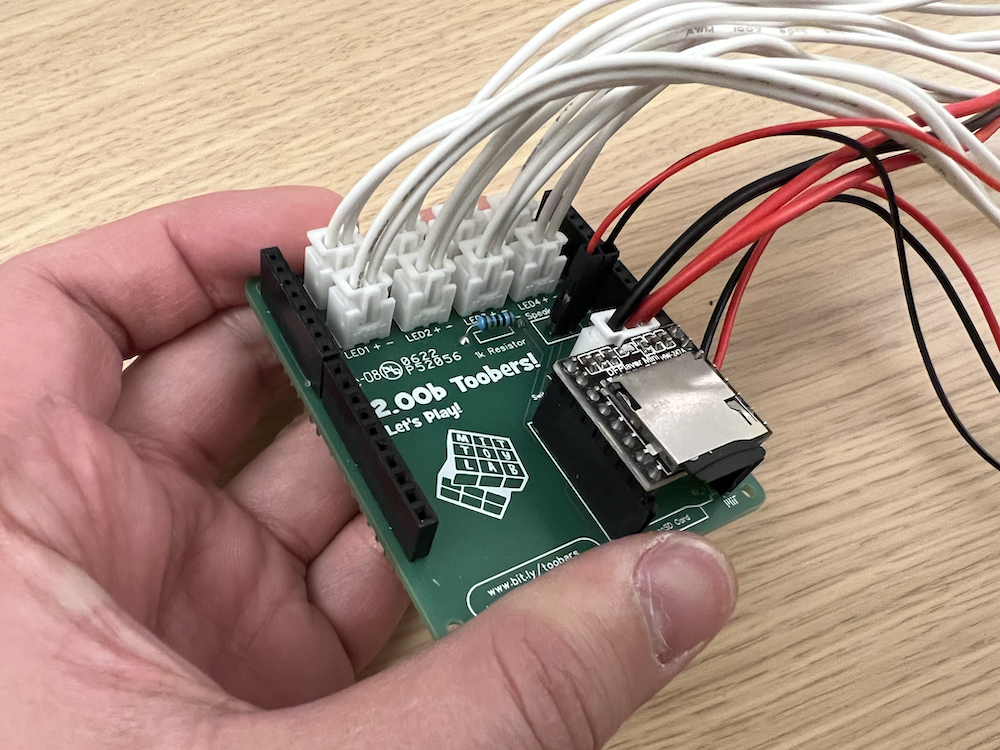
Take a note at how the long female header pins are on the PCB. You'll notice they align with the Arduino in a specific orientation. The reason we're using these long female header pins is because it makes the unused pins on the Arduino available!
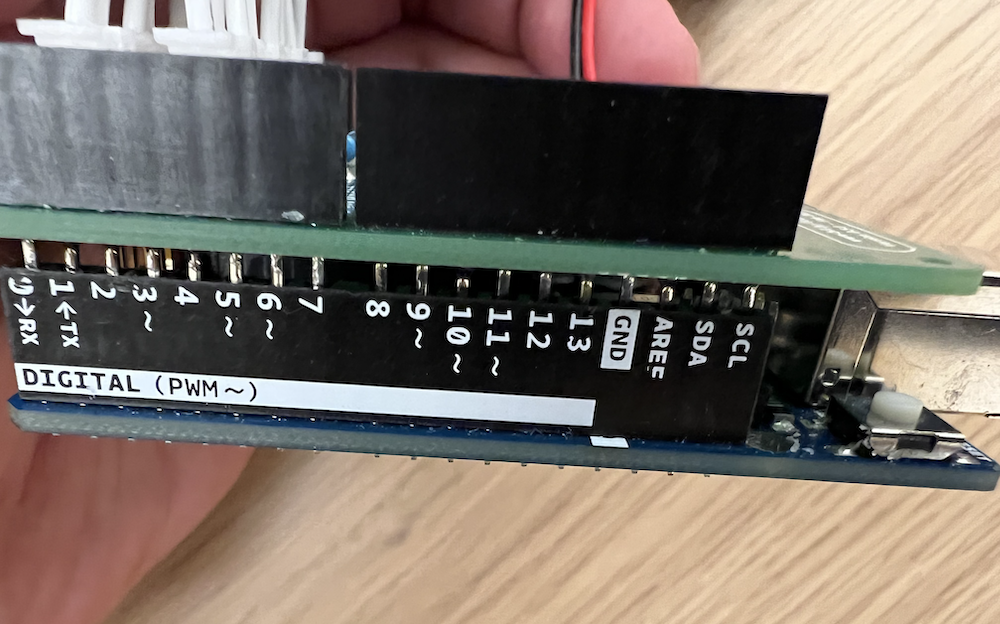
When you place your shield on your Arduino, take some time to make sure the pins are properly aligned. You can bend them ever-so-slightly to get them in the right place. Push the shield all the way down as far as it'll go (the contacts of the long female header pins should barely be showing.) Double check to make sure everything is fully seated before moving on. The right picture shows roughly what it should look like when it's fully seated.
Connect your Buttons!
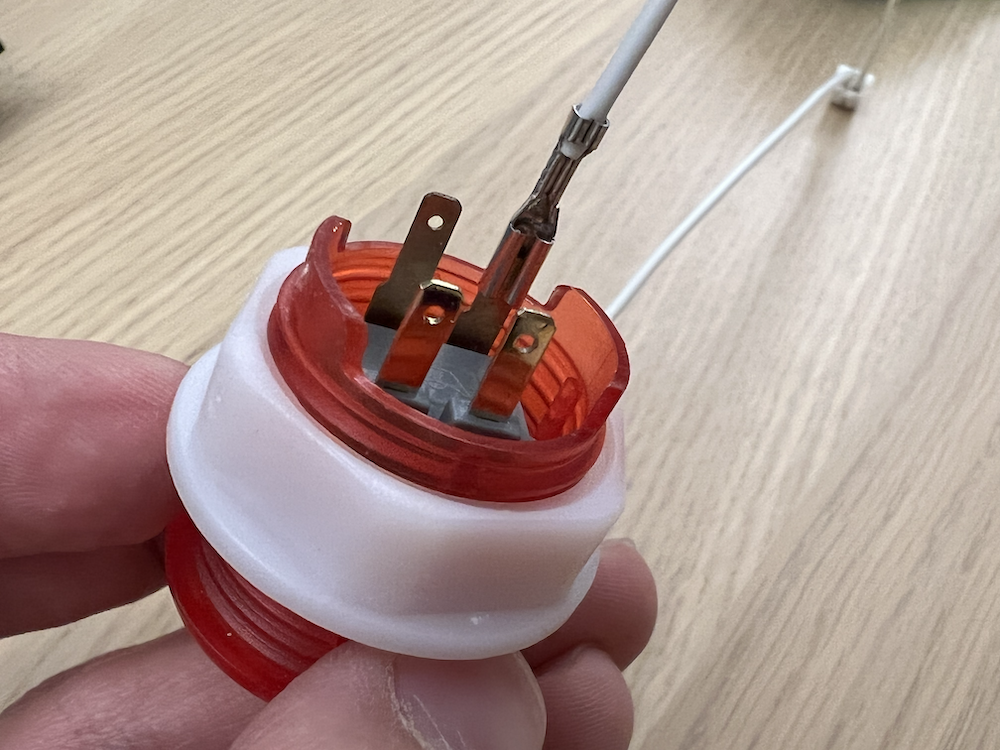
Each button has 4 contacts - 2 for the button contacts, and 2 for the LEDs. For these, you'll be using the cables that have the spade connectors on one end, and the 2-pin JST XH connectors on the other. Wire these up as shown:
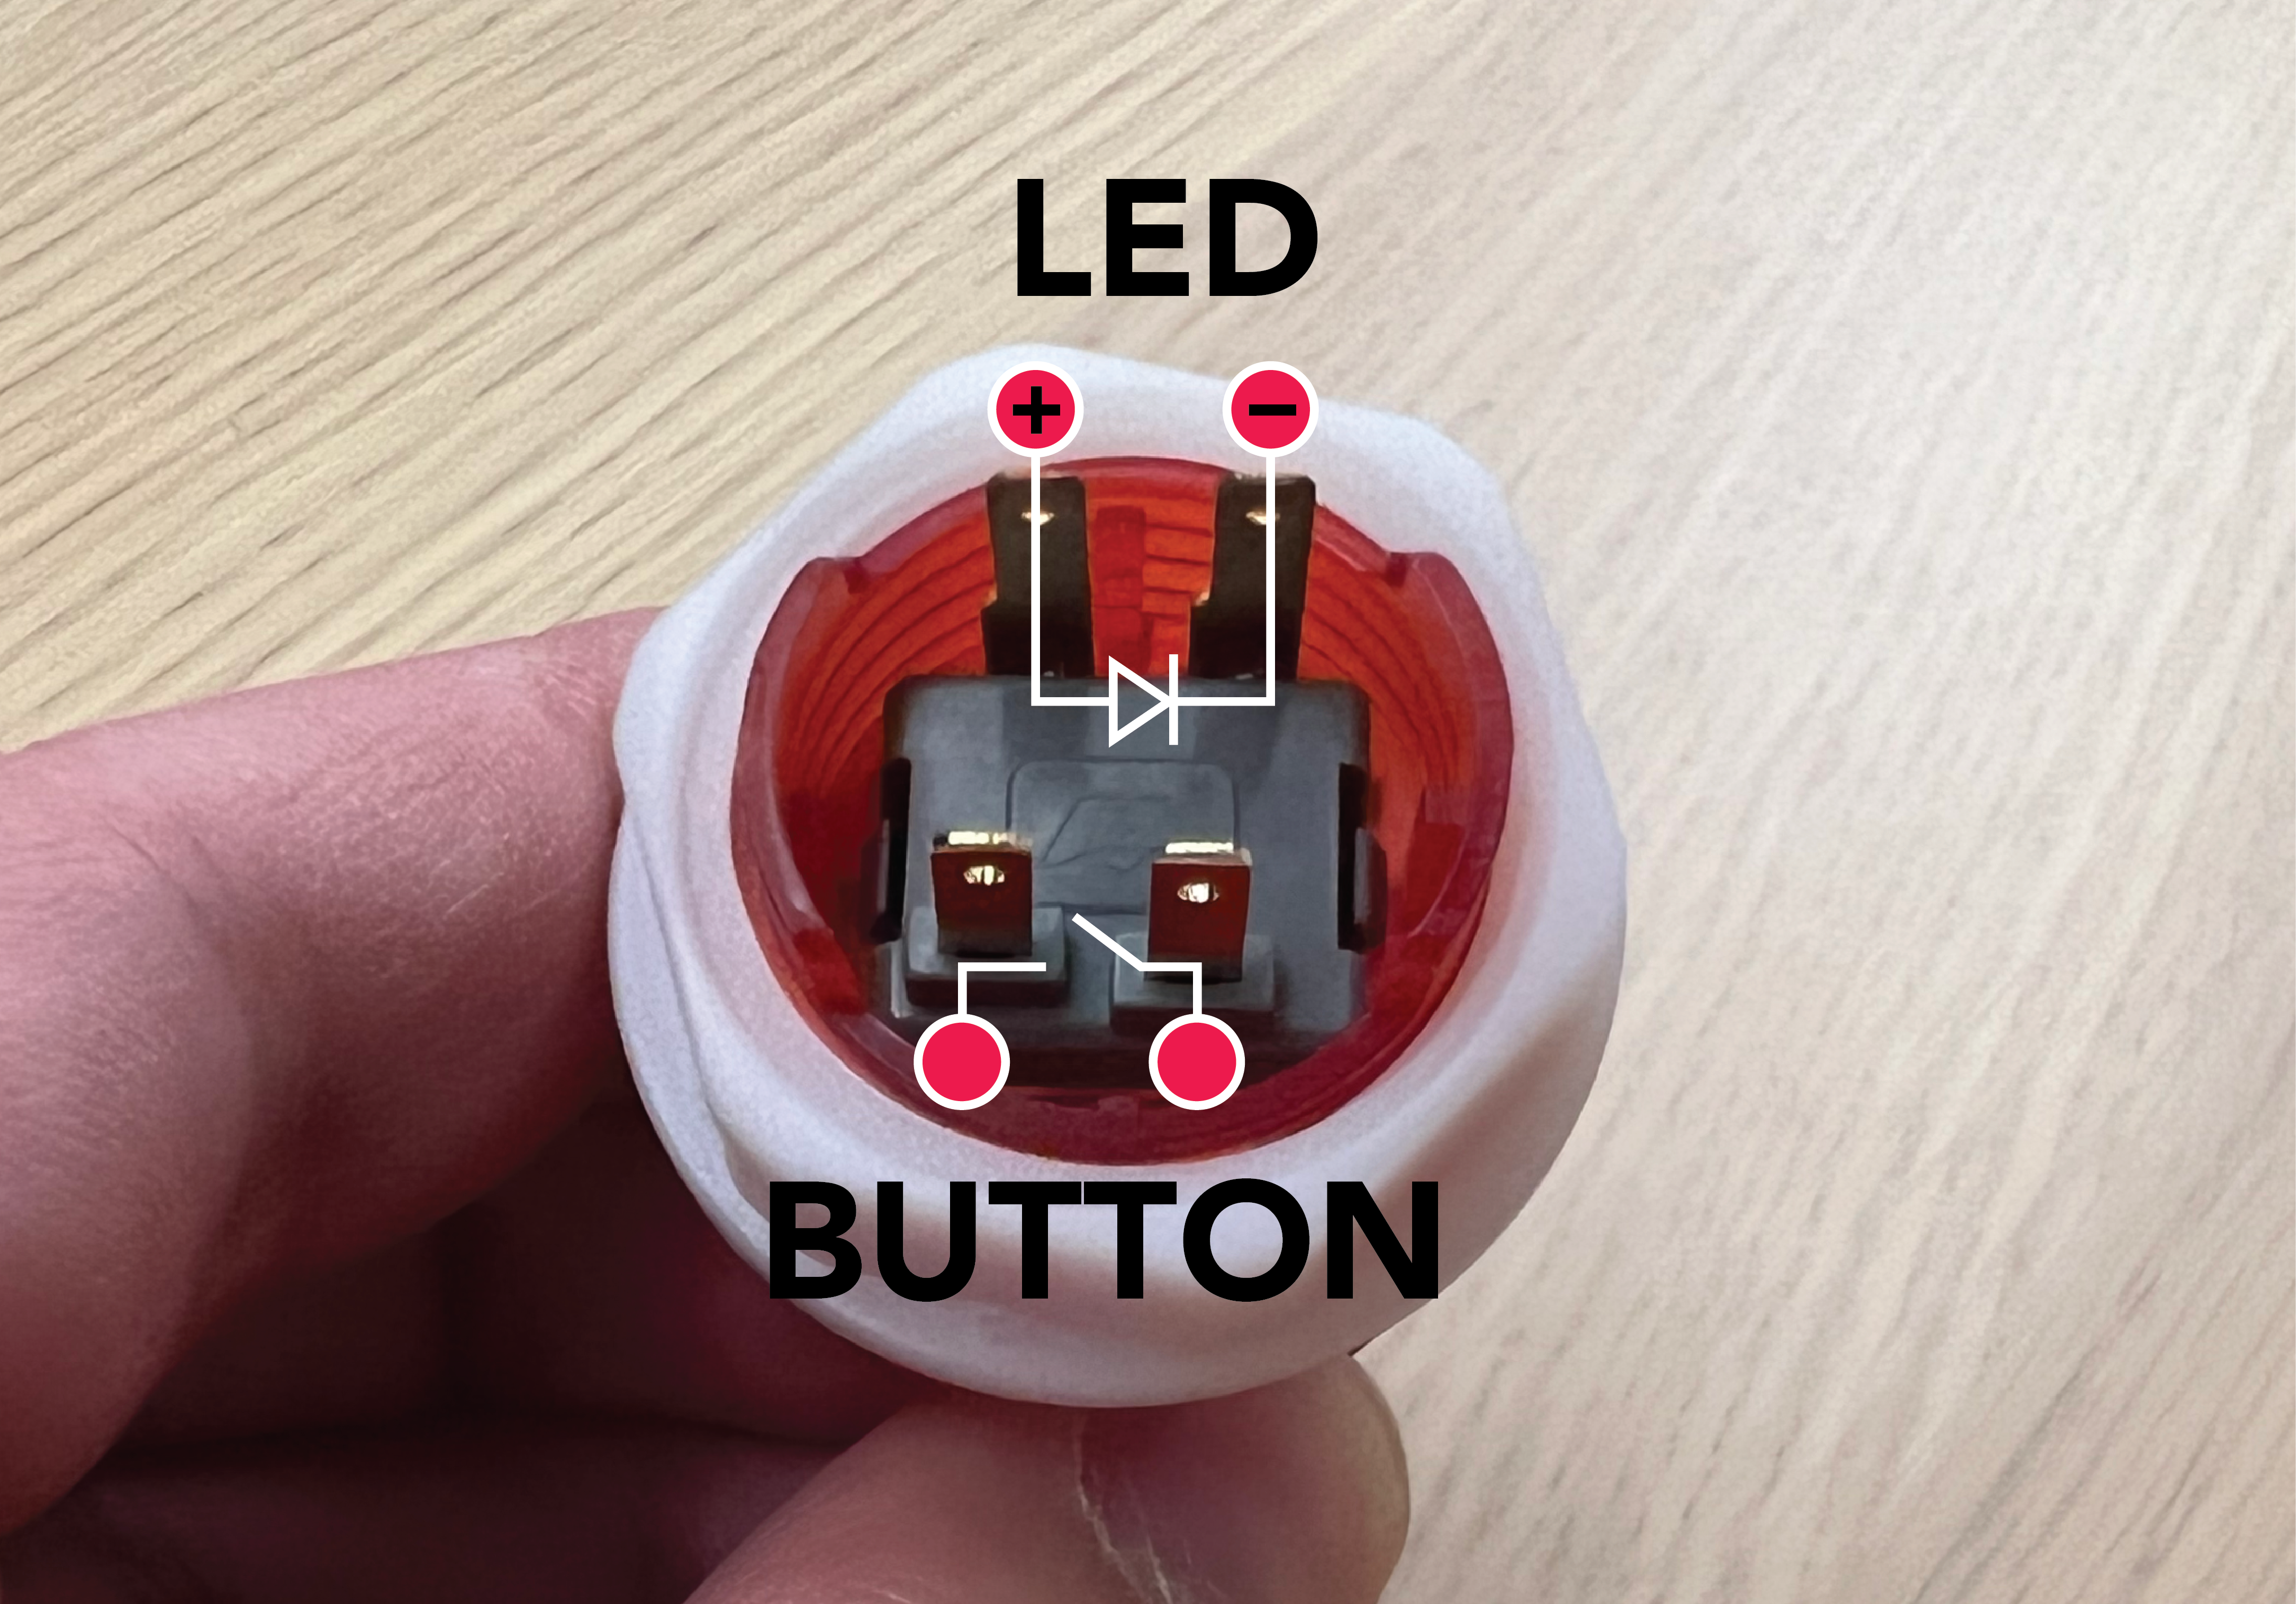
To figure out which wire goes in positive, take a look at the LED Connections on the PCB, which is labeled as + then - from left to right. The connector will only fit in one direction. Note that the polarity matters for the LEDs, but not for the buttons.
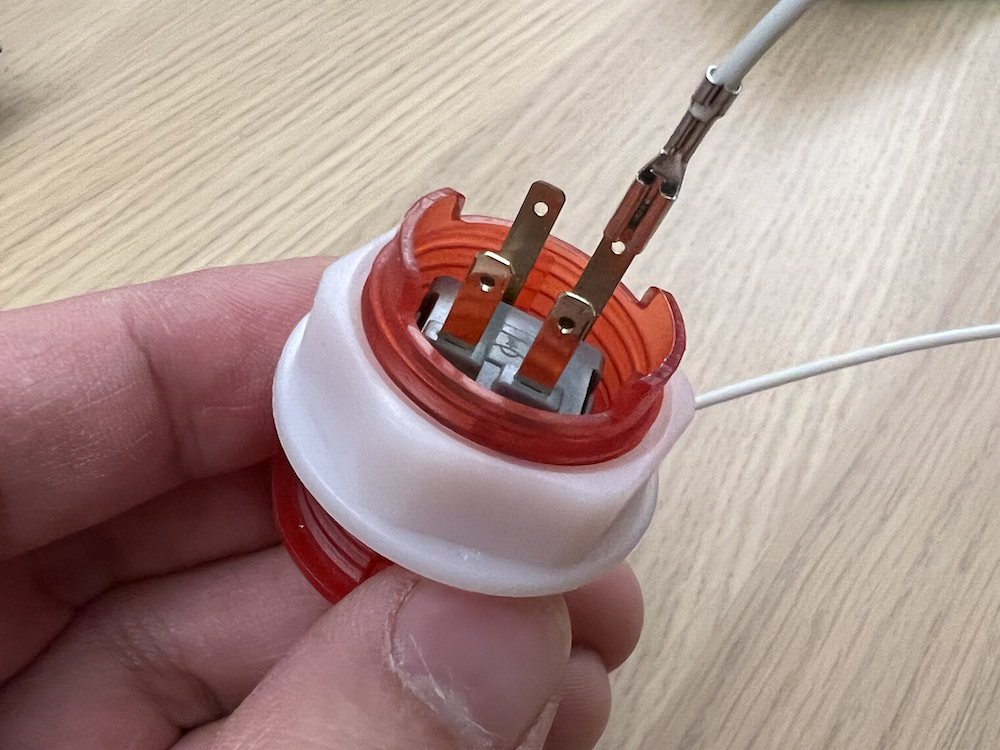
Make sure the spade connectors are pushed in all the way. The left is an example of how they tend to get stuck. Be a little bit forceful and you'll get them to seat all the way, as shown on the right.
Take the color you want to be BUTTON1 and LED1, and plug it into your board. Repeat for all 4 buttons!
Plug in the Rest!
You're almost there! Plug in the:
- DFPlayer facing the direction shown on the PCB (microSD card down)
- Toggle button for power
- Speaker
- Plug the battery into the 9V Clip
Power On!
Woohoo! If you've done everything correctly, you should see your Toobers play the starting tones and the arcade button should light up! If not, no worries. Go through the connections to see if anything is off, and don't be afraid to ask for help.
Removing Components
If you need to remove components, be sure to pull by the metal/plastic parts and not the wire. This will prevent the wire from coming out of the connector. If you need to, needle-nose pliers are sometimes great for removing parts. Your lab should have some.
Taking it home!
Carefully take your components and your assembly home with you. The next time you'll need it is at the assembly party, where you'll be putting your electronics into your housing.
Be sure to leave the soldering jigs for the next lab section. See you later!