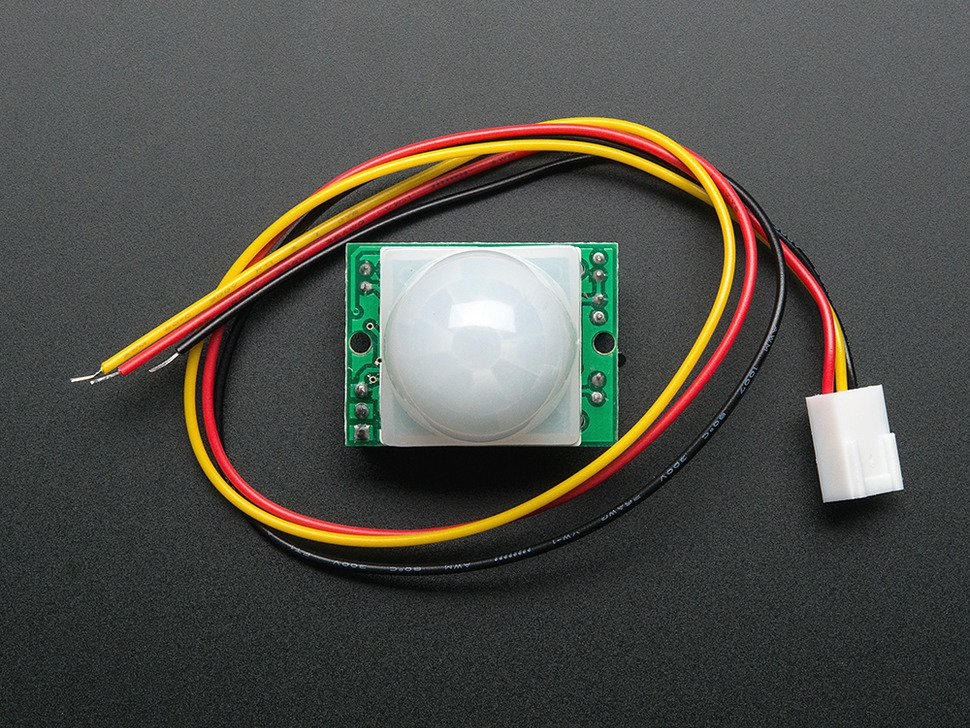
- Adafruit PIR Motion Sensor
- $9.95, detects from up to 20 feet away
- Chosen for prototyping purposes
- In the long run, the ordinary home security passive infrared (PIR) sensors currently used by 5Wits could probably be used in place of this more prototype-friendly sensor
Contributors: Gina Han, Kelly Chen
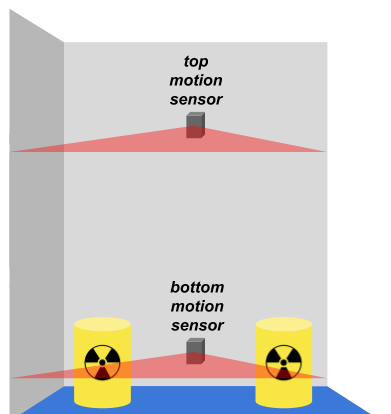
Placement of sensors is shown in the schematic above. There will be two "levels" or "heights" of sensors. The top sensors will detect if an individual is on one of the yellow barrels when he or she should not be. Turning the crank will deactivate the sensors, allowing the individual to safely travel on the barrels. The bottom motion sensor will detect if an individual is on the blue floor. Theses bottom sensors are always on, as the players are not allowed to go on the floor at any point during the game. As can be seen, the ideal chosen sensor must have a narrow vertical reach to prevent false positives of the bottom sensor.
Contributors: Gina Han
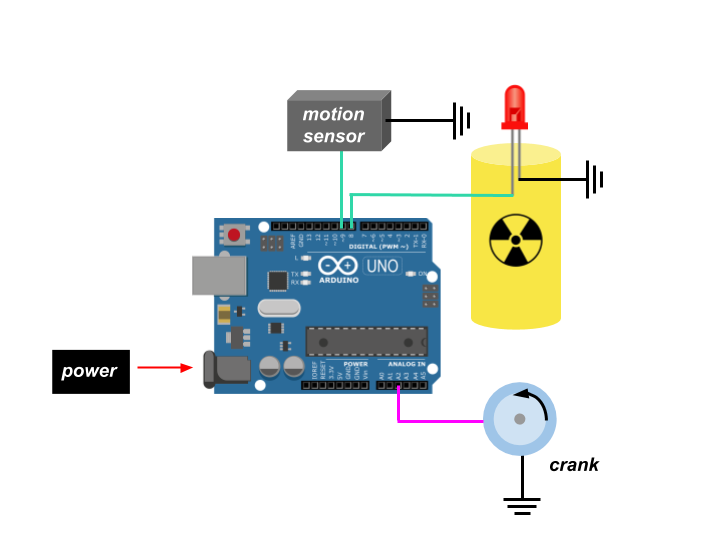
This schematic shows the general circuit layout of the room's main electronic components. It will be mainly controlled by an Arduino, which will receive an analog input from the crank. A digital output will be sent to both the top motion sensors and the LEDs. When the crank is turned, the Arduino will send a signal to the top motion sensor to deactivate it and to the LEDs to turn off for a certain period of time.
Contributors: Gina Han
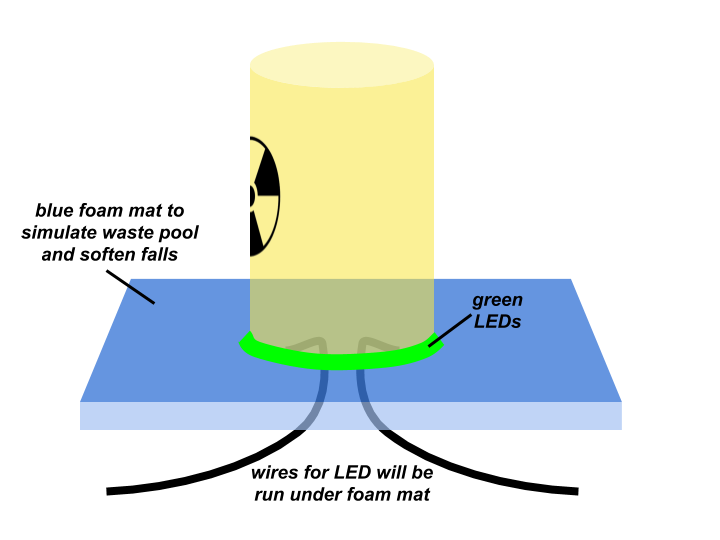
Here, the wire organization regarding the waste barrels is depicted. Our plan is to run the wires connected to the LEDs under the blue foam mat that will be present in order to soften any potential falls by players.
Contributors: Gina Han
Contributors: Ben Gray