
Creating Groups
To create groups for your Address Book:
- From the Edit menu, choose Address Book. The Edit Address Book window appears.
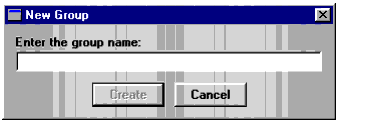
- Click New Group in the Edit Groups window. You are prompted to name the new group.
- Enter a name for the new group in the New Group dialog box.

- Click
Create. The new group is created and appears (empty) on the right side of the Edit Groups window.- Double click the name of the new group to display it in the top heading box on the right side.
- Select the desired users from the left scroll box. Users for the new group can originate in any group or sub group available in the left side scroll box. For example, you can create a group from "All Users," or your "Address Book."
- Click
Addto add selected users to the new group.- Click
OKwhen finished. The Edit Groups screen closes. The new group appears in the left side scroll box the next time you access the Guests in a Meeting or Activity proposal.You can use this group for meeting invitation or master schedule views.
| ON Corporation http://www.on.com |