Welcome to Zeus's Cannon!
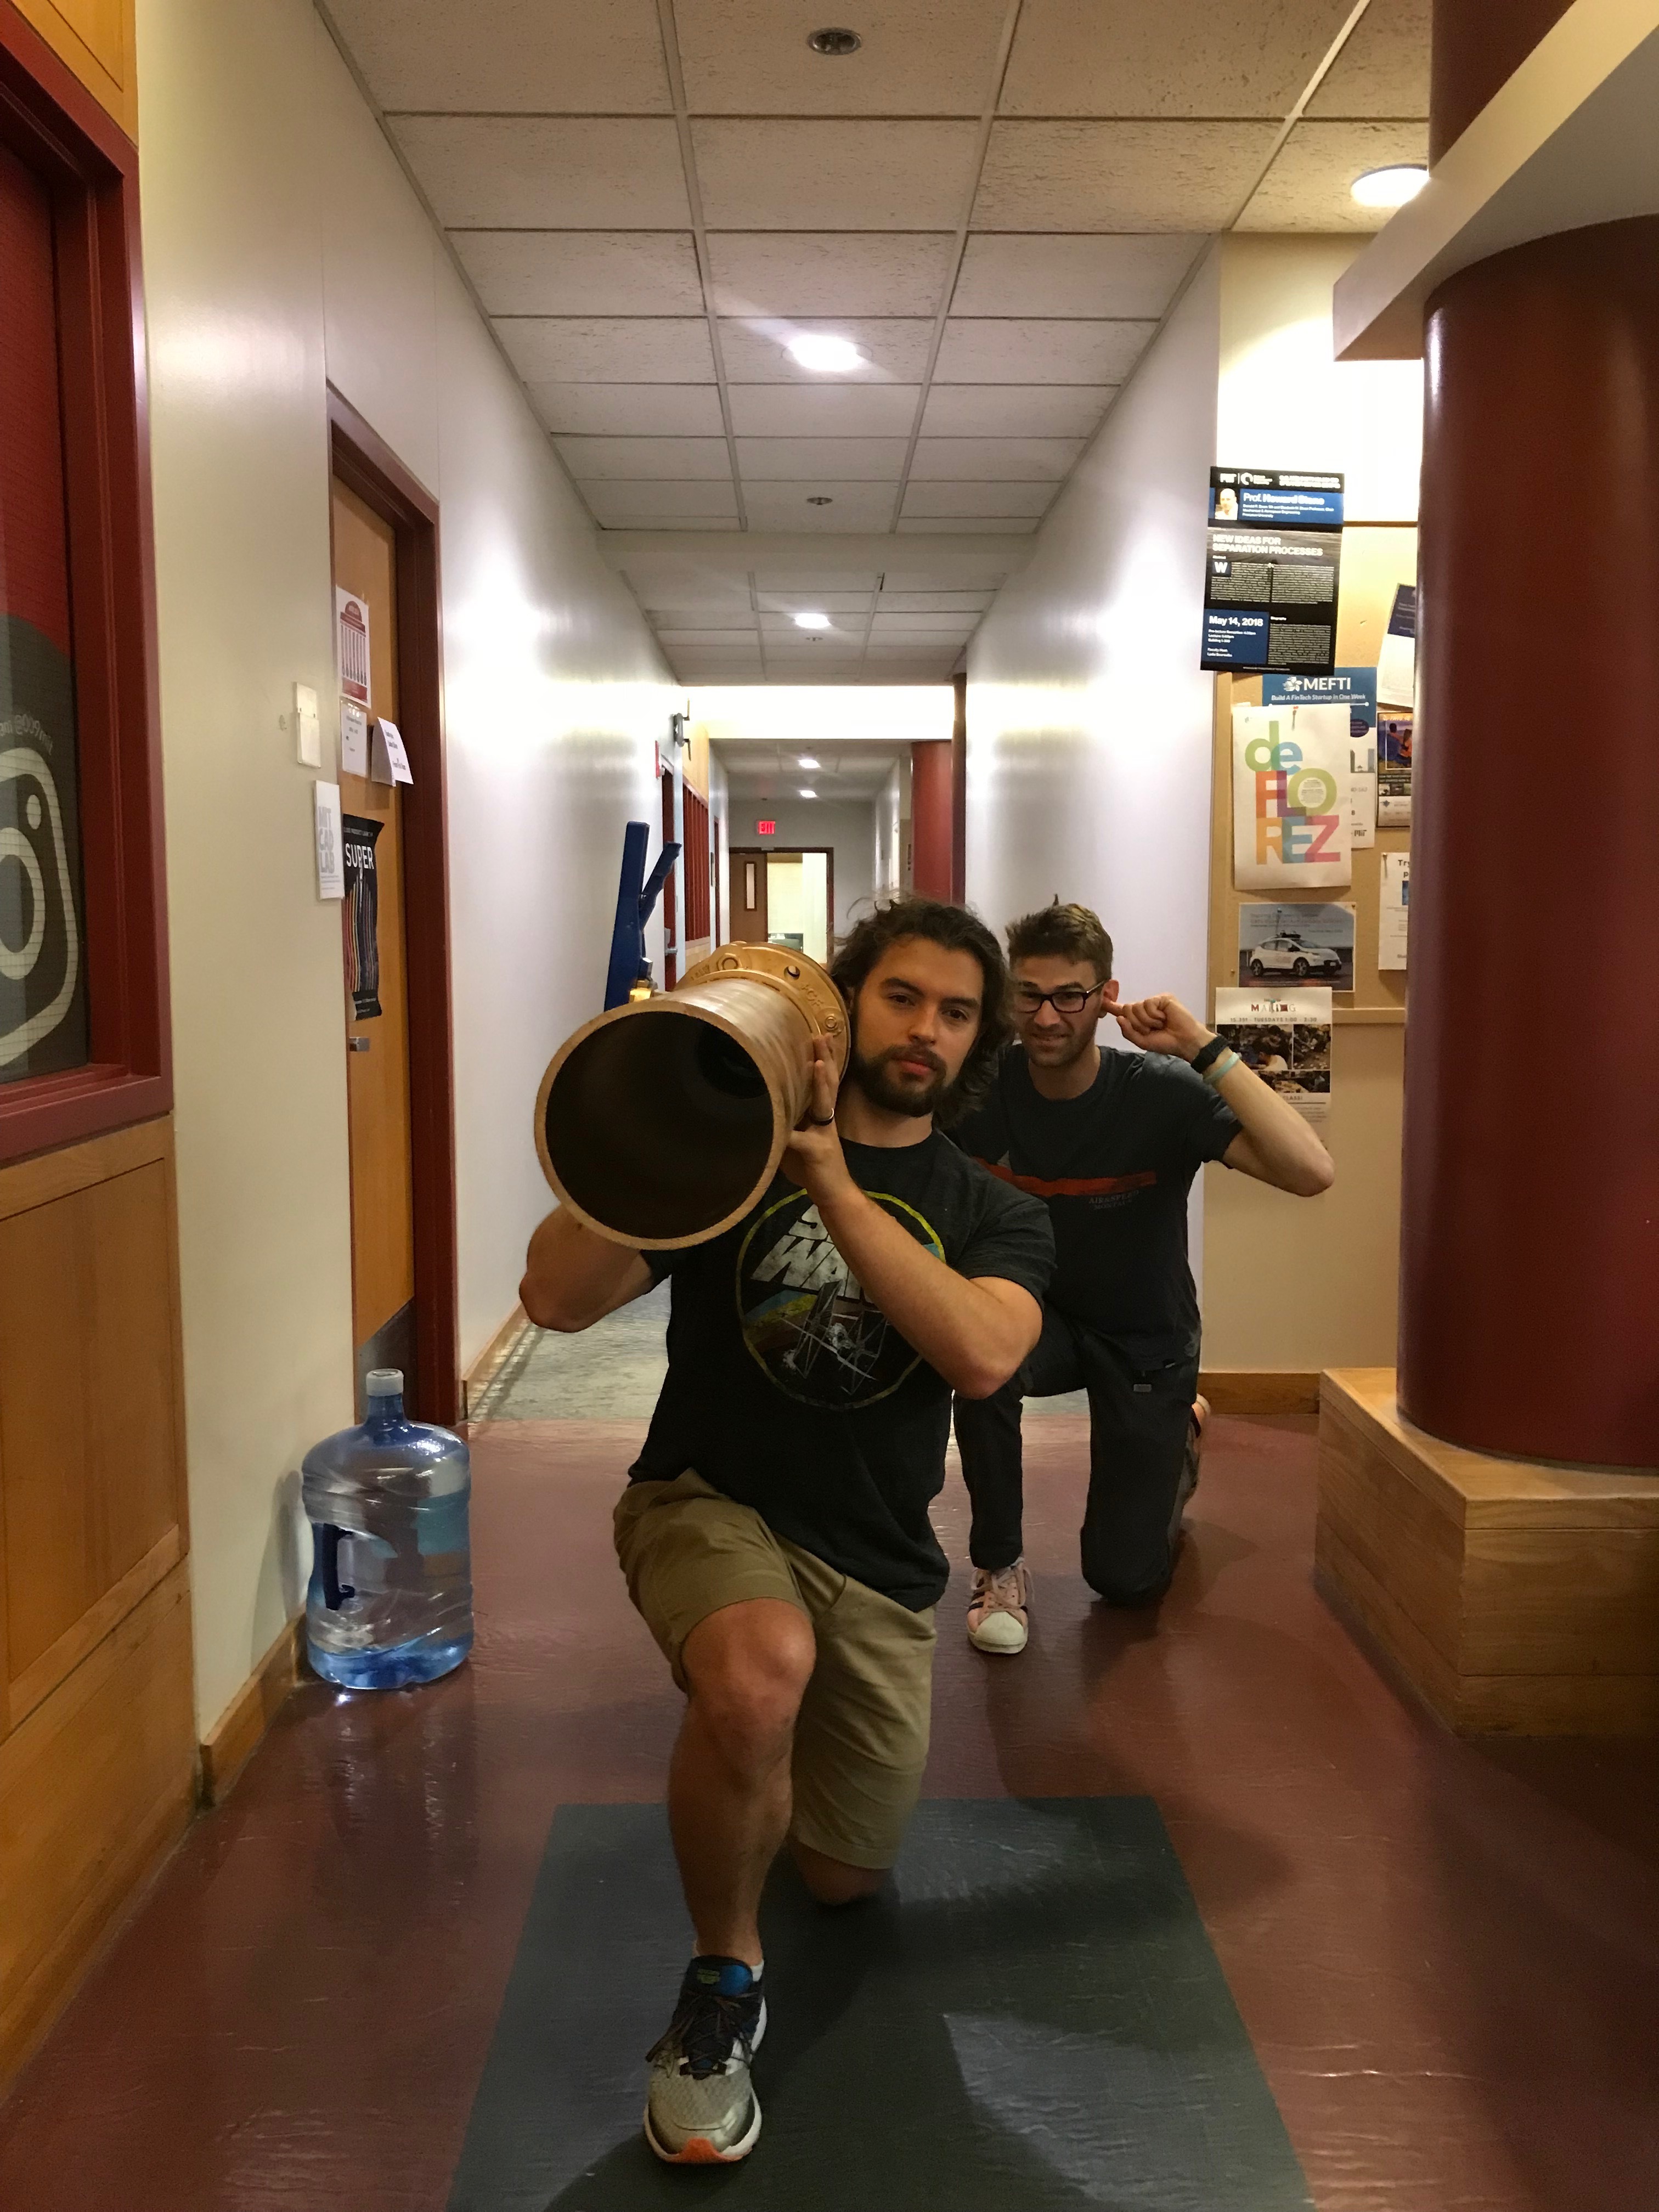
Our goal with this cannon was to make it look like a weapon a Greek God would wield. It needs to be majestic, and more importantly, it needs to be big! Players should feel like they are holding something with immense power. Everything from the barrel length, weight, and the lever for the butterfly valve make users think they are dealing with something serious when they interact with Zeus’s Lightning Cannon.
The Cannon
One of our main goals with this cannon was to make it feel very sturdy and hefty. In order to accomplish this, we wanted the cannon to be able to shoot at least 6" diameter dodgeballs or other projectiles. This meant that the barrel of the cannon ended up with a 6" ID and with a length of 2 feet. In order to launch the projectiles across the room (~14 ft.) we used a chamber diameter of 4" with an effective length of 30". The entire construction was made with Schedule 40 PVC and melded with standard PVC primer and cement. In the future, we recommend that CPVC is used for structural safety reasons. The entire BOM for the cannon is listed at the bottom of this page.
To launch Zeus' lightning bolts (the dodgeballs), a butterfly valve was installed. The butterfly valve that we have used is schedule 80 and has manual operation. Because of the pressure rating and the size of the cannon, the launching does require significant effort, whih might warrant changing in the future. Finally, as shown later, the cannon itself is human powered: one team member pumps up the cannon with a bike pump while the others perform other tasks. Although this method can be changed as discussed later, it does provide further physical challenge to the room in its current state, and might be a good force for having players switch roles throughout a single play of the room.
Finally, for safety purposes, a relief valve was installed on the top of the air chamber for the cannon. Our particular relief valve required a veritcal orientation to fully function. If it is possible, we would recommend adding the relief valve to a location that is further from the players themselves so they do not accidentally damage the cannon. For this prototype cannon, the adepter between the bike pump and the cannon was on the underside of the chamber, but the tube running the air to the chamber could certainly be less conspicuous in future iterations. Both the relief valve pressure and the air input systems can be adjusted as seen fit.
The Base
The base is a simple design, but needs to be sturdy to hold the 40 pound cannon that sits on top of it. Using standard framing techniques, a frame was made with 2x4’s and then covered with 1/16th inch underlayment for side paneling. The top of the base uses ¼ inch plywood, as well as an additional support beam across the center to make sure the mounting surface is rigid.

Next to the main cannon support, there is a side compartment we have sketched up to show where the hand pump could be housed. There is just a hole at the top for the handle to come through, and baseboards running through the box to mount the pump. Note the foam ring added around this hole to help cushion the impact if the user's hands slip and hit the base.
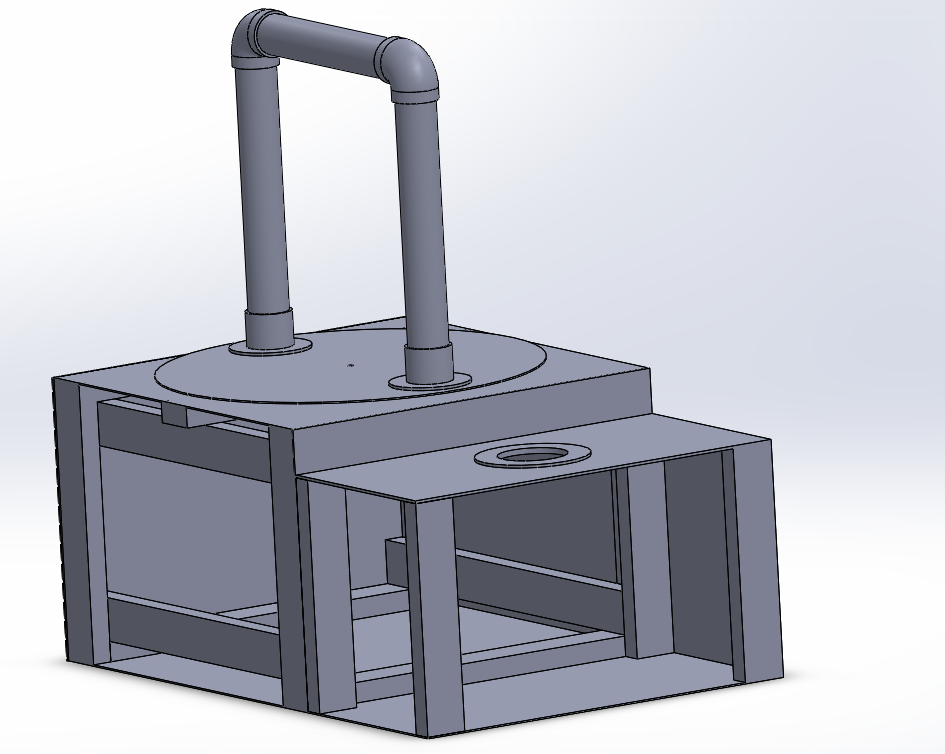
View inside of the base to see standard framing structure.
To allow the cannon to revolve around the z axis, the top of the base is mounted with spacers and a hole is drilled in the center to allow a bolt to go through it. This bolt keeps the revolving portion of the platform attached to the stationary base. The rotating platform was made using a sheet of wood cut on the band saw, and the array of holes to mount the pipe flanges and allow the bolt to pass through were drilled on the drill press.
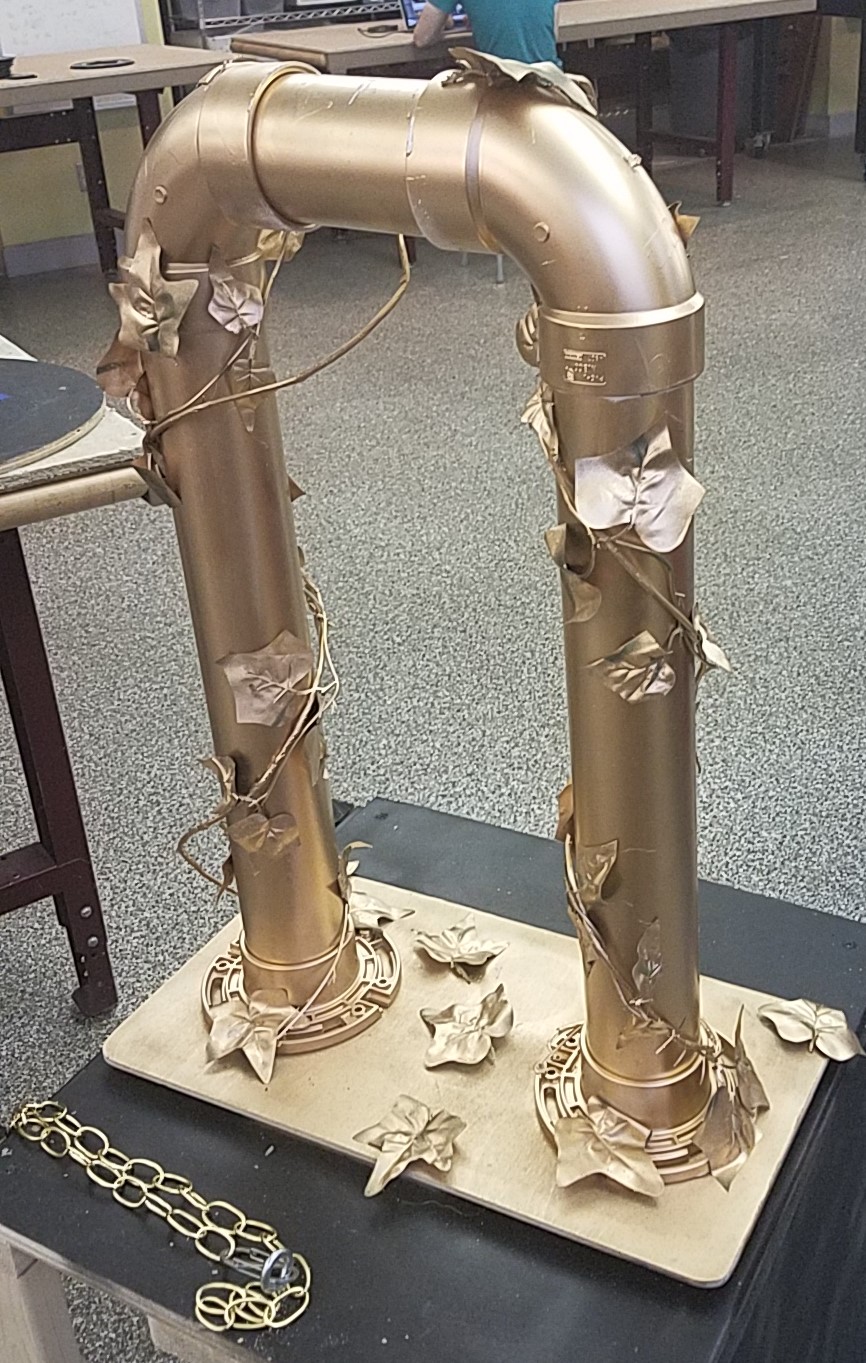

On top of the rotating platform are the 3 inch pipe flanges, bolted down with ¼ inch bolts. Two 24 inch long pipe sections (still 3 inch diameter pipe) are cut and placed inside of the flanges, fitted with elbows, and connected with another 18 inch length of pipe. When constructing this pipe assembly, be sure to place the cannon on the 18 pipe first before sealing it, or you will never be able to get it on! Simply slide the 4 inch connector over the 3 inch pipe at the top and attach to the two elbows. Be sure to use PVC cement to keep the joints attached well!
For safety, there is a chain attached to an eye-screw on the base and wrapped around the cannon. This prevents the cannon from rotating forward too much and hitting users given that the cannons barrel makes it front heavy.
To make this base aesthetically pleasing, we spray painted the pipe portion gold and wrapped with with vine to give it an ancient artifact feel. They were also sparay painted gold to add to the grandior of this cannon assembly. To cover up the flange base and center bolt, extra ivy leaves were glued down
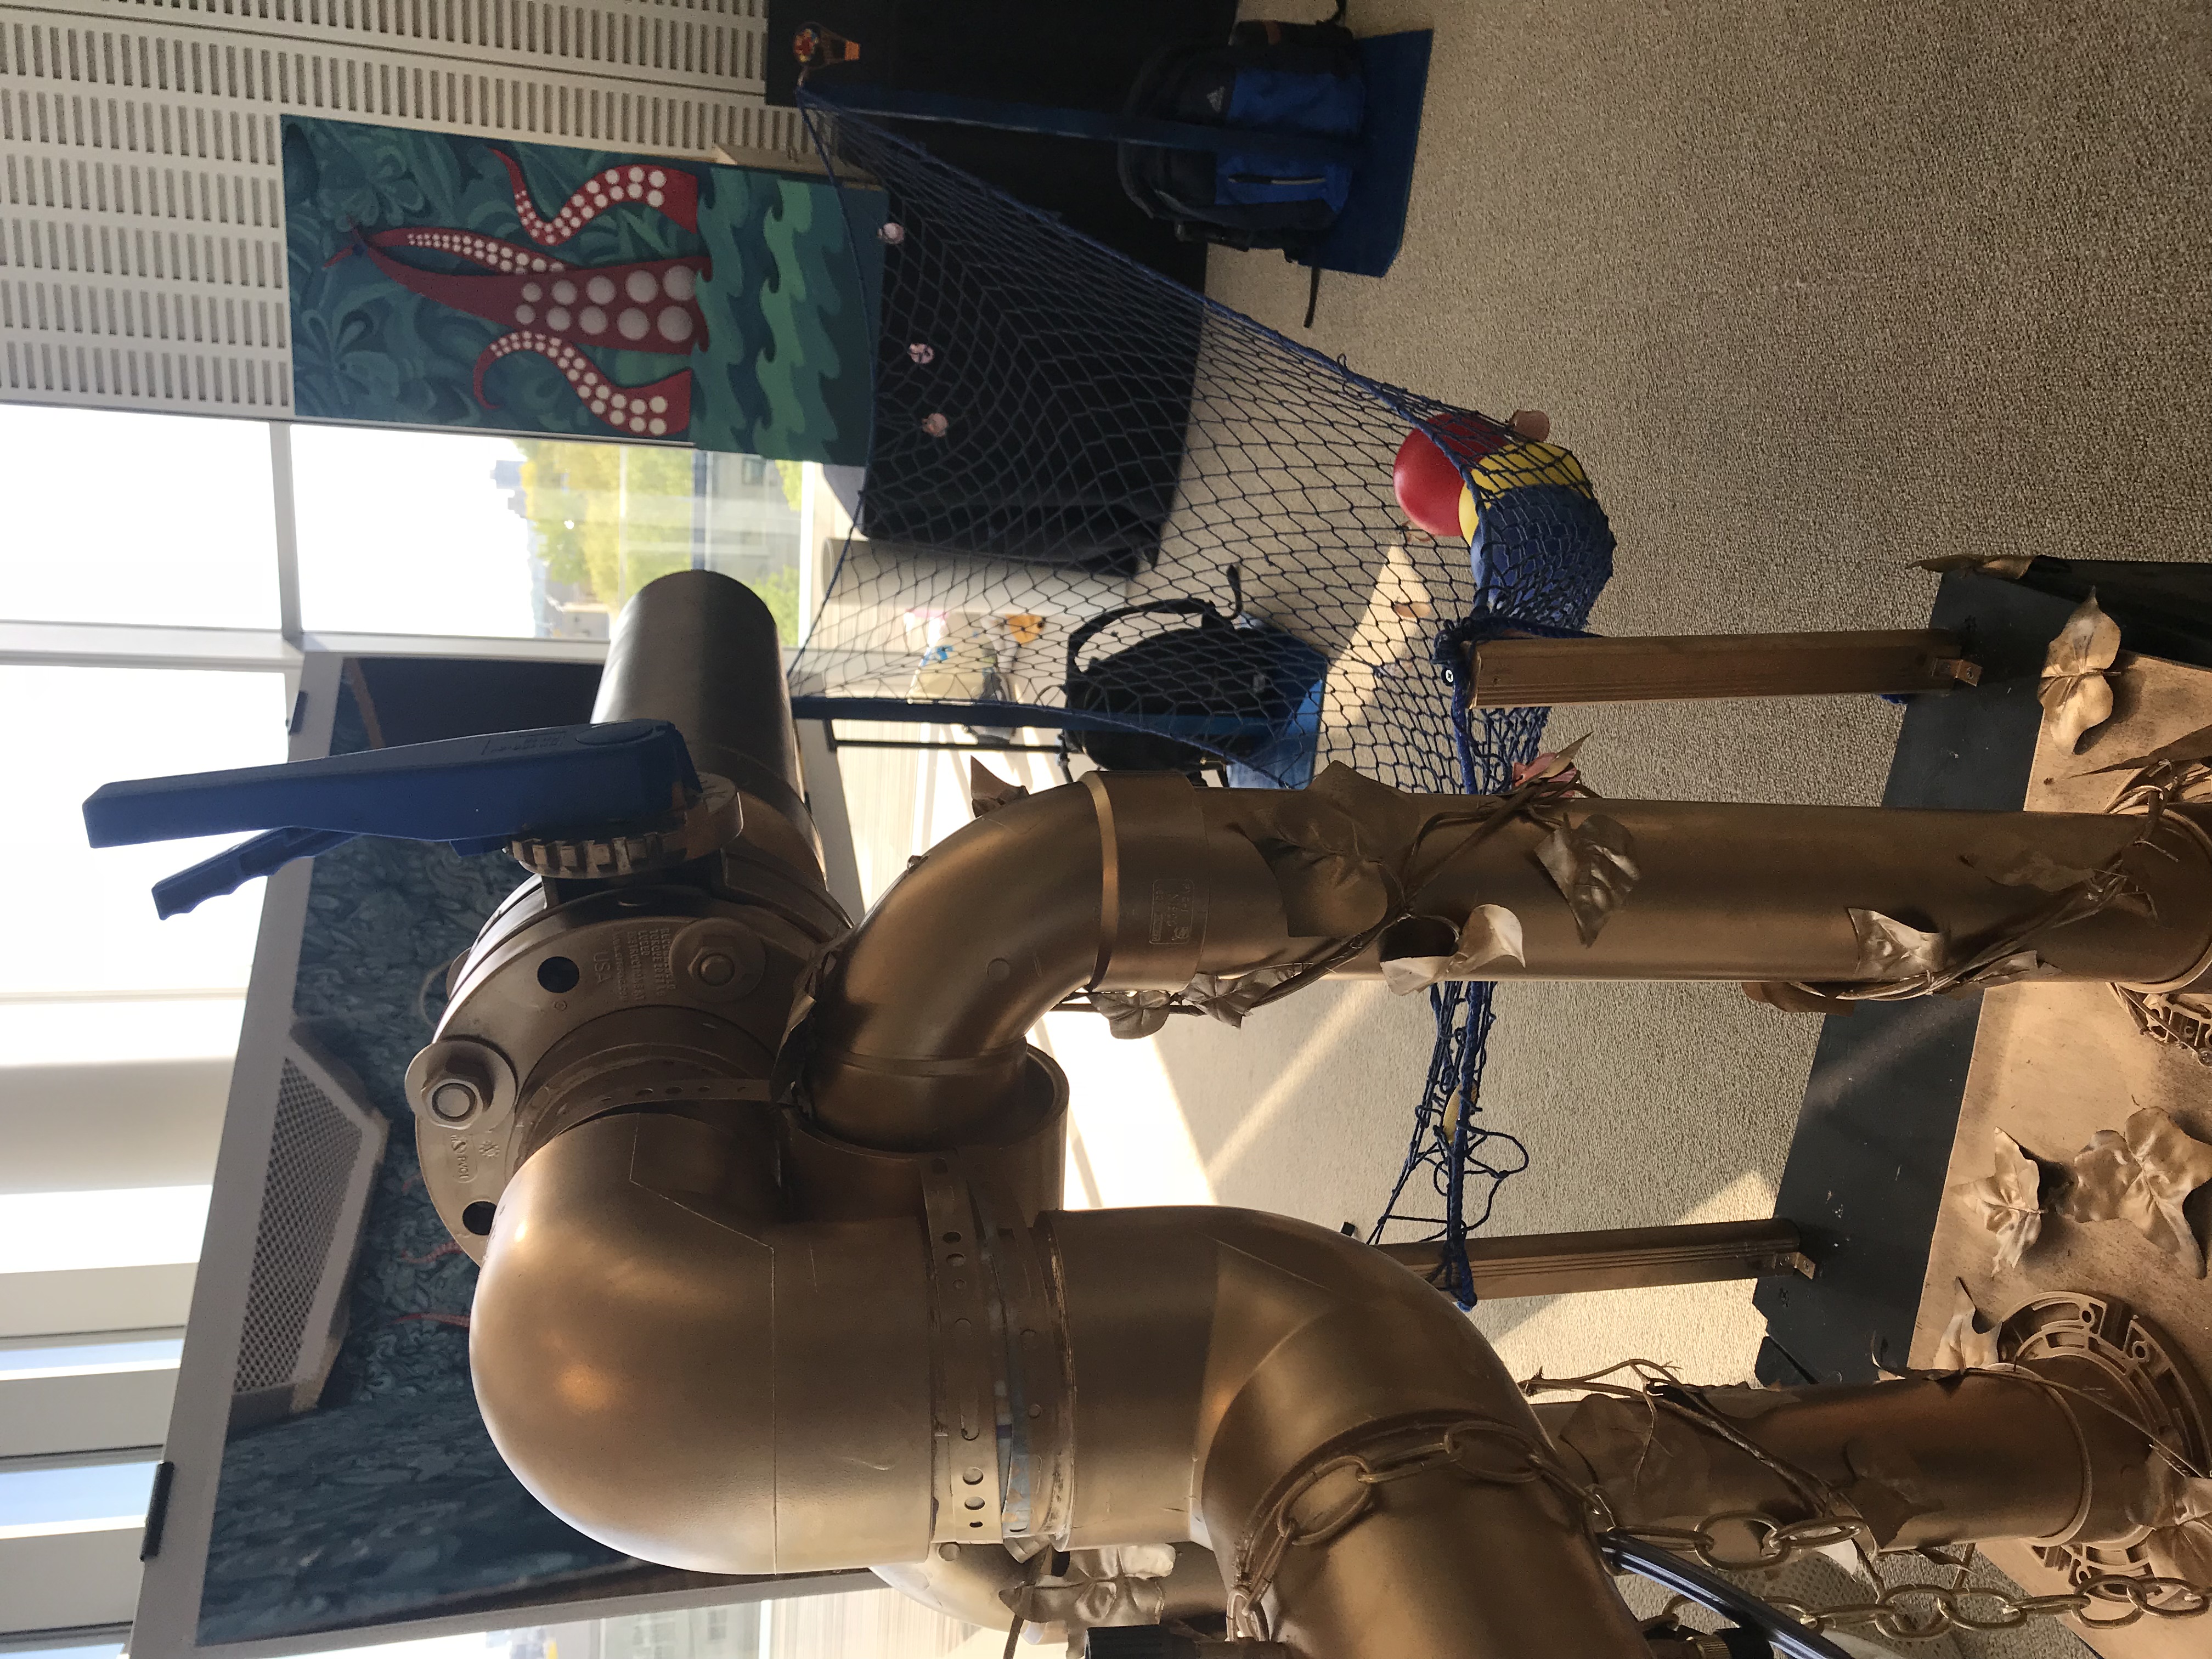
The height of the base was selected to ensure users would not have to bend down to operate the cannon. On the contrary, we made it slightly tall for the height of an average female so that the cannon will come to slightly below shoulder height. This also forced the user to put their left arm over the cannon, requiring them to use their body weight to aim the cannon. This enhances the users experience that the cannon is something large and unwieldy for a mere mortal.
In Action
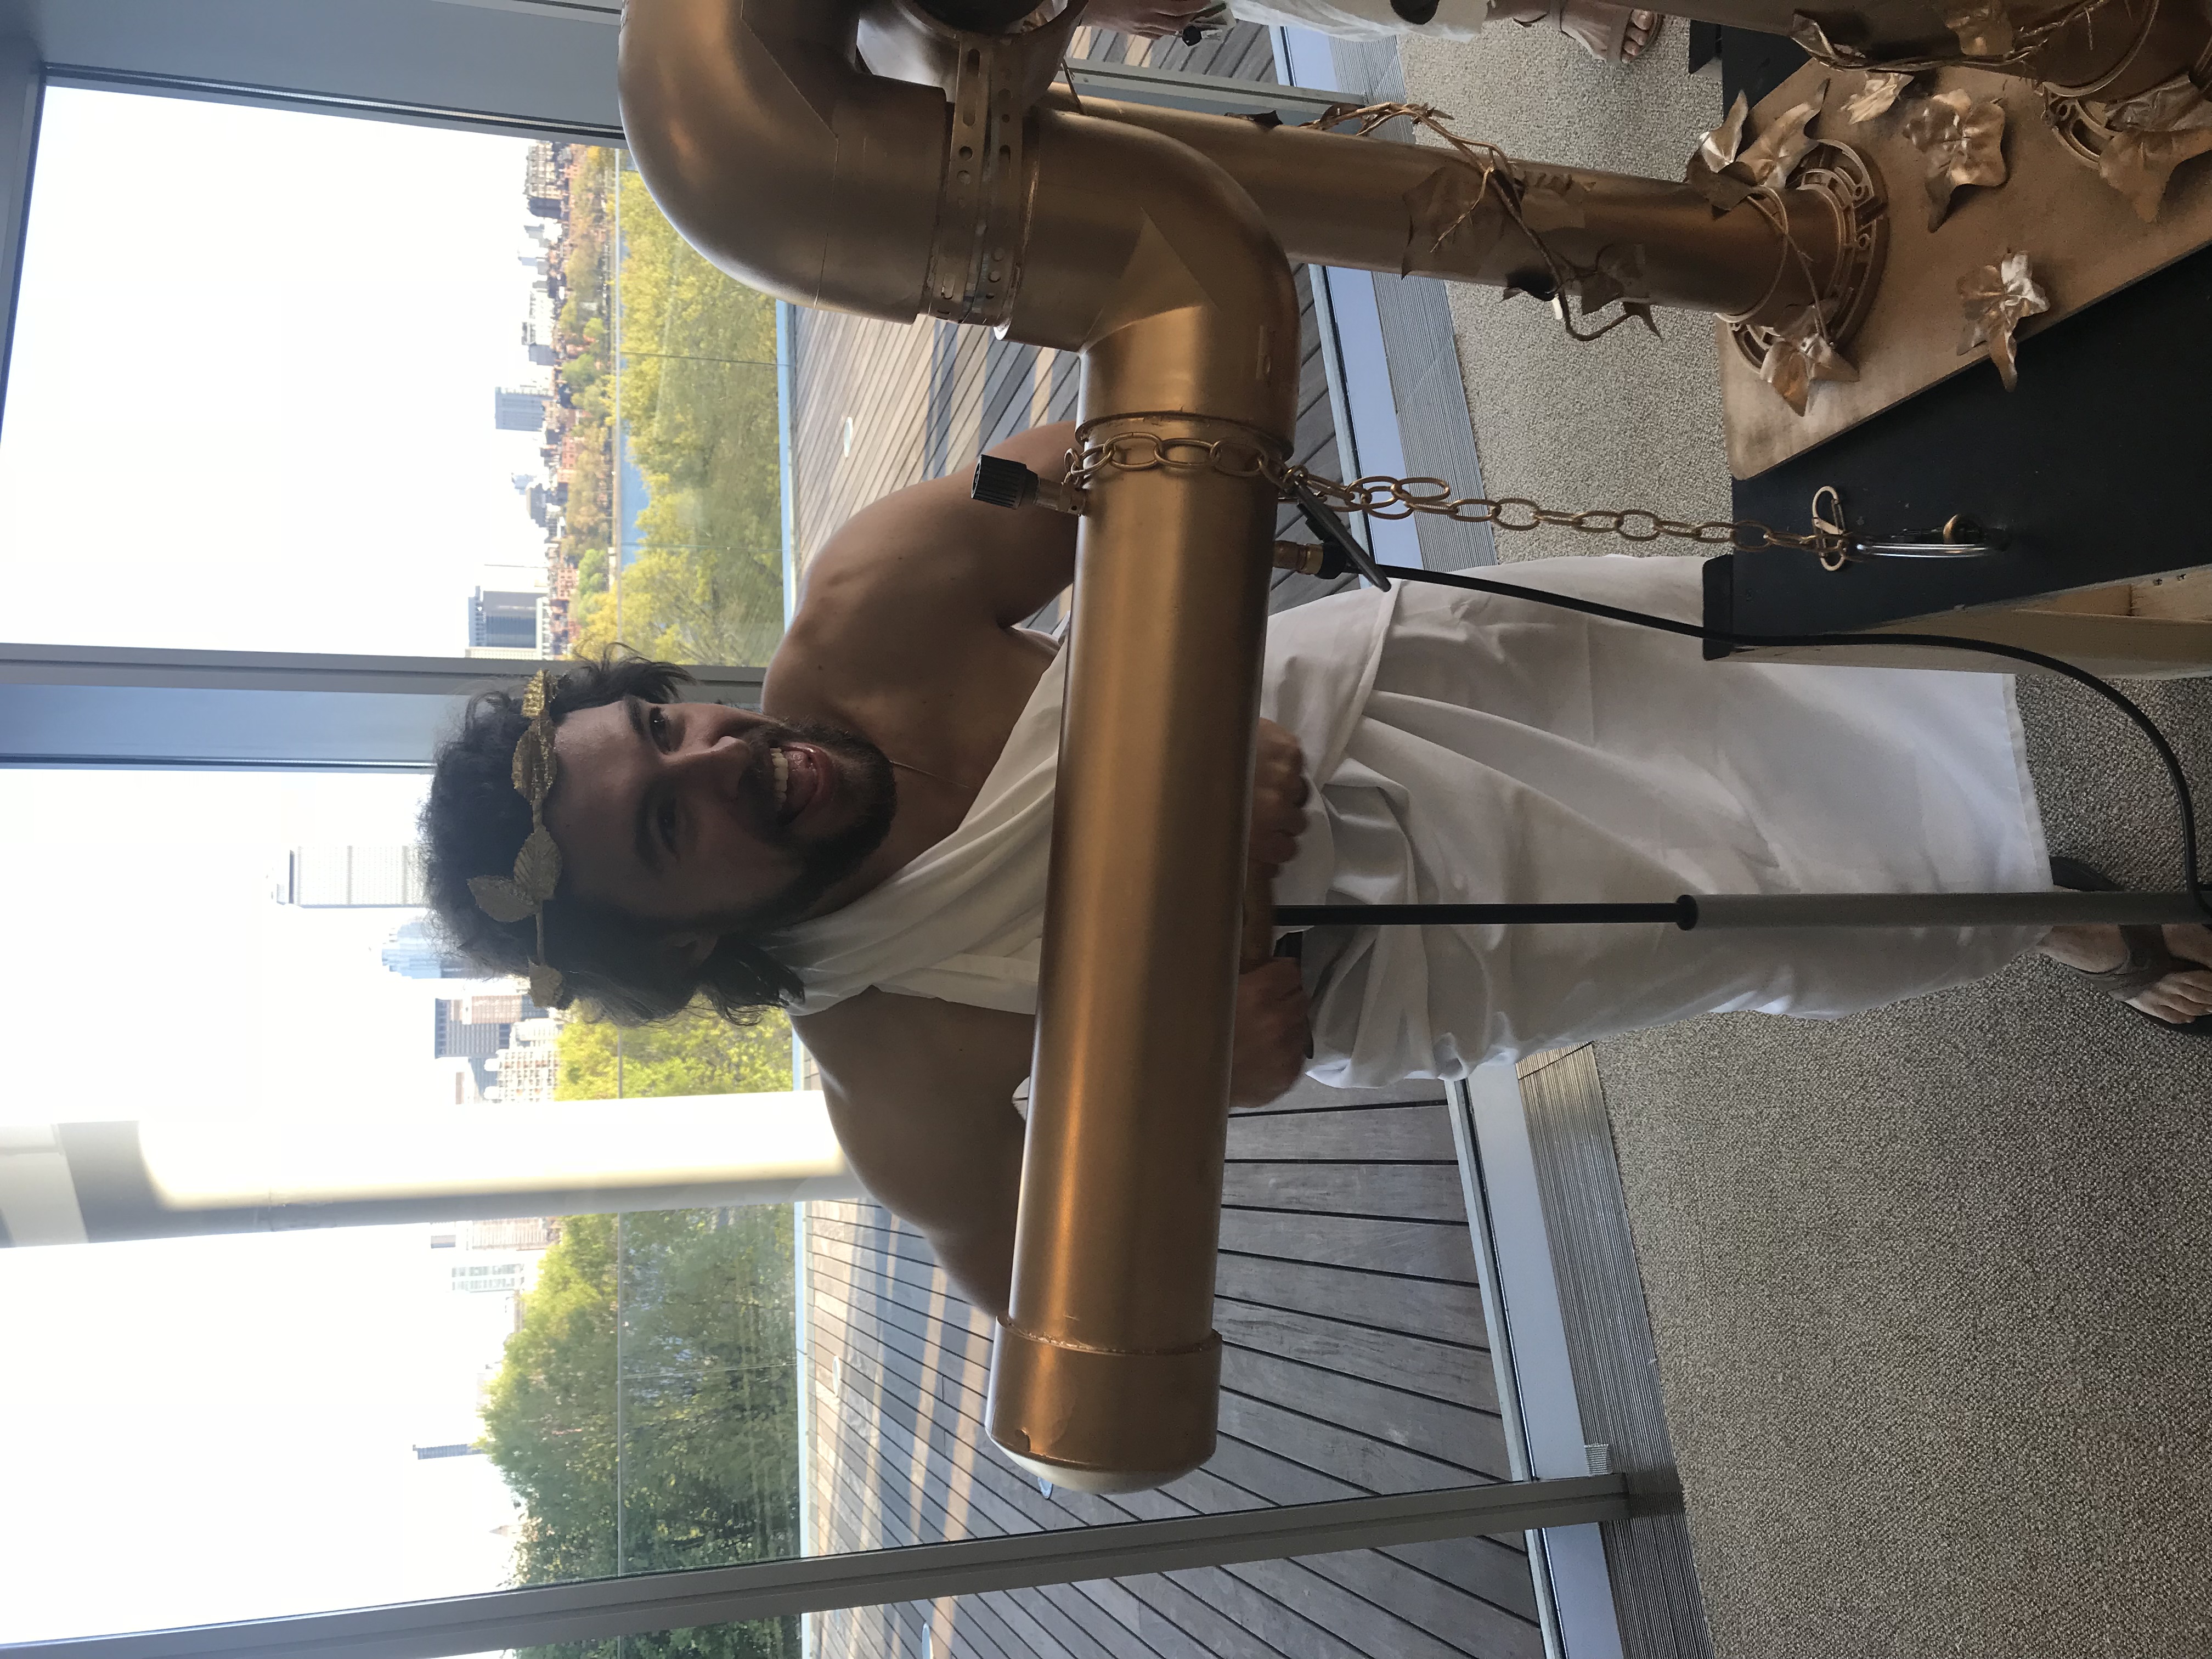
Users will constantly need to have someone loading the cannon with balls and 1 to 2 players pumping up the cannon until the max pressure set by the relief valve is triggered. Another player will be needed to aim and fire the cannon- the position that is definitely the most fun!
Please visit the User Experience page to see the demo video explaining the game and watch Cody fire the cannon and “intentionally” miss!
Further Improvements
We have talked about a few different changes we could make to this system. First, it would be good to either hook the cannon up to multiple hand pumps, use a hybrid hand pump and air compressor system, or strictly use an air compressor to power the cannon. Pumping is definitely the limiting factor for the rate of fire.
It takes Cody less than 10 seconds to pump it up to 15 PSI (recommended operating pressure), but it took other users up to 25 seconds. In a two to three minute game, we hope users can shoot somewhere between 15 to 25 times, so the time to power the cannon needs to be reduced significantly.
We have also discussed whether the cannon trigger should be a large butterfly valve, or a solenoid. The butterfly valve is a good option given the physical force required to move the handle quickly, the sheer size of the handle, and fact that it will add an element of skill required to operate. If a faster mechanism is desired, we would strongly encourage the designers to still make the cannon triggered by moving a lever (maybe to internally press a button to activate the electronic trigger). Users loved the idea of having to pull hard on a lever to activate the cannon (once they understood that quicker pulls resulted in better shots as it allowed the air from the reserve chamber to be released quicker, generating more pressure).
BOM
The Bill of Materials for the air cannon is fairly straightforward, but depending on the desired dimensions, some custom pipes can fittings may require ordering from a site such as McMaster-Carr. If any questions surrounding the BOM or any other aspects of the air cannon exist, please feel free to email our team (6Wits) or Professor Wallace who can pass the inquiry along to our team.