Home
Sarcophagus Walls
Our first step was to brush paint the sarcophagus walls with Blick Prem Tempera, Metallic Gold Paint. The base needed at least two coats in order to cover the wood grain of the sarcophagus base. We were restricted to brush paint due to the room we were fabricating in - lesson learned is that metallic gols spray would have applied a thicker, more metallic, base layer on the wood without required multiple brush coats.
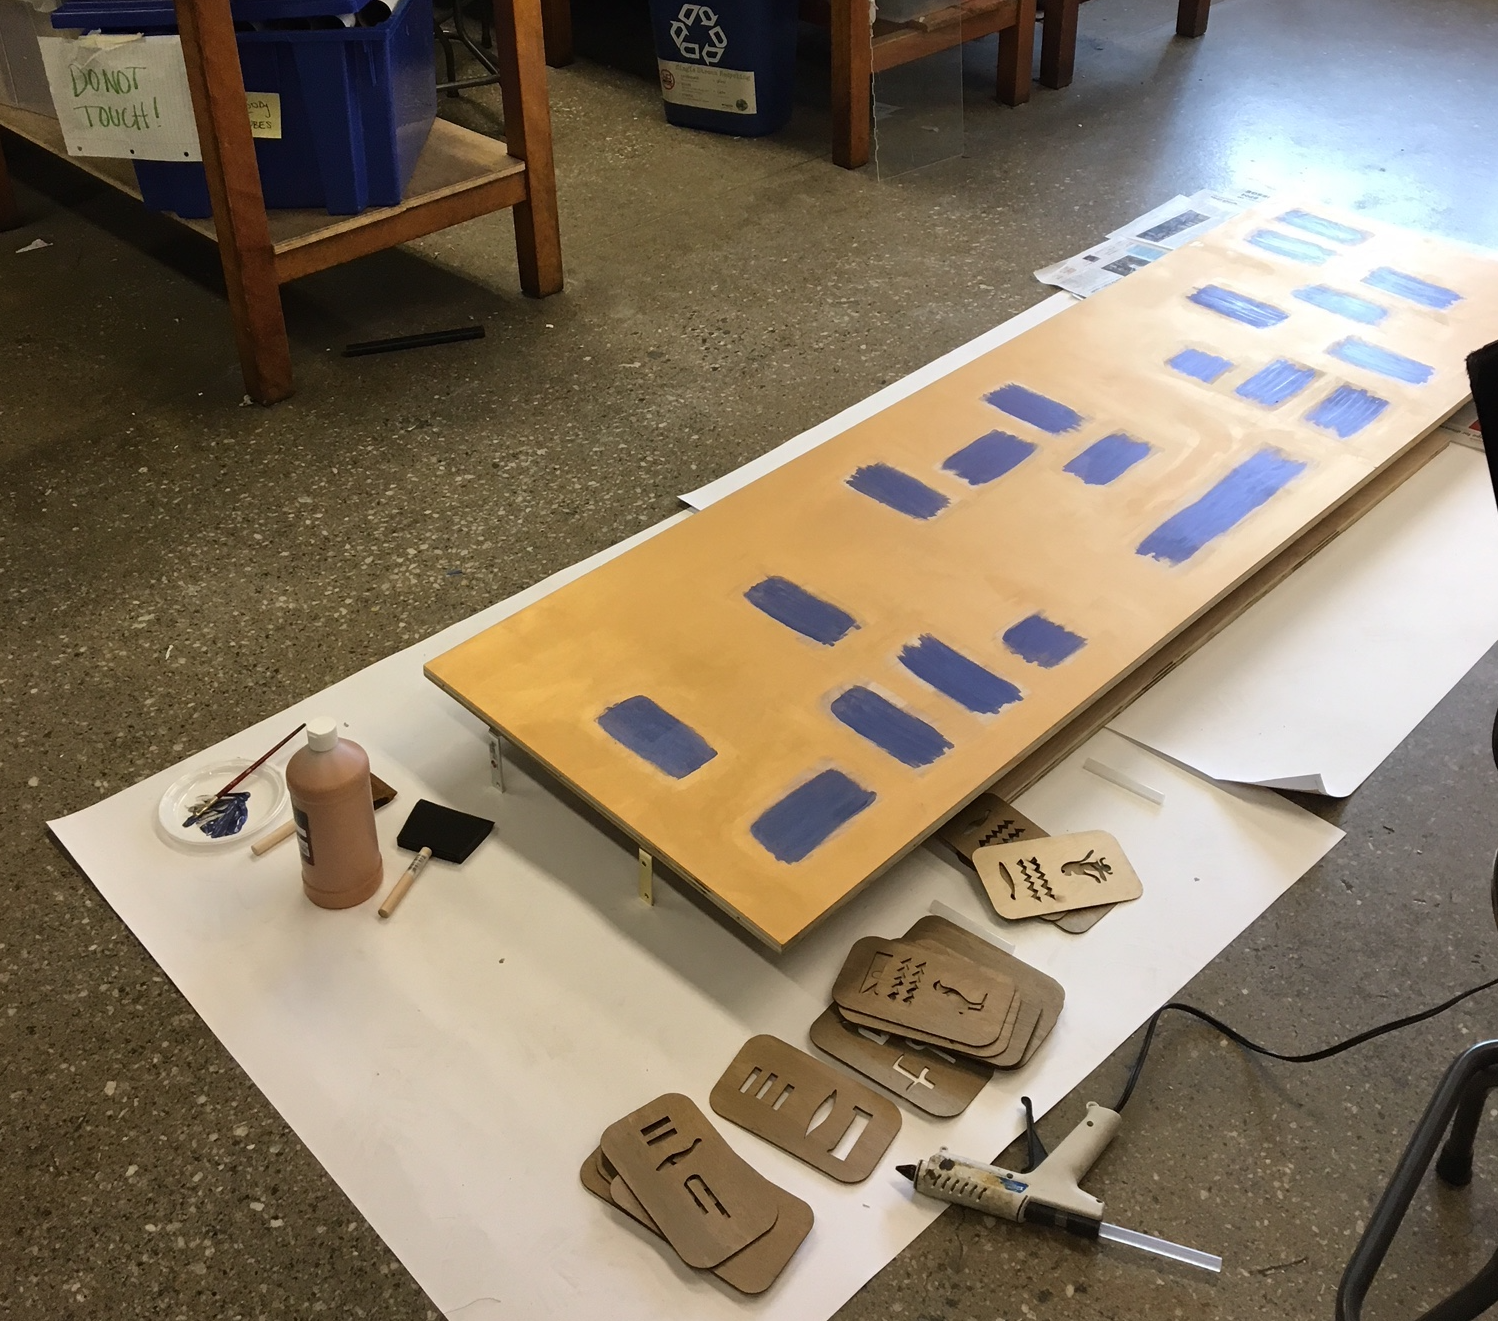
The next step was to paint certain locations of the walls in Studio Acrylics, Iridescent Blue Black paint - where the cartouches and tiles had symbols cut out. See the picture below of the sarcophagus walls with base colors of gold and blue applied, before the tiles and cartouches were glued on:

Tiles & Cartouches
All Tiles and Cartouches were laser cut. Tiles were made of birch wood of 1/16 inch thickness. Cartouches were laser cut out of birch wood ranging from 1/16-inch to 1/8-inch thickness. We varied the thickness to make the exterior look un-uniform. Lesson learned here is that the less thick sheets are much faster to laser cut and produce! The hieroglyphic symbols that were laser cut out of the tiles and cartouches were saved to be used as additional 'writing' for the exterior of the sarcophagus.
Steps: Laser cut - Paint tiles & cartouches with mix of Metallic Gold and Black Acrylic brush paint, Paint individual hieroglyphics with Metallic Iridescent Blue Black paint - Dry - Glue Gun to above painted exterior of sarcophagus walls.
Of the tiles, cartouches, and hieroglyphics only the first element - the 'answer tiles' - were dynamic. Assembly of these tiles included elements beyond just the decorated birch wood sheet in order to have them 'flash' for the game play. The additional elements, from exterior to interior, which were glued together in layers include:
Birch 1/16" laser cut tile
Wax paper (to diffuse LED light behind, but cover it up)
Gatorfoam border (laser cut to be hollow in the middle, to hold LED light)
LED light
Gatorfoam base (laser cut to be exact shape as tile, base was glued to exterior of sarcophagus)
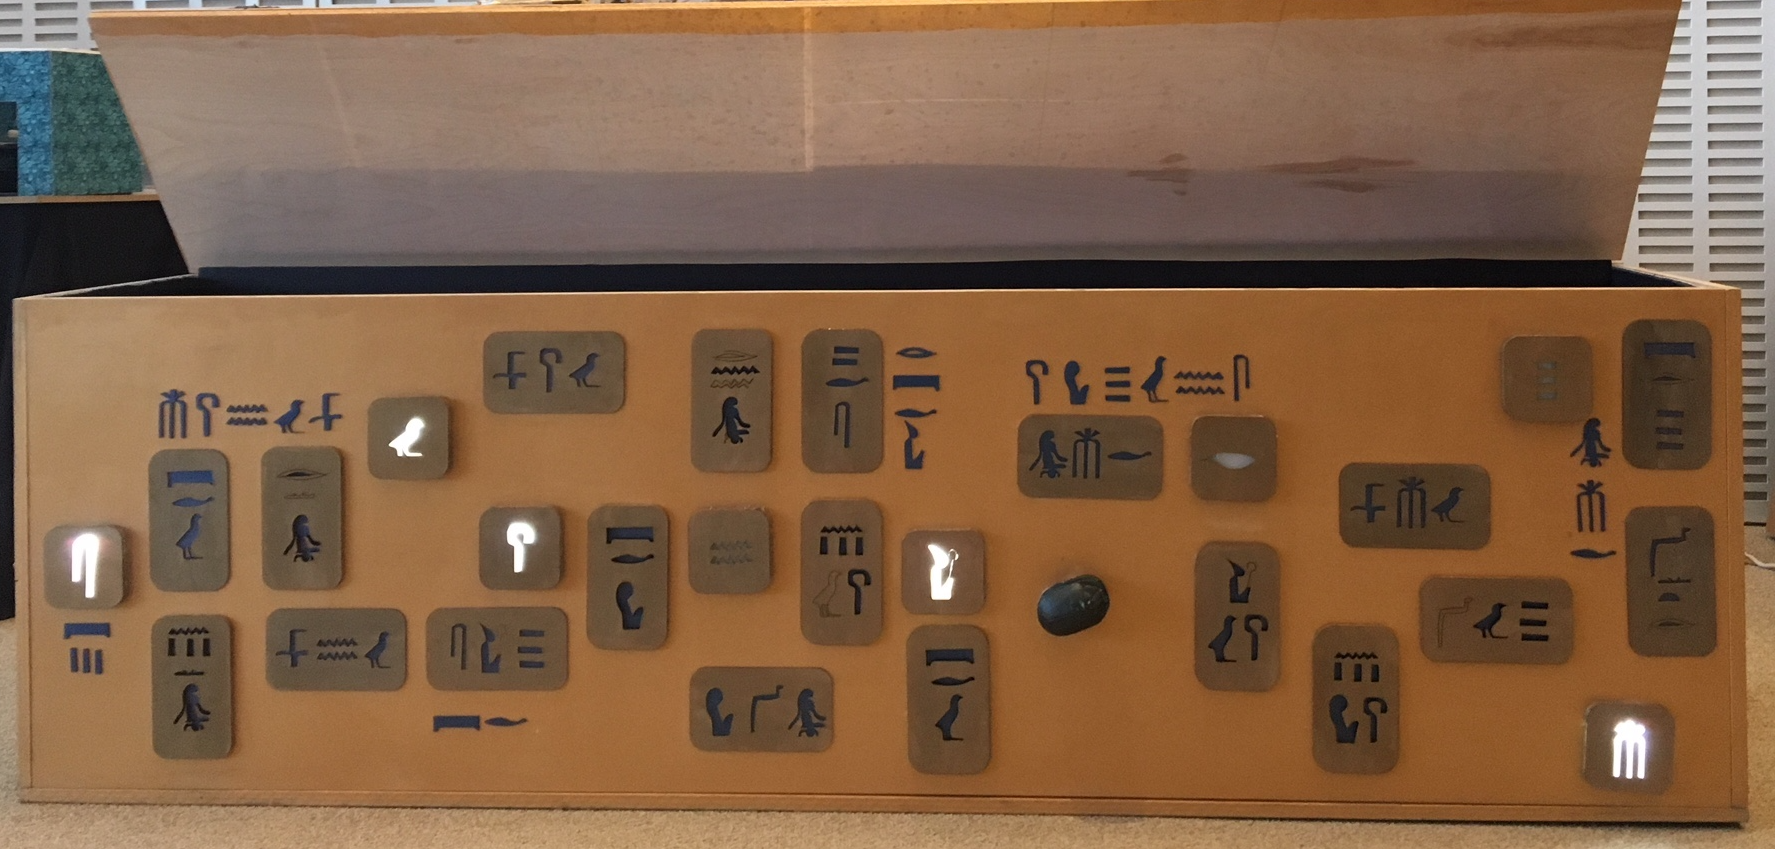
In the picture below is the final effect with all elements together - flashing tiles, static cartouches, and hieroglyphic symbols in blue.

Scarabs
The 3 scarabs were first 3D printed, with CAD sourced from here - https://www.thingiverse.com/thing:729890. And then, they were painted by hand, and attached to a hollow foam border (similar to the tiles), so that when pressed on the soft foam would give way to pressing the button underneath, attached to the exterior wall beneath the scarab.


