Part I: Skeleton and Body
Requirements
In planning out how to build the sarcophagus lid, we considered multiple design requirements and goals. First, we needed to create the lid out of free or low-cost materials to stay within our budget, which is largely dedicated toward electronic components. Second, the lid had to be light enough to be propped open by the linear actuator. Third, the lid had to be 3-D to resemble the rounded human figure found on actual sarcophagus lids. Fourth, we hoped to incorporate sustainability by using recycled materials.
Constructing the Shape

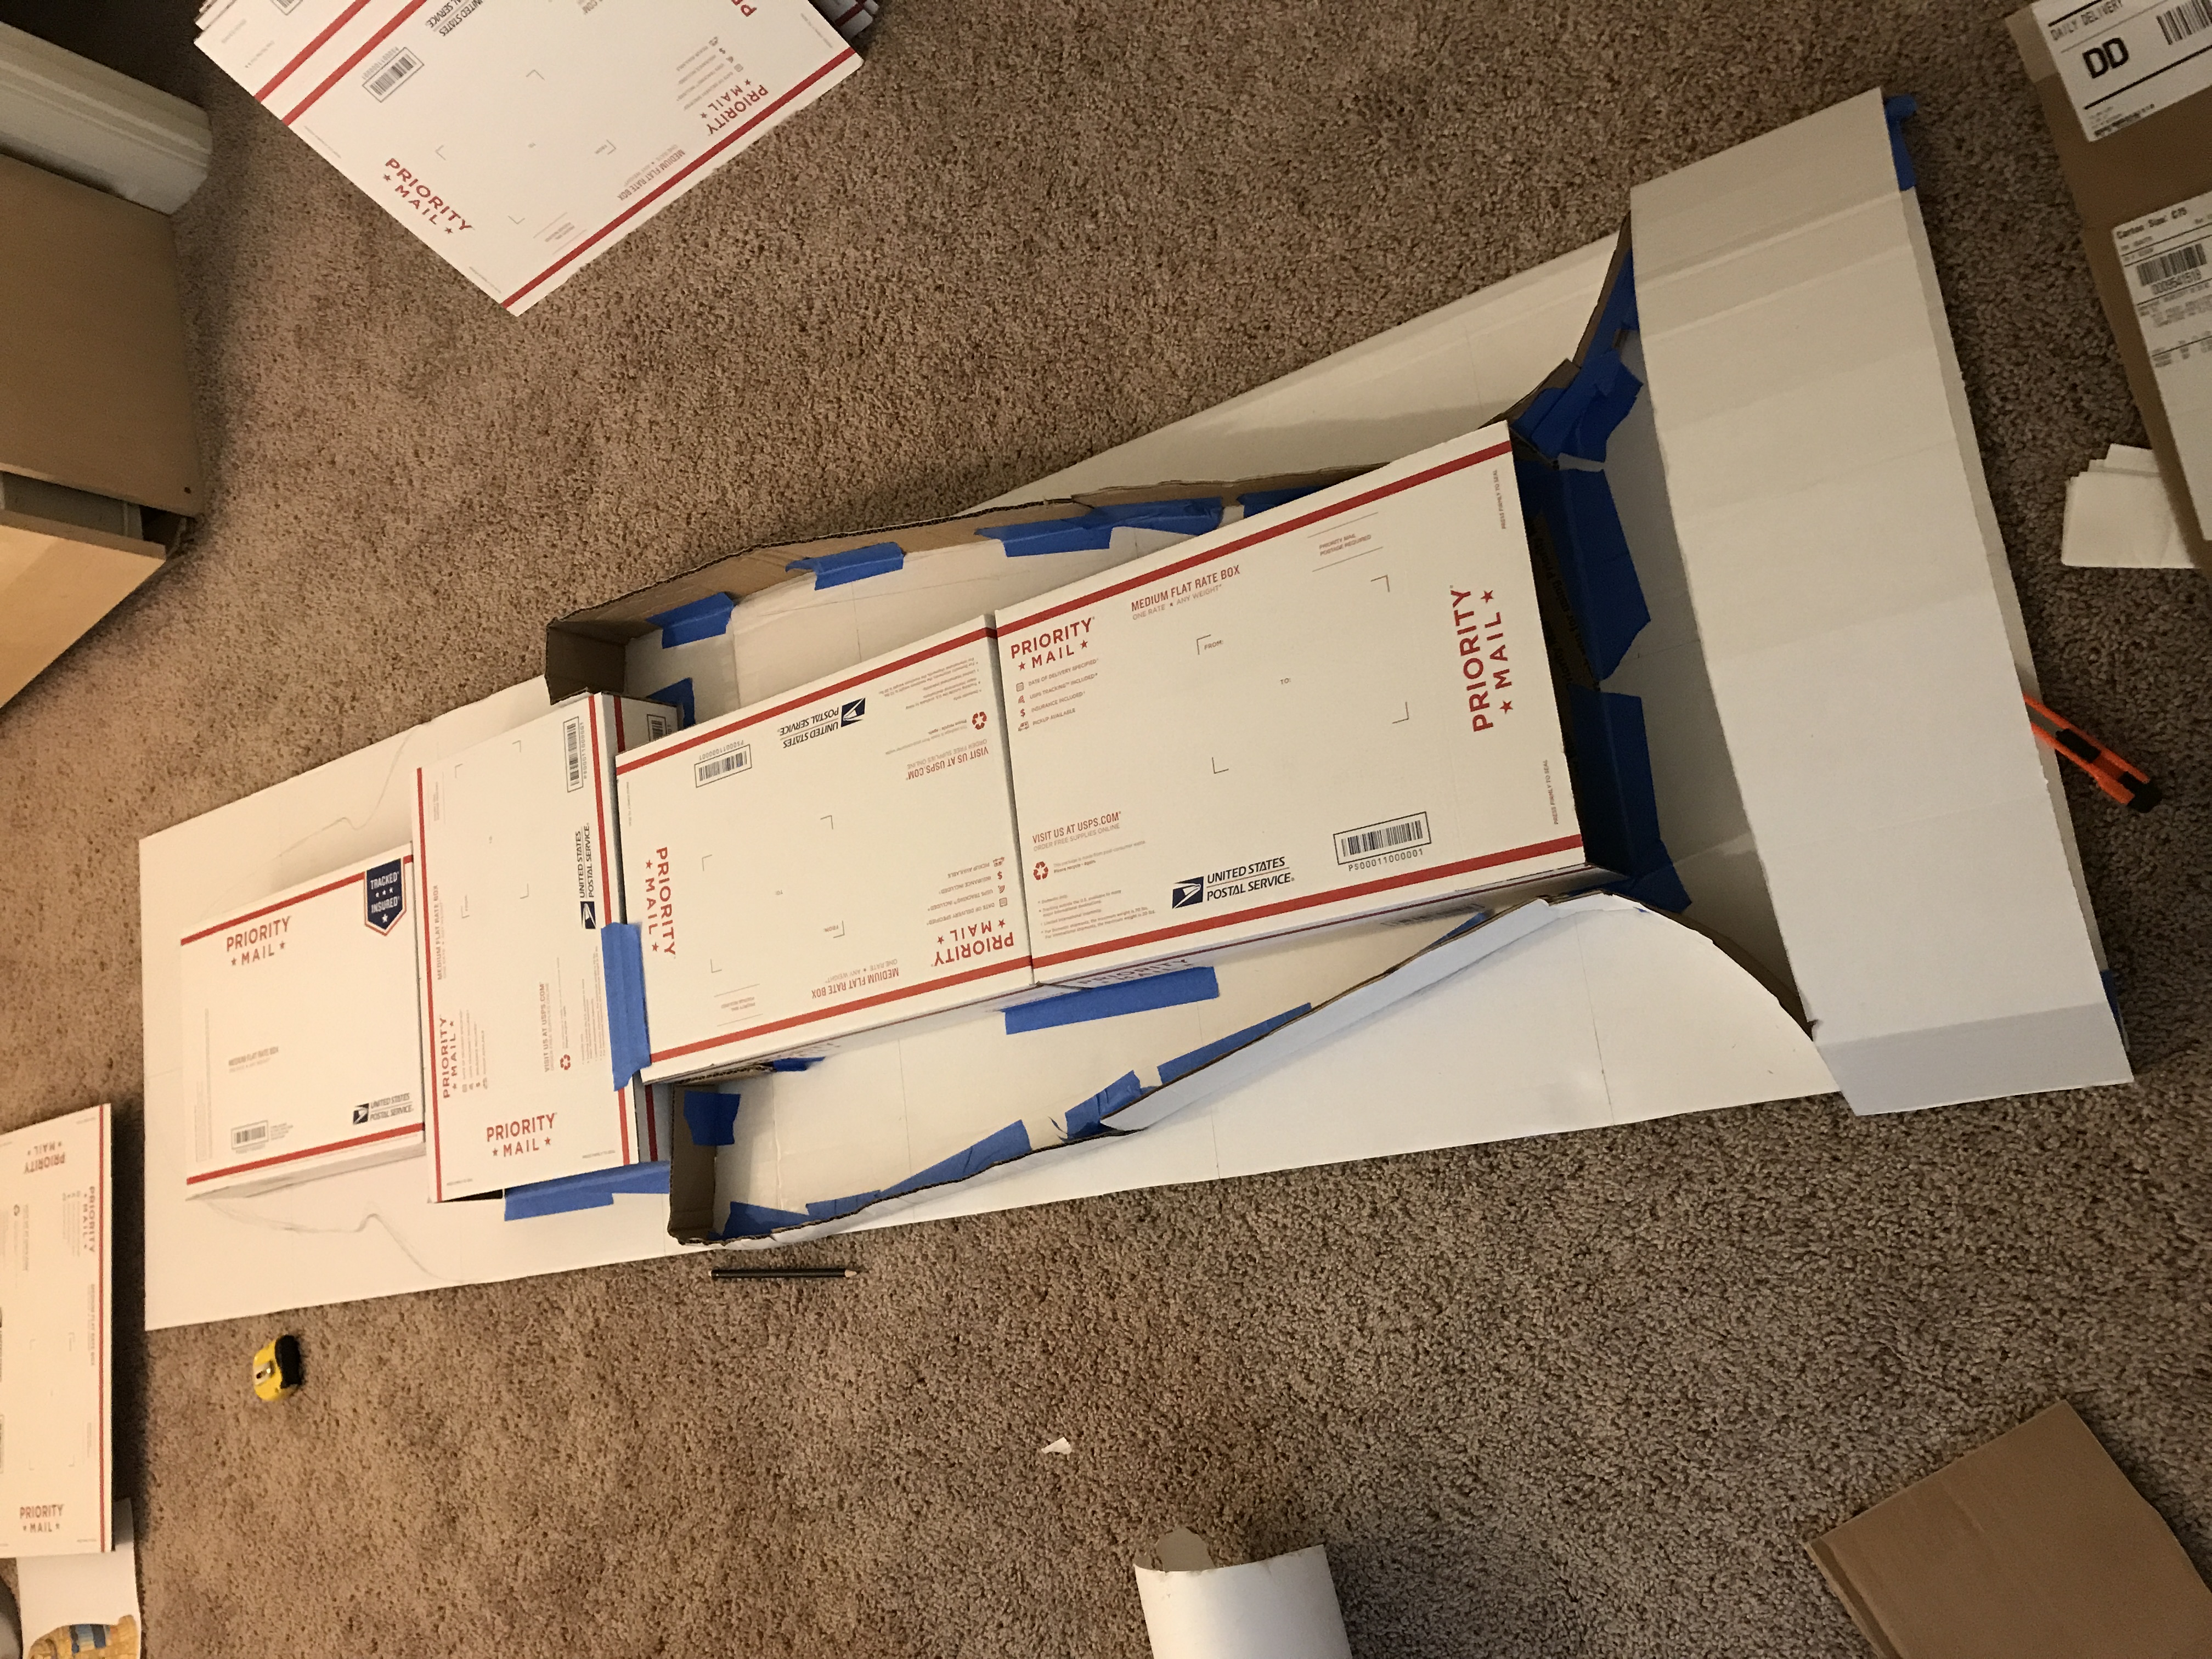
| To add dimensionality to the lid with a degree of rigidity, we decided to line the interior with four sturdy priority mail boxes. Thanks to the generosity of the MIT Press Bookstore, we were able to procure these boxes and other used cardboard boxes for free. We recycled the cardboard boxes by fashioning them into 5-inch strips to form the outline of Hatshepsut's body. These cardboard strips were held up by blue masking tape and attached to the priority mail boxes, forming the "skeleton" of Hatshepsut's body. |
Fleshing Out the Shape
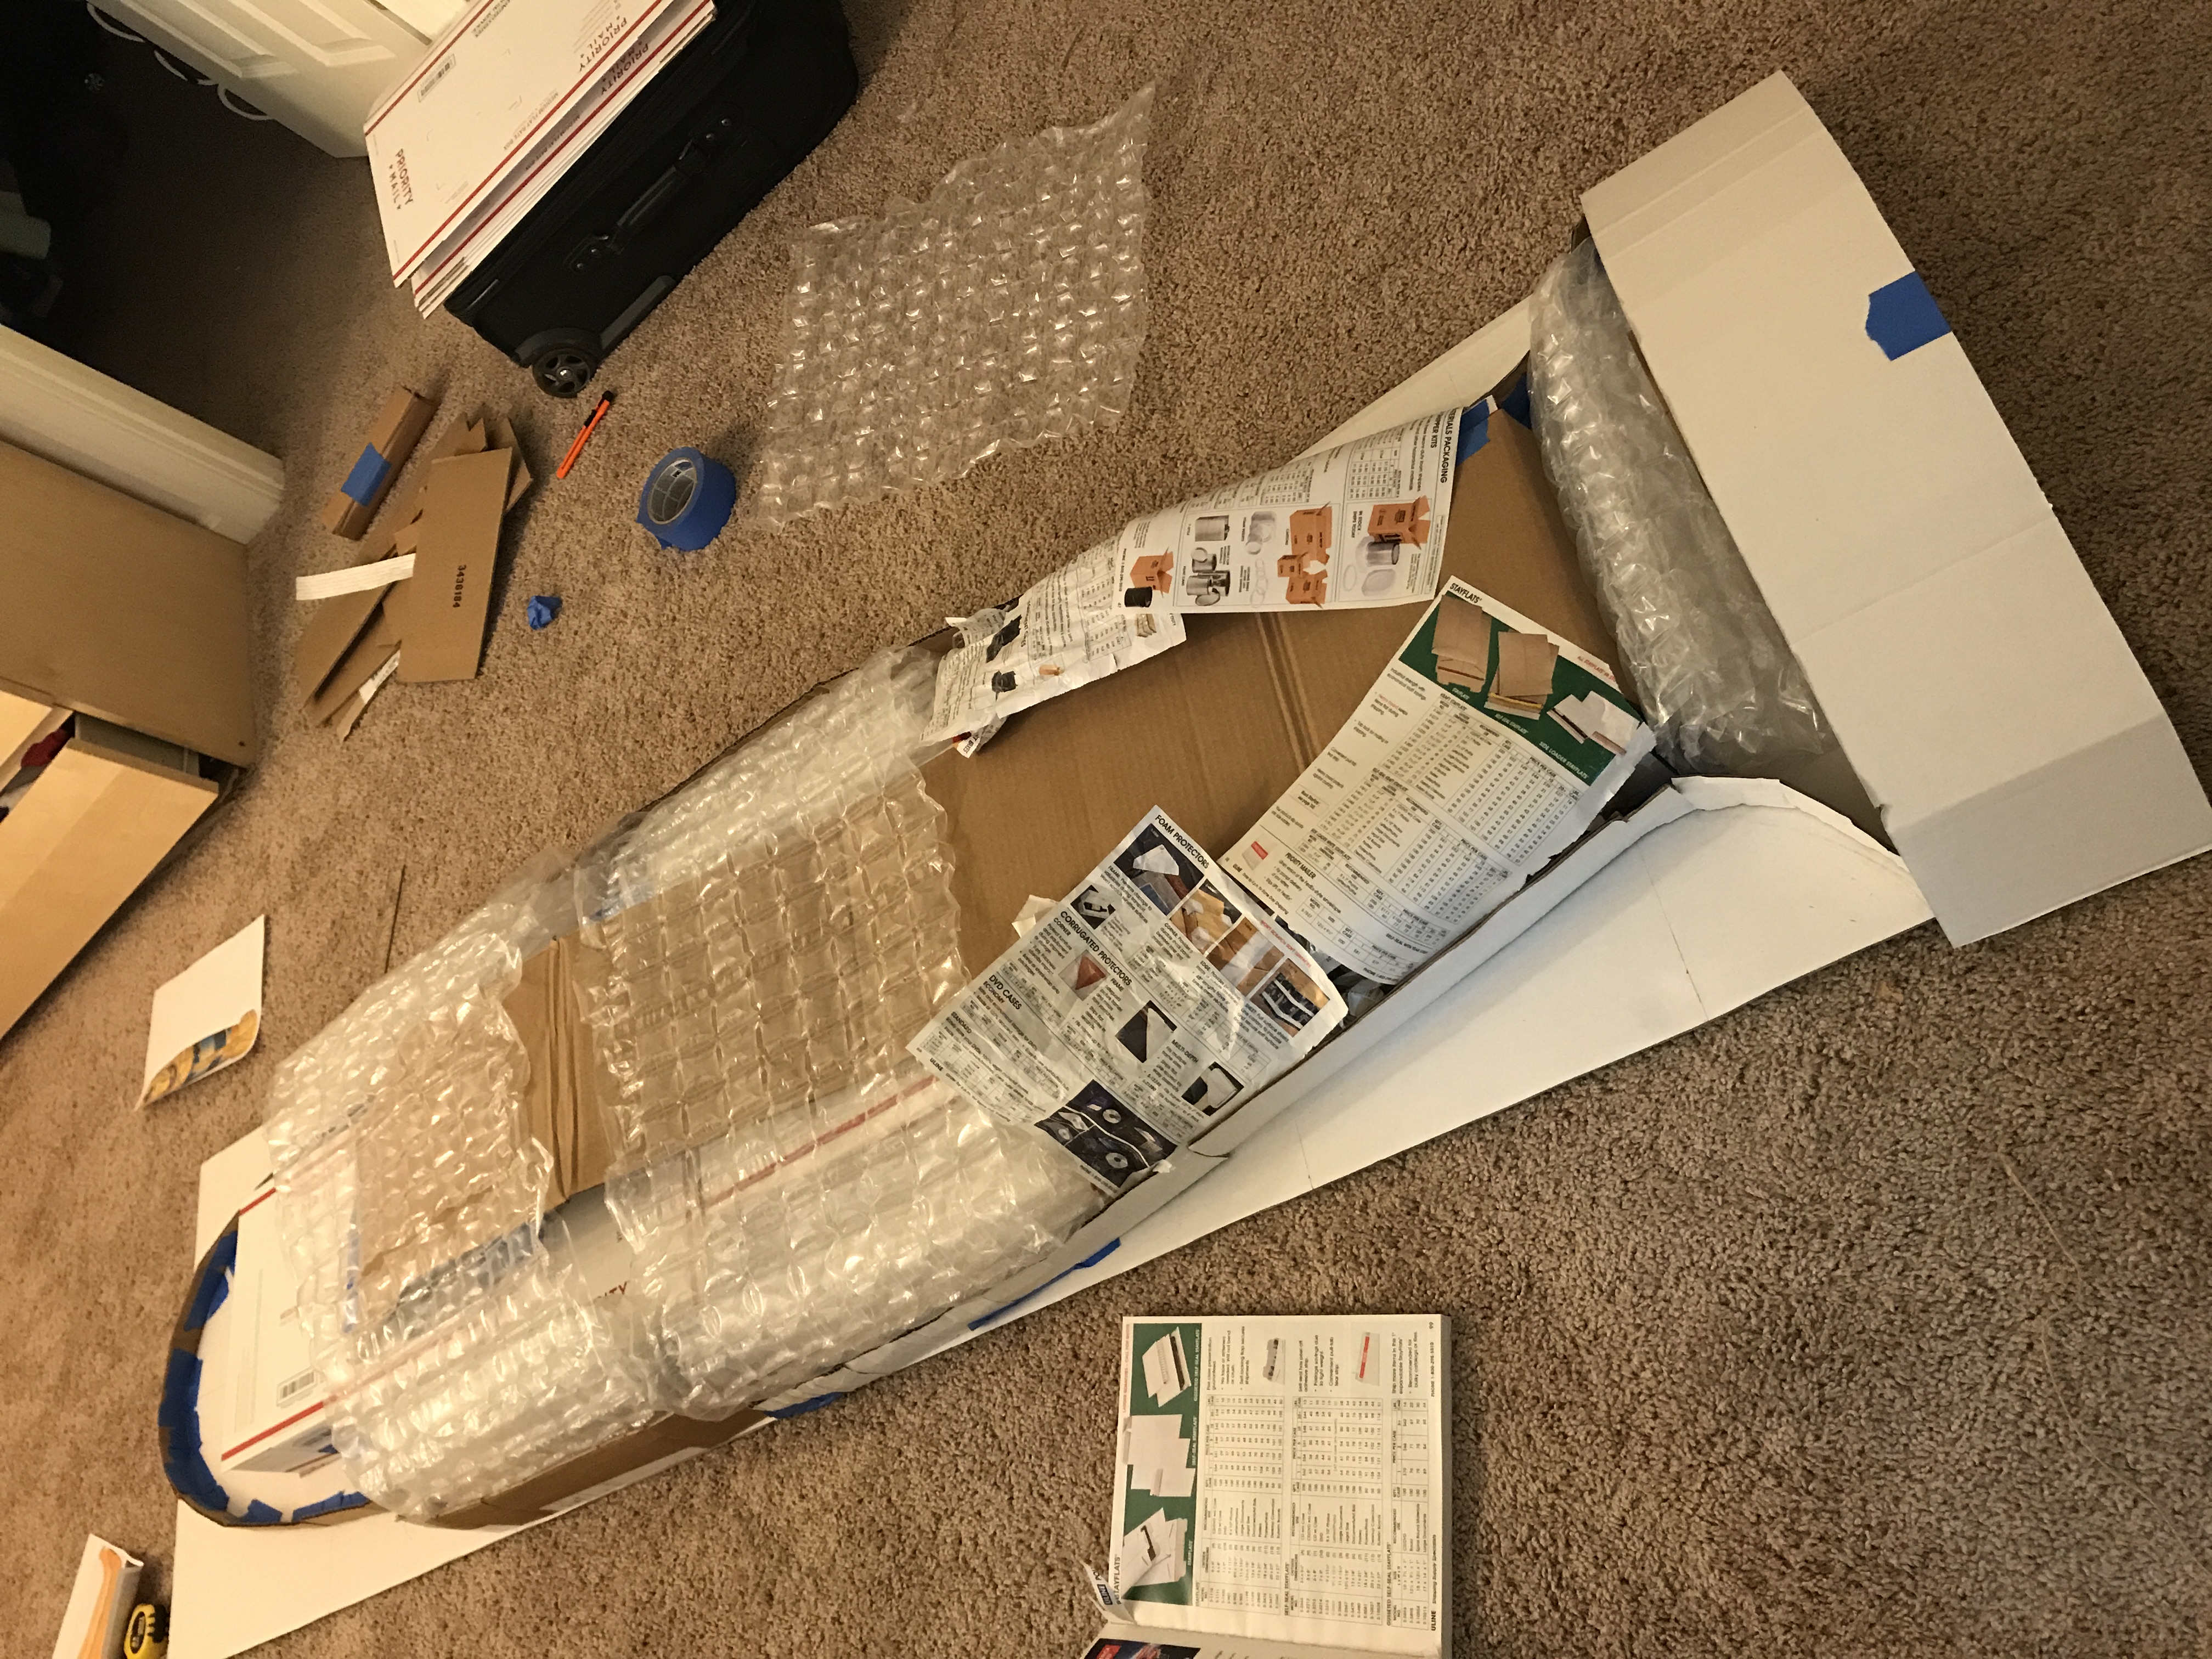
| With the "skeleton" in place, we needed to fill out the empty areas to create a body shape. Looking for lightweight filler, we crumpled up thin sheets of paper from an old Uline magazine to fill the gaps around the priority mail boxes and created a smooth surface for the chest, face, and hair using bubble wrap, which also gave Hatshepsut's body a fuller look. Masking tape helped hold everything in place and allowed for adjustments to be made along the way as well over the several hours that it took to create this base structure. |

|
Part II: Paper Mâché Skin
Transportation

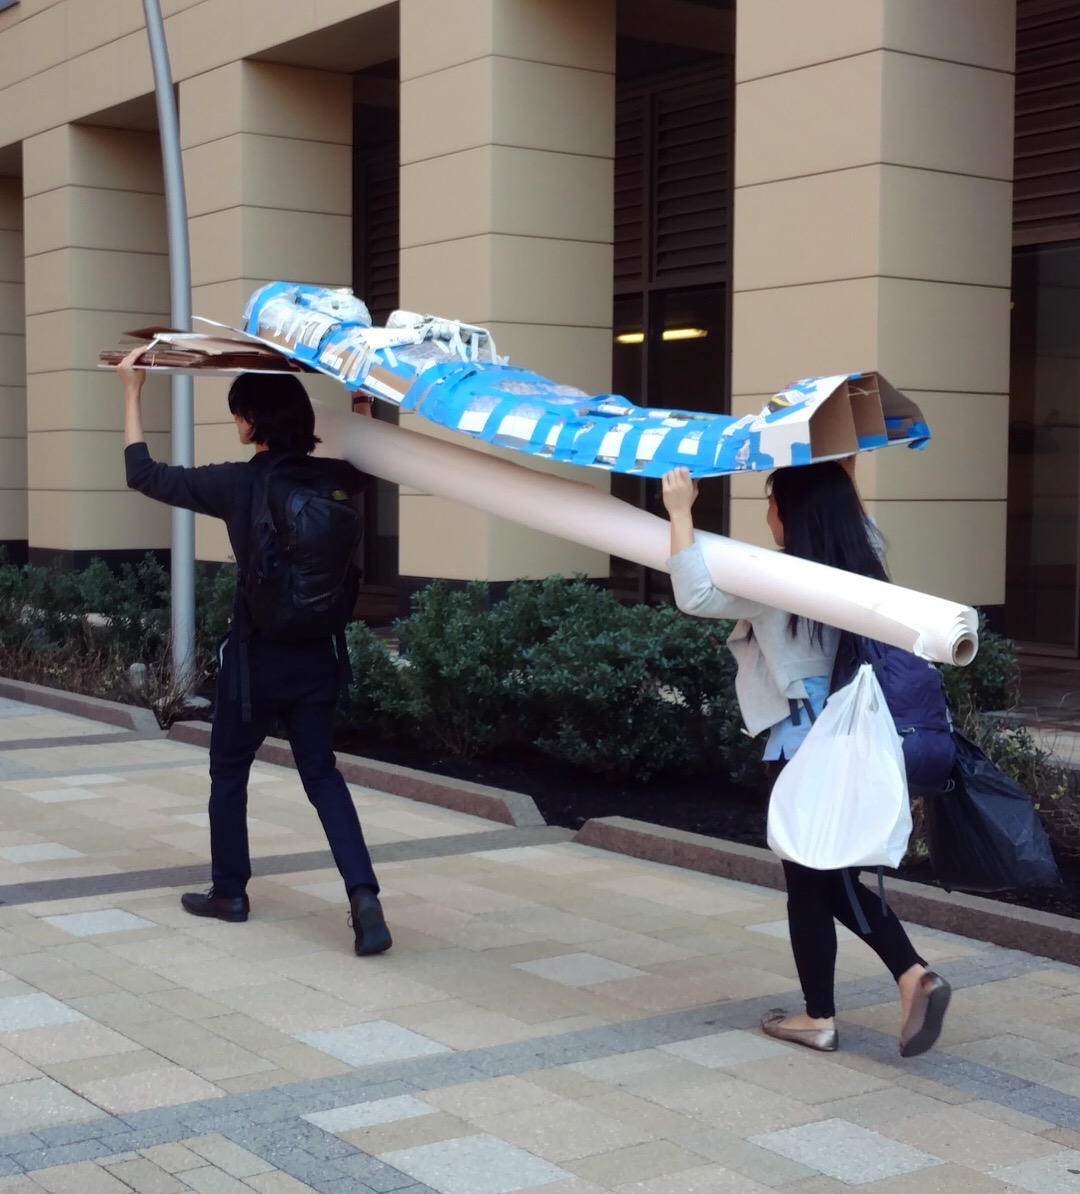
| Before beginning the next phase of construction, we carried Hatshepsut's lid from a residence in Central Square to Edgerton Center (4-409). Given the 7-foot length of the lid and relative fragility of the paper-based construction at this point in time, we carefully planned the route through campus to minimize the distance and utilize large freight elevators. We also tried out different carrying positions--holding the lid at waist height, hoisting the lid above our heads with, providing additional support to the mid-section, etc. To onlookers, we likely resembled Hatshepsut's servants carrying her supine body to her final resting place. |
Adding Clay Details & Creating Paper Mâché
| After filling out Hatshepsut's body with bubble wrap, we used moldable clay to add a touch of realism to her physique. In particular, we shaped mounds of clay over bubble wrap into the shape of Hatshepsut's fists. We also used clay to create her arched nose, indented nostrils, raised eyebrows, deep eyelids, majestic vulture headdress, and royal neck piece, referencing photos of actual sarcophagi along the way. With Hatshepsut's structure completed, we moved onto the next step of creating her "skin" using paper mâché. |

| 
|
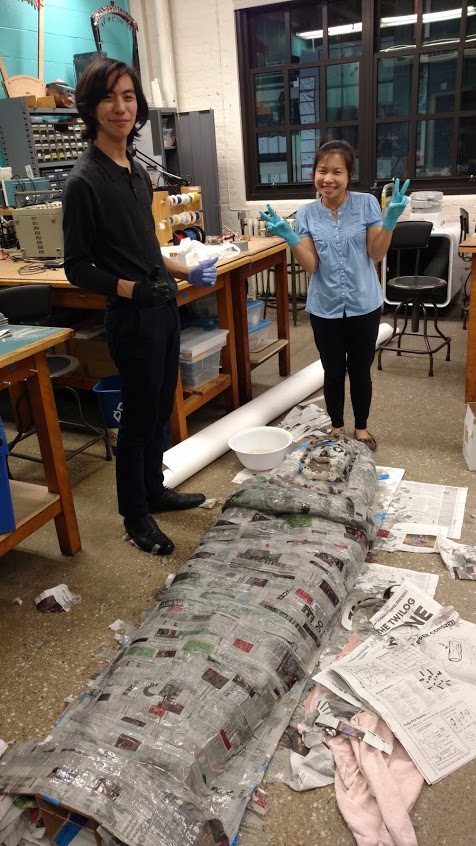
To make the paper mâché, we mixed Elmer's art paste with cold water to create around 4 quarts of paste. We sliced old newspaper into 1-inch strips, dipped the strips in the paste, and applied 2 to 4 layers of newspaper throughout Hatshepsut's 7-foot body. We covered everything--the boxes, bubble wrap, and even clay--with the paper mâché to create a smooth surface that would facilitate painting. The day-long effort of paper mâché application required a full night to air dry. To ensure that the entire structure including the underside would dry properly, we raised the bottom of the lid upon bars, opened the windows to allow maximum airflow, mopped up excess paste in the crevices, and directed fans toward the areas that were the most damp.
Part III: Painting
Spray Painting & Brush Painting
After validating that the paper mâché dried fully, we applied two coats of metallic gold spray paint on the entire sarcophagus lid to ensure that it glistened like real gold. Then, we brushed on darker hues of gold and Egyptian blue paint following our sarcophagus design to add the detailed features as shown in the photos below.


