


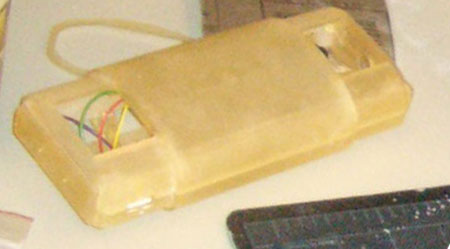
SLA: SLA is a rapid prototyping method used to print 3D parts designed in CAD layer by layer. A platform is placed in a vat of liquid photopolymer resin. A laser is used to cure and harden a thin layer of liquid photopolymer resin in the tank. The platform lowers in increments of 0.1 mm and the laser cures the next layer. The process continues until the entire part is completed. Internal supports and excess resin are removed using a solvent such as isopropyl alcohol and the parts are baked in a UV oven.
| Steps: |
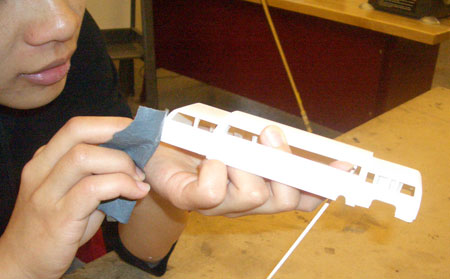
After the SLA process, the surface finish of the final parts are very rough due to the fact that the parts are printed in incremental steps. Also, the external support structures required during the printing process cause rough ridges on the surface.
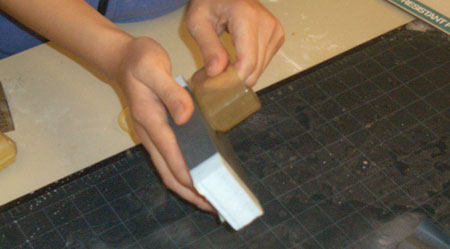
Wet Sanding
To smooth the surface and prepare the pieces for the painting process, parts were wet sanded. 180 grit sandpaper was used to roughly sand down the entire surface. This was followed by 320 grit sandpaper to smooth out the finer defects. Water was used to clean the sandpaper and prevent the sandpaper from clogging with dust. Particular care was taken to avoid sanding down critical edges.
Priming
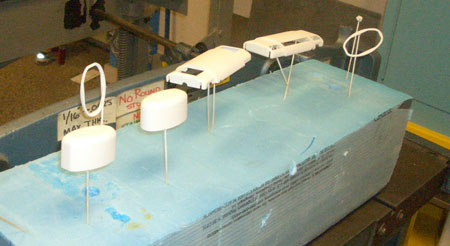
Once the parts were sanded down, they were ready to be primed. Priming is essential because it prepares the surface of the part for finishing coats. Primers seal the surface of the part to be painted so that it won’t soak up the finish paint. Primers also provide a better bonding surface for the finishing paint to stick to. Small sticks were hot glued to the back of the parts for easier handling during the priming and finishing steps.
Drying
The parts are left out to dry overnight after they are primed.
Wet Sanding
Before the finishing coat is applied to the parts, wet 320 grit sandpaper is used to remove any remaining defects on the surfaces that will be painted with a smooth textured paint because that is where defects are very noticeable.
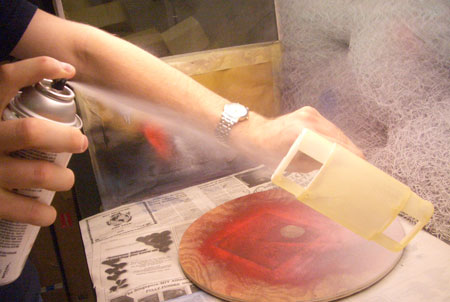
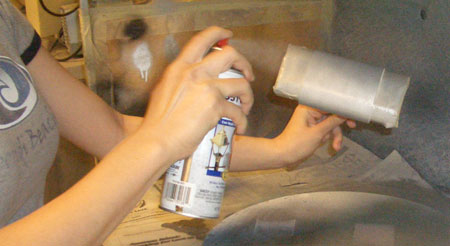
Painting
Since the main body had two separate sections to be painted (the middle section and the two outer sections covered by the end caps, two coats of paint were required. For the first coat, the sections covered by the endcaps were masked with masking tape.
Drying
Parts were left to dry for several hours before the second coat of paint was applied.
Painting
For the second coat of paint, the middle section of the body was masked using low adhesive painters tape, while the end cap sections were painted with a different color.
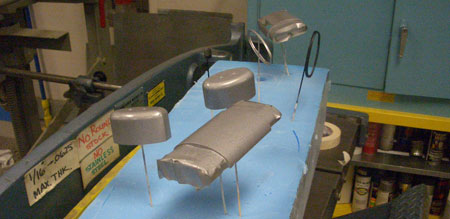
Drying
All the parts were placed in a temperature chamber held at 32 degrees C and left to dry overnight.
| Color Selection: |
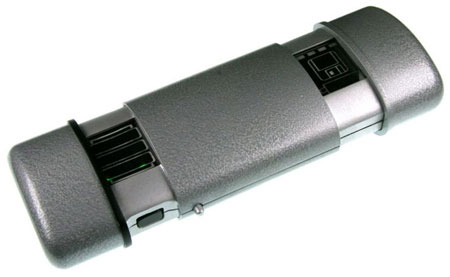
A silver and black color scheme was chosen for the scanner because we wanted to give the impression of the scanner being very sleek and high tech. At the same time, the exposed portions of the scanner would have to be wear resistant due to the constant handling of the device.
A hammered metal paint (Krylon Rust Tough Hamm-R Finish, Silver Gray) was applied to the end caps and the middle portion of the body. These parts are constantly exposed and prone to wear. The textured surface of the paint helps to hide small imperfections. The portions of the body that are revealed when the end caps pop open were painted with a smooth silver paint (Krylon Metallic Enamel Paint, Bright Silver) to match the silver tones of the hammered metal paint. A semi flat black coat for one of the cap rims and the scan button provided a very nice contrast against the silver paint causing them to stand out. The asymmetric coloring of the rims indicates to the user that the case is a flip top case as opposed to a clam shell case.
| Alternatives: |
Although
SLA worked well for the purpose of making a first prototype, future iterations
of the concealed scanner should be either vacuum-formed, cast, or SLSed
with a more durable material such as ABS. The resin material that was
used during the SLA process was very brittle and prone to cracking. It
was not made to stand the repeated impact that occurred from the opening
and closing actions of the spring loaded opening mechanism.